Table of Contents
Installing a hard drive in your PC is a simple process that can greatly enhance your computer’s storage capacity. Whether you’re looking to store more files, install games, or improve overall performance, a new hard drive can make a significant difference. In this step-by-step guide, we’ll walk you through the process of installing a hard drive in your PC.
Before we get started, it’s important to choose a high-quality hard drive that suits your needs and budget. There are various options available, so research and compare different models to find the one that’s right for you. Popular hard drive options include Seagate BarraCuda, Toshiba X300, and WD Black, each offering different storage capacities and performance levels.
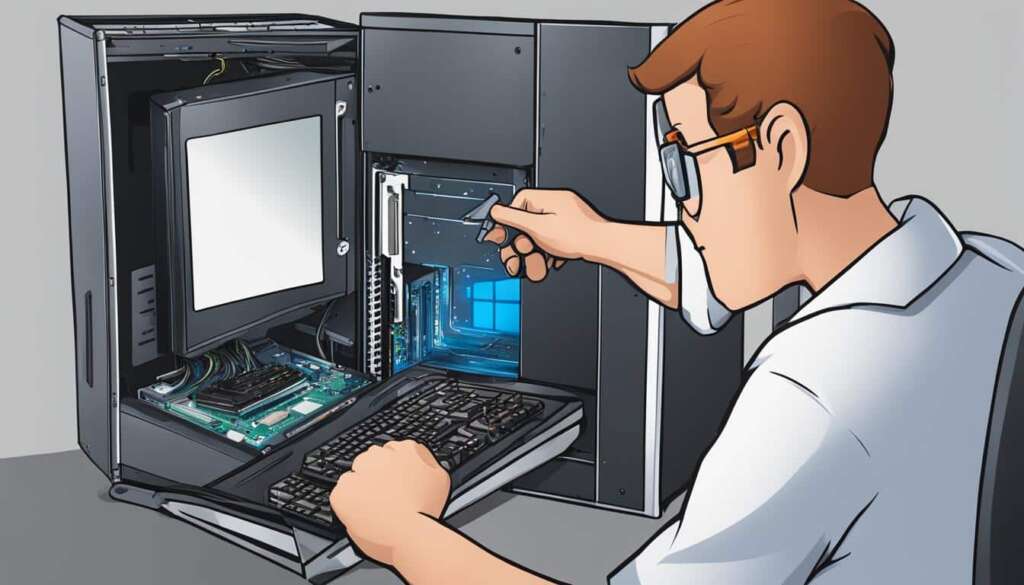
Once you’ve selected the appropriate hard drive, it’s time to mount it securely in your PC case. This ensures that the hard drive doesn’t move or get damaged while your computer is in use. You can choose between drive cages, drive bays, or removable drive trays for mounting options. Use screws or tool-less trays to secure the hard drive in place.
Next, it’s important to properly connect and configure the hard drive. This involves connecting the necessary cables, such as the SATA data cable and SATA power cable, to the hard drive and motherboard. Make sure the cables are securely connected, and if space is limited in your PC case, consider using right-angle SATA connectors.
Once the physical installation is complete, it’s time to configure the hard drive. If you’re installing a PATA hard drive, you’ll need to configure it as a master or slave device. This can be done through the BIOS or UEFI settings. Additionally, you’ll need to check if the hard drive is recognized in the BIOS/UEFI and configure any necessary settings.
In Windows, you’ll need to use the Disk Management tool to partition and format the new hard drive for use. This allows you to create partitions, assign drive letters, and format the drive according to your preferences. Once the formatting process is complete, your hard drive will be ready to store and access data.
By following these step-by-step instructions, you’ll be able to successfully install a hard drive in your PC. The process may vary slightly depending on your specific hardware and operating system, but the general principles remain the same. Now, let’s get started on expanding your storage capacity with a new hard drive!
Selecting the Right Hard Drive for Your PC
When it comes to choosing the perfect hard drive for your PC, there are several factors to consider. Your storage needs and budget should be the primary considerations when making a decision. Fortunately, there are various hard drive options available in the market, each with its own unique features and capacities.
Two common types of hard drives are SATA and PATA. SATA drives offer faster data transfer rates and are commonly used in modern PCs. PATA drives, on the other hand, are older and slower but may still be compatible with certain systems. Consider the capacities and speeds of these drives to determine which one suits your requirements best.
Research and compare different hard drive models to find the best fit for your PC. Seagate BarraCuda, Toshiba X300, and WD Black are among the popular hard drive options available. These brands offer varying storage capacities and price points, allowing you to choose the one that aligns with your needs and budget.
Another important factor to consider is the size and form factor of the hard drive. Determine whether your PC case is compatible with a 2.5-inch or 3.5-inch hard drive. This information will help you ensure a seamless installation process.
Furthermore, RPM, or revolutions per minute, plays a significant role in hard drive performance. Consumer hard drives generally range from 5,400 to 7,200 RPM. Opting for a higher RPM, such as 7,200 RPM, will allow for faster data access and retrieval.
Overall, carefully evaluate your storage needs, budget, drive type, brand options, size compatibility, and RPM when selecting the best hard drive for your PC. Taking these factors into account will ensure that you choose a hard drive that meets your requirements and enhances your computing experience.
Hard Drive Options for PC
| Brand | Model | Storage Capacity | Price Range (£) |
|---|---|---|---|
| Seagate | BarraCuda | 250GB – 8TB | £35 – £200 |
| Toshiba | X300 | 4TB – 16TB | £100 – £350 |
| WD | Black | 500GB – 6TB | £50 – £200 |
Mounting the Hard Drive in Your PC Case
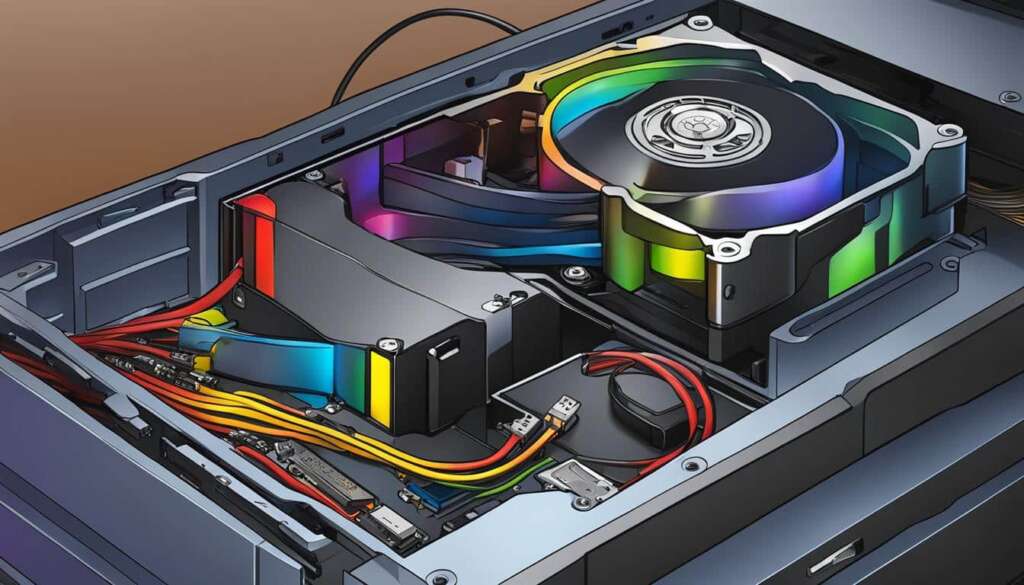
Once you have chosen the right hard drive for your PC, the next step is to mount it securely in your PC case. Proper mounting ensures that your hard drive is securely positioned and doesn’t move, preventing any potential damage. Let’s explore the different mounting options and considerations to keep in mind.
- Determine the appropriate location within your PC case to mount the hard drive. This can vary depending on the case design and available space.
- Common mounting options include drive cages, drive bays, and removable drive trays. These options provide secure and convenient placements for your hard drive.
- Use screws or tool-less trays to secure the hard drive in place. If using screws, be sure to use the ones provided with your PC case or hard drive to ensure a proper fit.
- When positioning the hard drive, consider the airflow and cooling of your PC case. Proper airflow helps maintain optimal temperature levels for your components.
- Leave enough space between drives to allow for adequate airflow. If possible, position the drives in front of intake fans to ensure efficient cooling.
- Please take note that the orientation and positioning of drive cages or bays may vary depending on the specific model and design of your PC case.
To further illustrate the various mounting options, consider the following table:
| Mounting Option | Description |
|---|---|
| Drive Cages | These are metal frameworks within the PC case that hold multiple hard drives, offering stability and easy access. |
| Drive Bays | These are dedicated slots in the PC case that house individual hard drives. Drive bays are often designed for specific form factors, such as 2.5-inch or 3.5-inch drives. |
| Removable Drive Trays | These trays allow you to securely mount your hard drive and easily remove it when needed. They are particularly useful when swapping drives frequently. |
By considering these mounting options and ensuring a secure and well-positioned hard drive, you can successfully integrate the new drive into your PC case.
Connecting and Configuring the Hard Drive
After physically installing the hard drive in your PC case, the next step is to connect and configure it for use. Begin by connecting the necessary cables to the hard drive. This includes the SATA data cable, which enables data transfer between the hard drive and the motherboard, and the SATA power cable, which provides power to the drive.
Make sure to securely connect the SATA cables to both the hard drive and the motherboard to ensure proper functionality. If space is limited within your PC case, consider using right-angle SATA connectors to optimize cable management.
If you are installing a PATA hard drive, you will need to configure it as a master or slave device. This setting determines the drive’s priority when multiple drives are connected. Consult your hard drive’s documentation for specific instructions on how to set the master/slave configuration.
Once the physical connections are in place, it’s crucial to enter the BIOS/UEFI to check if the hard drive is detected by the system. Additionally, you may need to configure the necessary settings to ensure the hard drive is recognized and can be used.
Finally, in order to make the hard drive usable for storing data, you’ll need to format it. In Windows, you can use the Disk Management tool to partition and format the newly installed hard drive. Follow the on-screen instructions to create partitions and assign drive letters to the newly installed hard drive.
With the hard drive successfully connected, configured, and formatted, it is now ready to be used for storing files, performing backups, or serving as an additional storage drive for your PC.
FAQ
How do I install a hard drive in my PC?
To install a hard drive in your PC, choose a high-quality hard drive that suits your needs and budget. Then, mount the hard drive securely in a drive cage or bay within the computer case. Connect the necessary cables, including the SATA data cable and SATA power cable, to the hard drive and the motherboard. Finally, configure the drive in the BIOS/UEFI and use the Disk Management tool in Windows to partition and format the new hard drive.
How do I select the right hard drive for my PC?
When selecting a hard drive for your PC, consider your storage needs and budget. Research and compare different hard drive models, such as Seagate BarraCuda, Toshiba X300, and WD Black, to find one that suits your requirements. Determine the capacity, speed, size, and form factor that is compatible with your PC case. Consider factors like RPM, airflow, and cooling for optimal performance.
How do I mount the hard drive in my PC case?
To mount the hard drive in your PC case, first determine the appropriate location within the case. Common mounting options include drive cages, drive bays, and removable drive trays. Use screws or tool-less trays to secure the hard drive in place, ensuring it is mounted securely and does not move. Consider the airflow and cooling of your PC case when positioning the hard drive.
How do I connect and configure the hard drive in my PC?
To connect the hard drive in your PC, make sure to securely connect the SATA data cable and SATA power cable to both the hard drive and the motherboard. If you are installing a PATA hard drive, configure it as a master or slave device. Enter the BIOS/UEFI to check if the hard drive is detected and configure the necessary settings. In Windows, use the Disk Management tool to partition and format the hard drive for use. Follow the on-screen instructions to create partitions and assign drive letters to the newly installed hard drive.

