Table of Contents
Are you running out of storage space on your PC? Adding an internal hard drive is a simple and cost-effective way to upgrade your PC storage capacity. Whether you need more room for your growing collection of photos, videos, or games, installing a hard drive can provide the extra storage you need. In this guide, we’ll walk you through the process of adding a hard drive to your PC, from mounting the drive to connecting the necessary cables and preparing it for use.
Installing an internal hard drive is an excellent alternative to relying on external drives. Unlike external drives that can be easily misplaced or damaged, internal hard drives offer a more secure and reliable storage solution. Plus, they offer larger capacities at lower prices compared to SSDs.
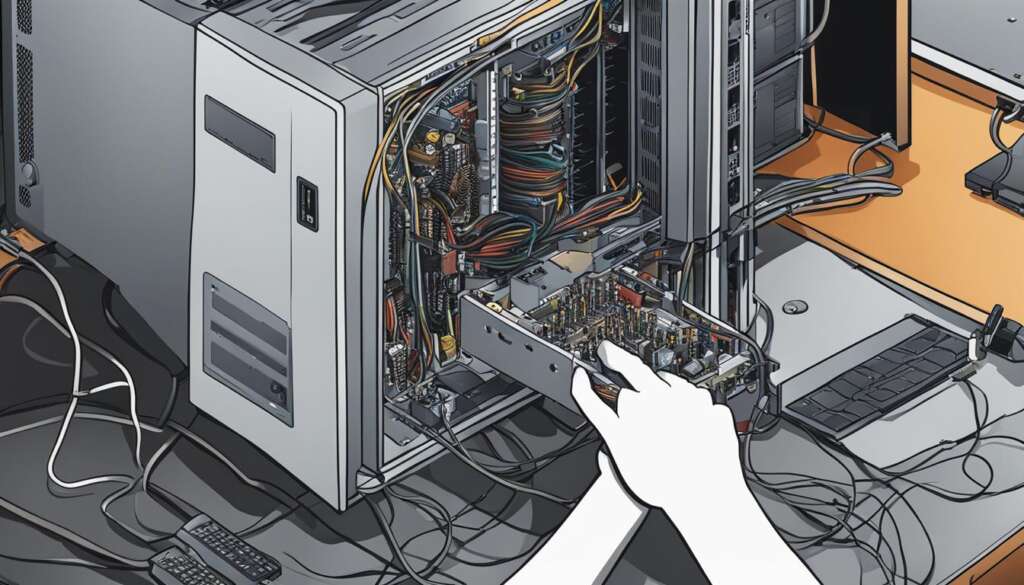
Before we begin, let’s take a moment to understand the different options available when it comes to mounting the hard drive in your PC. As you may know, internal hard drives are typically mounted in drive cages or bays. These cages or bays can be found in various locations in your PC case, with the most common being at the lower front of the chassis. They are usually mounted perpendicular to the bottom of the case, and the drives are mounted parallel to the bottom.
When mounting the hard drive, it’s essential to ensure proper airflow and cooling. Leaving enough space between the drives and positioning them in front of an intake fan can help optimize the airflow and prevent overheating.
Once the hard drive is mounted, it’s time to connect it to your system. This involves using SATA cables to connect the drive to the motherboard and the power supply unit (PSU). SATA cables are straightforward to use, as they come with connectors that fit into the drive and motherboard connector in only one way. Additionally, the hard drive needs to be connected to the PSU using a SATA power cable.
After connecting the cables, it’s crucial to power on the system and access the BIOS/UEFI settings to ensure that the drive is recognized. If the drive is not listed, double-check the connections and try different SATA ports on the motherboard. Once the drive is detected, it may require partitioning and formatting before it can be used in the operating system.
By following this step-by-step guide, you’ll be able to add a hard drive to your PC and upgrade your storage capacity. With the additional space, you can enjoy a clutter-free computer and seamless access to all your files, ensuring that your PC always performs at its best.
Drive Cages, Bays, and Mounting Options
When it comes to adding an internal 3.5-inch hard disk drive to your PC, understanding the drive cages, bays, and mounting options is crucial. These components play a key role in securely installing your hard drive and optimizing the airflow within your system.
Drive cages and drive bays serve as the designated spaces within the PC chassis where the hard drives are mounted. While the placement and orientation of these cages or bays may vary depending on the case, the most common location is at the lower front of the PC.
In most cases, the drive cages or bays are mounted perpendicular to the bottom of the chassis, with the drives themselves mounted parallel to the bottom of the case. This positioning allows for easy access and efficient cable management.
Securing the hard drive to the cage is typically done using screws. Some cases, however, come equipped with tool-less trays that use pins and clips to hold the drives in place. While these trays provide convenience, it is generally recommended to use screws for a more secure mounting method.
It’s important to leave enough space between the mounted drives to optimize airflow within the PC. This helps prevent overheating and ensures the longevity of your hard drive. Positioning the drives in front of an intake fan can further aid in cooling.
Comparison of Drive Mounting Options
| Mounting Option | Pros | Cons |
|---|---|---|
| Screwed Mounting | – Provides a secure and stable connection – Allows for precise positioning |
– Requires additional time for installation – May require access to the back of the case |
| Tool-less Trays | – Quick and easy installation – No need for additional tools |
– Less secure compared to screws – May not fit all hard drive sizes |
Connecting and Preparing the Hard Drive
Once the hard drive is securely mounted in the drive cage or bay, the next step is to connect it to the system. This is done using SATA cables, which are simple and easy to use. SATA cables come with connectors that are designed to fit into the drive and motherboard connector in only one way, ensuring a proper connection.
To connect the hard drive, start by attaching one end of the SATA cable to the hard drive. Make sure it is firmly plugged in. Then, take the other end of the cable and connect it to an available SATA port on the motherboard. This will establish the data connection between the hard drive and the computer.
In addition to the data connection, the hard drive also needs to be powered. To do this, connect the hard drive to the power supply unit (PSU) using a SATA power cable. The SATA power cable is longer and has a unique design that allows it to fit into the hard drive’s power connector securely.
After all the cables are connected, it’s time to power on the system. Once the computer starts up, access the BIOS/UEFI settings to ensure that the newly connected hard drive is recognized by the system. If it is not listed, it’s recommended to double-check the connections and try different SATA ports on the motherboard to troubleshoot the issue.
Once the hard drive is detected by the system, it may need to be partitioned and formatted for use in the operating system. This can be done through the Disk Management utility in Windows or a similar tool in other operating systems. Partitioning and formatting the hard drive will prepare it for use, allowing you to store files and data on it.
FAQ
Is installing an internal hard drive a straightforward process?
Yes, installing an internal hard drive is a straightforward upgrade for expanding your PC storage.
Why is installing an internal hard drive often a better option than using external drives?
Installing an internal hard drive is often a better option than using external drives because external drives may be prone to being dropped or misplaced.
What is the process involved in installing an internal hard drive?
The process involves mounting the hard drive, connecting the necessary cables, and formatting the drive for use.
How does installing a hard drive in a PC differ from installing an SSD?
Installing a hard drive in a PC follows a different procedure from installing an SSD. SSDs offer faster speeds, while hard drives offer larger capacities at lower prices.
Where are internal 3.5-inch hard disk drives typically mounted?
Internal 3.5-inch hard disk drives are typically mounted in a drive cage or an available drive bay.
What is the most common location for drive cages or bays in a PC?
The most common location for drive cages or bays in a PC is at the lower front of the case.
How are hard drives secured to the drive cage?
Hard drives are typically secured to the drive cage using screws. Some cases may come with tool-less trays that hold the drives with pins and clips, but it is recommended to use screws for a more secure mounting method.
How should the hard drives be positioned for optimal airflow?
It’s important to leave enough space between the hard drives for proper airflow. Positioning them in front of an intake fan can also help with cooling.
How are hard drives connected to the system?
Hard drives are connected to the system using SATA cables. SATA cables come with connectors that are keyed to fit into the drive and motherboard connector one way.
How is the hard drive connected to the power supply unit?
The hard drive needs to be connected to the power supply unit (PSU) using a SATA power cable. The SATA power cable is longer and keyed to fit only one way.
What should be done if the hard drive is not recognized by the system?
If the hard drive is not listed, double-check the connections and try different SATA ports on the motherboard. Additionally, accessing the BIOS/UEFI settings to ensure the drive is recognized may be necessary.
What steps are required to prepare the hard drive for use in the operating system?
Once the hard drive is detected, it may need to be partitioned and formatted for use in the operating system.


