Table of Contents
If you’re looking to transfer your cherished photos from your iPhone to your PC, you have several options available. In this guide, we’ll explore different methods that will enable you to seamlessly import your photos and preserve your precious memories.
Key Takeaways
- Importing photos from your iPhone to your PC can be done using various methods.
- You can use the Photos app on your iPhone, iCloud Photos, iTunes, or File Explorer to transfer your photos.
- By following the steps outlined in this guide, you’ll be able to easily move your photos from your iPhone to your PC and keep them safe.
- Choose the method that works best for you based on your preferences and needs.
- Preserve your precious memories by securely transferring your photos to your PC.
Import Photos Using the Photos App on iPhone
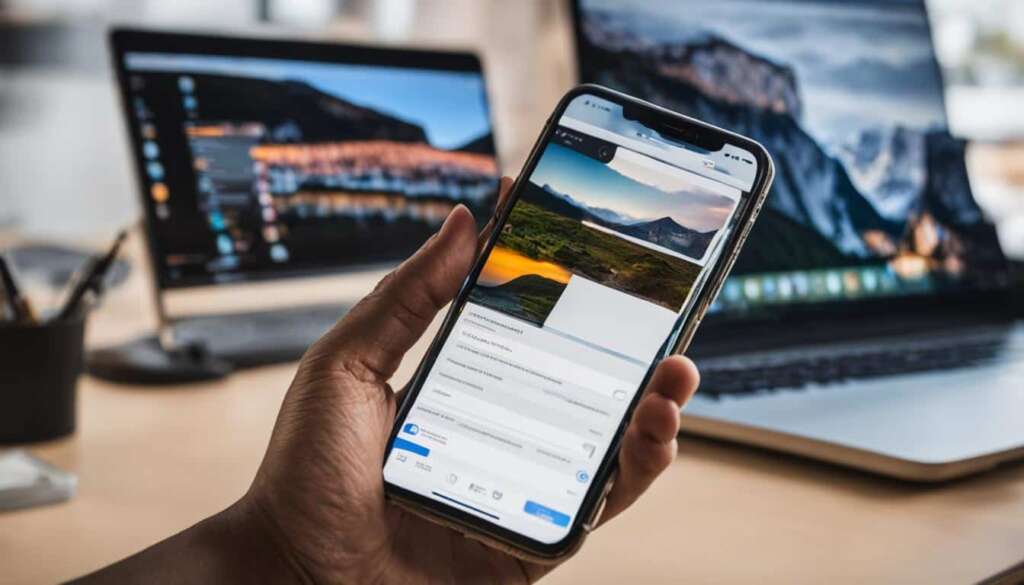
If you’re looking to import photos from your iPhone to your PC, the Photos app on your iPhone itself provides a convenient and straightforward method. With just a few simple steps, you’ll have your photos transferred and ready to use on your PC.
To begin, you’ll need a camera adapter or card reader. Insert the adapter or connect the reader directly to your iPhone’s Lightning or USB-C connector. Once connected, open the Photos app and tap on the “Import” option. From there, you can select the specific photos and videos you want to import. After making your selections, choose your preferred import destination on your iPhone. It can be an existing album or a new one that you create. Once you’ve made your selections and chosen the destination, tap on the “Import All” or “Import Selected” button to initiate the import process.
After the import is complete, you’ll have the option to keep or delete the imported photos and videos on your iPhone. This allows you to free up storage space on your device while still having a copy of your precious memories on your PC. The Photos app on your iPhone provides a seamless and efficient way to transfer your photos without the need for any additional software.
Table: Import Photos Using the Photos App on iPhone
| Steps | Instructions |
|---|---|
| Step 1 | Connect a camera adapter or card reader to your iPhone’s Lightning or USB-C connector. |
| Step 2 | Open the Photos app on your iPhone and tap on “Import”. |
| Step 3 | Select the photos and videos you want to import. |
| Step 4 | Choose your import destination on your iPhone. |
| Step 5 | Tap on “Import All” or “Import Selected” to initiate the import process. |
| Step 6 | After the import is complete, choose to keep or delete the imported photos and videos on your iPhone. |
By utilizing the Photos app on your iPhone, you can easily import photos from your device to your PC with just a few taps. This method is especially useful when you want to transfer a small number of photos and videos without the need for additional software or complex procedures. Take advantage of the convenience and simplicity that the Photos app offers, and effortlessly move your images from your iPhone to your PC.
Use iCloud Photos
To easily transfer your iPhone photos to your Windows PC, you can take advantage of iCloud Photos. This feature allows you to sync your photos and videos across all your Apple devices, including your iPhone and PC. By enabling iCloud Photos, you can access and download your photos from any device with an internet connection.
To set up iCloud Photos, follow these steps:
- On your iPhone, go to Settings.
- Tap on your Apple ID.
- Select iCloud.
- Toggle on the Photos option.
Once iCloud Photos is enabled, your iPhone will automatically upload all your photos to iCloud. To access your photos on your PC, follow these steps:
- Open a web browser on your PC and go to the iCloud website (insert the iCloud website link here).
- Sign in with your Apple ID.
- Click on the Photos icon.
- Select the photos you want to download.
- Click the Download button to save the photos to your PC.
With iCloud Photos, you can easily transfer your iPhone photos to your Windows PC without the need for manual importing or connecting your devices directly.

Table: iCloud Photos vs. Other Methods
| Method | Pros | Cons |
|---|---|---|
| iCloud Photos | – Automatic syncing across devices – Convenient access to photos from any device |
– Requires internet connection – Limited storage space with free iCloud account |
| Photos App on iPhone | – Direct import from camera, SD card, or other devices – Easy selection and import process |
– Limited storage on iPhone – Photos must be manually deleted from the original device |
| iTunes | – Photo transfer along with other media files – Can backup and restore iPhone |
– Requires iTunes installation – Syncing process can be time-consuming |
| File Explorer | – Direct access to iPhone file system – Easy drag-and-drop import |
– Requires USB connection – Limited compatibility with certain file formats |
Using iCloud Photos provides a seamless way to transfer your iPhone photos to your Windows PC. The automatic syncing feature ensures that your photos are always up to date across all your devices. However, make sure to consider the available storage space on your iCloud account if you have a large photo library. If you prefer more control over the importing process or need to transfer other media files, other methods like using the Photos app on your iPhone or iTunes may be more suitable.
Transfer Photos Using iTunes
Another method to transfer photos from your iPhone to your PC is by using iTunes. This method is especially useful if you prefer managing your media files through iTunes or if you want to transfer a large number of photos at once.
To get started, connect your iPhone to your PC using the USB charging cable and open iTunes. Wait for the iPhone icon to appear in the top-left corner of the iTunes Library page. Then, open the Photos app on your PC and click the Import icon. Select “From a connected device” option and choose the photos you want to import. Finally, click Import, and the selected photos will be transferred to your PC.
Using iTunes allows you to transfer not only your photos but also other media files such as music, videos, and documents. It provides a comprehensive solution for managing your iPhone’s content and syncing it with your PC.
Table: Comparison of Photo Transfer Methods
| Method | Pros | Cons |
|---|---|---|
| Photos App on iPhone |
|
|
| iCloud Photos |
|
|
| iTunes |
|
|
| File Explorer |
|
|
“Using iTunes allows you to transfer not only your photos but also other media files such as music, videos, and documents”
Import Photos from iPhone to PC Using File Explorer
Another method to import photos from your iPhone to your PC is by using File Explorer. This method allows you to directly access and transfer your photos without the need for additional software or applications.
To get started, connect your iPhone to your PC using the USB charging cable. Make sure to unlock your iPhone, and when prompted on your device, tap “Trust” or “Allow” to give permission to share data with the computer.
Once your iPhone is connected, open File Explorer on your PC. You can do this by clicking on the folder icon in your taskbar or by pressing the Windows key + E on your keyboard. In File Explorer, you’ll see a sidebar on the left-hand side, which includes a section labeled “This PC.” Under “This PC,” you should find your iPhone listed as a connected device.
Right-click on your iPhone and select “Import pictures and videos” from the context menu. This will open the “Import Pictures and Videos” window, where you can choose the import options for your photos. You can select the destination folder, whether to include subfolders, and if you want to delete the imported items from your iPhone after the transfer is complete. Once you’ve made your selections, click the “Import” button to start transferring the photos from your iPhone to your PC.
| Step | Description |
|---|---|
| 1 | Connect your iPhone to your PC using the USB charging cable. |
| 2 | Unlock your iPhone and tap “Trust” or “Allow” when prompted. |
| 3 | Open File Explorer on your PC. |
| 4 | Locate your iPhone under “This PC” in File Explorer. |
| 5 | Right-click on your iPhone and select “Import pictures and videos.” |
| 6 | Choose the import options and click “Import” to transfer the photos. |
This method provides a straightforward way to import photos from your iPhone to your PC quickly and efficiently. It gives you control over where the photos are stored on your computer and allows you to organize them as needed. Whether you’re backing up your memories or transferring photos for editing purposes, using File Explorer is a reliable solution.
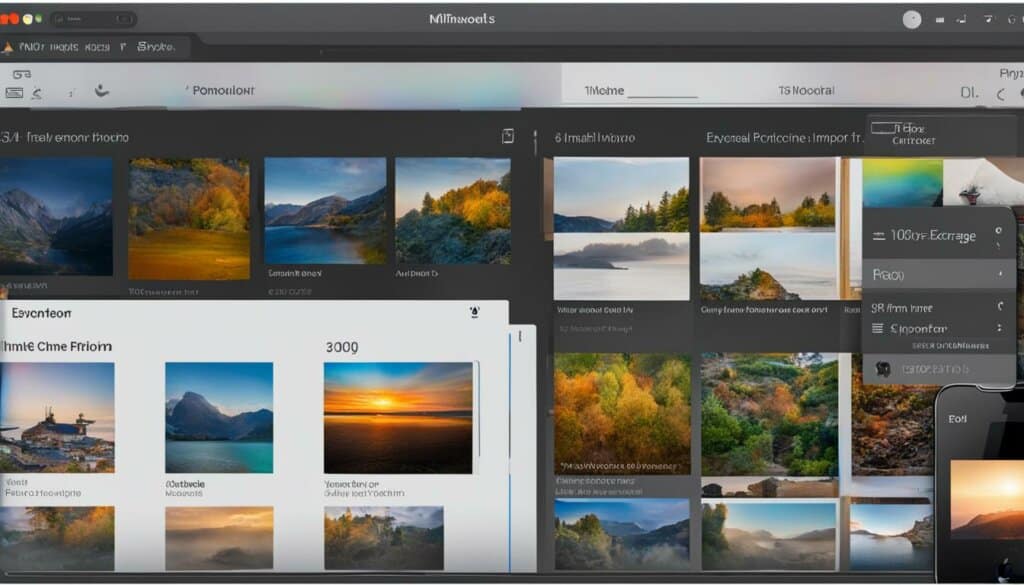
Why use File Explorer to import photos?
There are several advantages to using File Explorer to import photos from your iPhone to your PC:
- Direct access: File Explorer allows you to directly access the files on your iPhone without the need for additional software.
- Control over organization: You can choose the destination folder and customize the organization of your imported photos.
- Efficiency: File Explorer provides a fast and efficient way to transfer a large number of photos at once.
By using File Explorer, you can easily import photos from your iPhone to your PC and have them readily available for editing, sharing, or safekeeping.
Download Photos from iCloud to PC
If you have iCloud Photos enabled and want to download your photos to your PC, you can do so by accessing iCloud via a web browser. This method allows you to easily access your iCloud photos from any computer with an internet connection.
To begin, open a web browser on your PC and go to the iCloud website. Sign in using your Apple ID and password. Once you’re signed in, you’ll be taken to the iCloud dashboard.
On the iCloud dashboard, click on the Photos icon. This will open the Photos app within iCloud.
From here, you can browse through your photo library and select the photos you want to download. To select multiple photos, hold down the Ctrl key (Command key on Mac) and click on each photo. Once you’ve selected all the photos you want to download, click the Download icon.
Note: If you have a large number of photos to download, it may take some time for the download to complete. Be patient and allow the process to finish.
After clicking the Download icon, your photos will be saved to your PC’s default download location. You can then access and manage them as you would with any other downloaded files.
Downloading your photos from iCloud to your PC gives you the flexibility to access and use your photos offline. It’s a convenient way to back up your precious memories and have them readily available for editing, sharing, or printing.
| Pros | Cons |
|---|---|
| Accessible from any computer with internet access | Requires internet connection |
| Allows for easy backup of photos | May take time to download large photo libraries |
| Provides offline access to photos | Requires iCloud account and subscription |
Other Photo Transfer Methods
Aside from the methods mentioned above, there are a few other ways to transfer photos from your iPhone to your PC. These alternative methods offer additional flexibility and convenience, allowing you to choose the option that suits your specific needs. Let’s explore these options in more detail:
1. AirDrop:
AirDrop is a quick and easy way to send photos from your iPhone to your Mac computer. Simply enable AirDrop on both devices and make sure they are within range. Then, select the photos you want to transfer on your iPhone and choose the option to share via AirDrop. Your Mac will appear as an available device, and once you select it, the photos will be wirelessly transferred.
2. Photos App for macOS:
If you have a Mac computer, you can import photos and videos from various storage media using the built-in Photos app. Connect your iPhone to your Mac using the USB charging cable and open the Photos app. Click on the Import tab, and the app will detect your iPhone. Select the photos you want to import and click the Import button. This method is especially convenient if you prefer managing your photos directly on your Mac.
3. Film Camera Import using Scanner and Image Capture:
If you enjoy using a film camera, you can still easily import your photos to your PC. Connect your camera to your computer using a scanner or card reader. Open the Image Capture application on your computer, and it will automatically recognize your camera. Choose the destination folder for your imported photos and click Import. This method allows you to preserve your film photography and incorporate it into your digital library.
4. Syncing iPhone with Computer:
If you prefer a traditional method of transferring files, you can sync your iPhone with your computer. Connect your iPhone to your computer using the USB charging cable and open the iTunes application. Select your iPhone from the device menu, navigate to the “Photos” tab, and choose the option to sync photos. You can select specific albums or folders to sync, or choose to sync all photos. Click Apply to initiate the sync process, and your photos will be transferred to your computer.
| Transfer Method | Pros | Cons |
|---|---|---|
| AirDrop | – Quick and wireless transfer | – Limited to transferring between Apple devices |
| Photos App for macOS | – Allows importing from various storage media | – Only available for Mac users |
| Film Camera Import | – Preserves film photography | – Requires a scanner or card reader |
| Syncing iPhone with Computer | – Traditional and reliable method | – Requires using iTunes and a cable connection |
These alternative methods provide you with various options to transfer photos from your iPhone to your PC. Depending on your preferences and the equipment you have available, you can choose the method that best fits your needs. Whether you prefer wireless transfers, direct imports, or preserving film photography, there is a solution for you.
Conclusion
Importing photos from your iPhone to your PC can be done in several ways, depending on your preferences and needs. Whether you choose to use the Photos app, iCloud Photos, iTunes, or File Explorer, the process is simple and straightforward. By following the steps outlined in this guide, you’ll be able to transfer your precious memories from your iPhone to your PC and keep them safe.
Using the Photos app on your iPhone itself allows you to directly import photos and videos from various sources, such as a digital camera or SD memory card. iCloud Photos, on the other hand, offers seamless synchronization across all your Apple devices, making it easy to access and download your photos from any device with an internet connection. If you prefer using iTunes, you can transfer photos from your iPhone to your PC by connecting your device and selecting the photos you want to import.
For a more direct approach, you can utilize File Explorer to import photos from your iPhone to your PC. Simply connect your iPhone to your PC, give permission to share data, and use the Import pictures and videos option in File Explorer. Lastly, if you have iCloud Photos enabled and want to download your photos to your PC, you can do so by accessing iCloud via a web browser and selecting the photos you wish to download.
Choose the method that suits your needs and start importing your photos from your iPhone to your PC. With these options at your disposal, transferring photos from your iPhone to your computer has never been easier.
FAQ
How can I import photos from my iPhone to my PC?
There are several methods you can use to import photos from your iPhone to your PC. You can use the Photos app on your iPhone, iCloud Photos, iTunes, or File Explorer. Choose the method that works best for you based on your preferences and needs.
How do I import photos using the Photos app on my iPhone?
To import photos using the Photos app on your iPhone, insert the camera adapter or card reader into the Lightning or USB-C connector, or connect the device directly to your iPhone. Then, open the Photos app, tap Import, select the photos and videos you want to import, and choose your import destination.
How can I use iCloud Photos to import photos to my PC?
With iCloud Photos enabled, all your photos on your iPhone will be automatically uploaded to iCloud. To access and download them on your PC, go to the iCloud website, sign in with your Apple ID, click on the Photos icon, select the photos you want to download, and click the Download button.
What is the process for transferring photos from my iPhone to my PC using iTunes?
Connect your iPhone to your PC using the USB charging cable and open iTunes. Wait for the iPhone icon to appear in the top-left corner of the iTunes Library page. Then, open the Photos app on your PC, click the Import icon, select “From a connected device,” choose the photos you want to import, and click Import.
How do I import photos from my iPhone to my PC using File Explorer?
Connect your iPhone to your PC using the USB charging cable and unlock your iPhone. On your PC, open File Explorer, locate your iPhone under “This PC,” right-click on your iPhone, select “Import pictures and videos,” choose the import options, and click Import to transfer the photos from your iPhone to your PC.
Can I download my photos from iCloud to my PC?
Yes, you can download your photos from iCloud to your PC. Simply go to the iCloud website, sign in with your Apple ID, click on the Photos icon, select the photos you want to download, and click the Download button.
Are there any other methods to transfer photos from my iPhone to my PC?
Yes, aside from the methods mentioned, you can also use AirDrop, import photos and videos from storage media using the Photos app for macOS, use a scanner and Image Capture to import photos taken with a film camera, sync your iPhone with your computer to transfer files, and use Time Machine to back up all your files, including photos, to an external hard drive.
How can I conclude the process of importing photos from my iPhone to my PC?
Importing photos from your iPhone to your PC is a simple process that can be done using various methods. Choose the method that works best for you and follow the steps outlined in the relevant section to transfer your photos. By doing so, you can easily import your precious memories from your iPhone to your PC and keep them safe.

