Table of Contents
Are you looking to connect your AirPods to your PC for a seamless audio experience? Look no further! In this guide, we’ll walk you through the simple steps to connect your AirPods to a PC. Whether you’re using a Windows PC or a Mac, we’ve got you covered. So, let’s get started!
Key Takeaways:
- Connecting AirPods to a PC is easy by following a few simple steps.
- Make sure to troubleshoot any connection issues you may encounter.
- Enjoy the convenience of wireless audio on your PC with your AirPods.
- Reach out to Apple support if you need further assistance.
How to Disconnect AirPods from Windows PC
While connecting AirPods to your Windows PC can enhance your audio experience, there may be times when you need to disconnect them. Whether you want to switch to a different audio device or troubleshoot connection issues, disconnecting AirPods from your PC is a simple process. Follow these steps to ensure a successful disconnection:
- Start by opening the Bluetooth settings on your Windows PC. You can usually find this option in the taskbar or by searching for “Bluetooth” in the Start menu.
- Once in the Bluetooth settings, locate the AirPods in the list of paired devices. They may appear as “AirPods” or with a custom name you have assigned.
- Right-click on the AirPods and select the “Disconnect” or “Remove Device” option from the context menu. This action will sever the connection between your AirPods and the PC.
After following these steps, your AirPods should be disconnected from your Windows PC. Keep in mind that disconnecting AirPods from one device does not disconnect them from all devices. If your AirPods are still connected to another device, such as your iPhone or iPad, you may need to manually disconnect them from that device as well.
By knowing how to disconnect your AirPods from your Windows PC, you can easily switch between audio devices and troubleshoot any connection issues that may arise. Now that you understand the process, you can confidently enjoy the convenience and versatility of using AirPods with your PC.
| Common Disconnecting Issues | Possible Solutions |
|---|---|
| AirPods not disconnecting from PC | Restart your PC and try disconnecting again. If the issue persists, unpair the AirPods from the PC’s Bluetooth settings and pair them again. |
| Error message when disconnecting AirPods | Check if there are any pending software updates for your PC and install them. Also, make sure your AirPods have sufficient battery life. |
| AirPods disconnected but still playing audio | Ensure that no other audio or video applications are running in the background. If the issue continues, restart your PC and disconnect the AirPods again. |
How to Use AirPods as a Mic on PC
If you’re wondering how to use your AirPods as a microphone on your PC, you’re in luck. By following a few simple steps, you can easily set up your AirPods to function as a mic for your computer. Whether you need it for video calls, gaming, or recording audio, using your AirPods as a mic can enhance your overall experience.
To use your AirPods as a mic on your PC, follow these steps:
- Start by ensuring that your AirPods are connected to your PC. If you haven’t already connected them, refer to the previous sections on how to connect AirPods to a PC.
- Once your AirPods are connected, navigate to the audio settings on your PC. This can usually be found in the system tray or in the control panel.
- In the audio settings, select your AirPods as the default recording device. This will allow your PC to recognize your AirPods as a microphone.
- You may need to adjust the microphone volume and sensitivity settings to your preference. This can be done within the audio settings or through specific applications that you are using your AirPods with.
- Once you have completed these steps, your AirPods should be functioning as a microphone on your PC. You can test the audio input by launching a recording or calling application and speaking into your AirPods.
Using your AirPods as a mic on your PC can provide you with a convenient and wireless solution for various audio needs. Whether you’re participating in online meetings, streaming content, or simply chatting with friends, having a reliable microphone is essential. By following the steps outlined above, you can easily set up your AirPods as a mic and enjoy high-quality audio on your PC.
How to Connect AirPods to Mac
Connecting your AirPods to a Mac is a simple process that allows you to enjoy wireless audio on your computer. Follow the steps below to connect your AirPods to a Mac:
- Open the lid of your AirPods case and keep it near your Mac.
- On your Mac, click on the Apple menu in the top-left corner of the screen.
- Select “System Preferences” from the drop-down menu.
- In the System Preferences window, click on “Bluetooth.”
- Make sure Bluetooth is turned on. If it’s not, toggle the switch to enable it.
- On your AirPods case, press and hold the setup button on the back until the LED light starts blinking white.
- On your Mac, you should see your AirPods appear in the list of available devices. Click on them to connect.
- Your AirPods are now connected to your Mac. You can adjust the volume and audio settings in the Sound preferences.
Once connected, you can use your AirPods for audio playback, video calls, and more on your Mac. Enjoy the convenience and freedom of wireless listening!
| Benefits of Connecting AirPods to Mac |
|---|
| 1. Wireless audio: Connect your AirPods to your Mac and enjoy the freedom of wireless audio playback. |
| 2. Convenience: With AirPods connected to your Mac, you can easily switch between devices without the need for additional cables or adapters. |
| 3. Seamless integration: Apple’s ecosystem allows AirPods to seamlessly connect and sync with your Mac, providing a hassle-free experience. |
| 4. Enhanced productivity: Use your AirPods for video calls, virtual meetings, or listening to audio while multitasking on your Mac. |
| 5. Customizable settings: Adjust the volume, enable/disable automatic ear detection, and customize other AirPods settings on your Mac. |
“Connecting AirPods to my Mac has been a game-changer. I can now enjoy wireless audio while working, making video calls, or simply relaxing. It’s incredibly convenient and the sound quality is excellent!”
– Emma, Mac user
How to Connect AirPods to a PC or Windows Laptop
If you want to enjoy the convenience of using your AirPods with a PC or Windows laptop, follow these simple steps to establish a connection. Whether you use your AirPods for work, entertainment, or both, pairing them with your computer will give you the wireless audio experience you desire.
Before you begin, make sure that your PC or laptop has Bluetooth capabilities. If not, you may need to use a Bluetooth dongle or adapter to enable wireless connectivity. Once you have confirmed Bluetooth compatibility, follow these steps to connect your AirPods:
- Open the Bluetooth settings on your PC or laptop.
- Put your AirPods in their charging case and keep the lid open.
- Press and hold the button on the back of the charging case until the LED light starts flashing white.
- On your PC or laptop, select your AirPods from the list of available devices.
- Follow any on-screen prompts to complete the pairing process.
Once the connection is established, you can enjoy seamless audio playback through your AirPods. Whether you’re listening to music, watching videos, or participating in online meetings, the wireless freedom provided by your AirPods will enhance your overall experience.
Remember, if you encounter any difficulties during the pairing process, refer to the troubleshooting section or reach out to Apple support for further assistance.
Table: AirPods Compatibility with PC and Windows Laptop
| AirPods Model | PC Compatibility |
|---|---|
| AirPods (1st Generation) | Compatible |
| AirPods (2nd Generation) | Compatible |
| AirPods Pro | Compatible |
| AirPods Max | Compatible |
Table: AirPods compatibility with different models of PC and Windows laptop.
Connecting your AirPods to a PC or Windows laptop is a straightforward process that opens up a world of wireless audio possibilities. Enjoy the freedom of movement and the power of high-quality sound with your favorite devices.
Troubleshooting AirPods Connection Issues
If you’re experiencing issues connecting your AirPods to your PC, don’t worry. There are troubleshooting steps that can help resolve the problem. Follow these solutions to fix AirPods PC connection issues:
1. Check Bluetooth Compatibility and Settings
Ensure that your PC has Bluetooth capability and that it is turned on. Open the Bluetooth settings on your PC and make sure it is discoverable. If your AirPods are not appearing in the list of available devices, try resetting your AirPods and reconnecting them to your PC.
2. Update Drivers and Software
Outdated drivers or software can cause connectivity problems. Check for updates for your PC’s Bluetooth drivers and ensure that your AirPods are running the latest firmware. Update both the drivers and the AirPods software to resolve any compatibility issues.
3. Remove Interference
Wireless interference can disrupt the connection between your AirPods and your PC. Move away from any potential sources of interference, such as other Bluetooth devices or Wi-Fi routers. Additionally, ensure that there are no physical obstructions between your AirPods and your PC that may weaken the signal.
4. Reset Network Settings
If none of the above solutions work, try resetting your network settings on your PC. This will clear any saved connections and reset the network settings to their default state. After resetting, try connecting your AirPods to your PC again.
5. Contact Apple Support
If you’ve tried all the troubleshooting steps and are still unable to connect your AirPods to your PC, it may be time to seek further assistance. Reach out to Apple Support for additional help and guidance in resolving the connection issue.
By following these troubleshooting tips, you should be able to fix any AirPods PC connection issues you encounter. Remember to check compatibility, update drivers and software, remove interference, reset network settings, and seek assistance from Apple Support if necessary. With a little troubleshooting, you’ll be enjoying your wireless AirPods on your PC in no time.
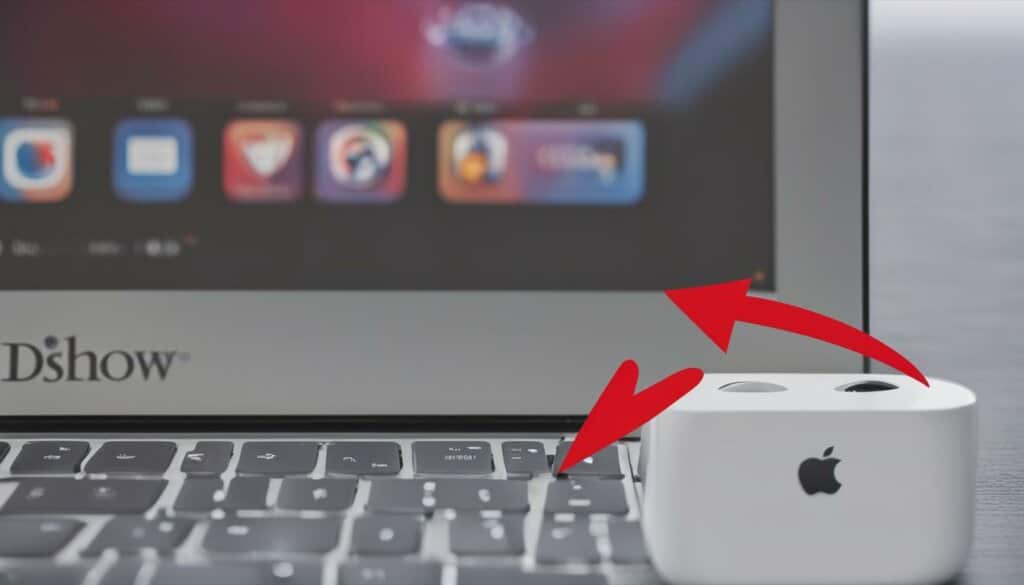
Tips for Using AirPods with PCs and Laptops
When it comes to using your AirPods with PCs and laptops, there are a few handy tips that can enhance your experience and troubleshoot any connection issues you may encounter. Whether you’re using Windows or Mac, these tips will help you make the most out of your wireless audio devices.
Optimize Bluetooth Settings
To ensure a smooth connection between your AirPods and your PC or laptop, it’s important to optimize your Bluetooth settings. Make sure that Bluetooth is enabled on your computer and that it’s discoverable. Additionally, keep your AirPods charged and in close proximity to your device for a reliable connection.
Update Firmware and Drivers
Regularly updating the firmware on your AirPods can provide bug fixes and improvements that enhance their compatibility with PCs and laptops. Similarly, keeping your computer’s Bluetooth drivers up to date can ensure seamless communication between your AirPods and your device.
Use a USB Bluetooth Adapter
If your PC or laptop doesn’t have built-in Bluetooth capabilities, consider using a USB Bluetooth adapter. This small device plugs into a USB port and allows your computer to connect wirelessly to your AirPods. It’s a convenient solution that can eliminate connection issues and improve audio quality.
| Tips for Using AirPods with PCs and Laptops |
|---|
| Optimize Bluetooth Settings |
| Update Firmware and Drivers |
| Use a USB Bluetooth Adapter |
Conclusion
Connecting AirPods to a PC or Mac is straightforward with the right steps. By following the instructions provided in this guide, you can easily pair your AirPods with your computer for a seamless wireless audio experience. However, if you encounter any difficulties during the pairing process, there are troubleshooting tips available to help you overcome the connection issues.
Remember, if your AirPods are not connecting to your PC or Mac, don’t panic. Try the troubleshooting steps mentioned in this article, such as resetting your AirPods, ensuring Bluetooth is enabled, and updating your device’s software. These simple troubleshooting techniques can often resolve common pairing issues.
If all else fails, don’t hesitate to reach out to Apple support for further assistance. Their team of experts can provide guidance specific to your device and help you get your AirPods connected to your PC or Mac. Enjoy the convenience and freedom of using your AirPods with your computer, whether it’s for work, entertainment, or simply enjoying your favorite music and podcasts.
FAQ
How do I connect my AirPods to a PC?
To connect your AirPods to a Windows PC, follow these steps:
How do I disconnect my AirPods from a Windows PC?
To disconnect your AirPods from a Windows PC, follow these steps:
How can I use AirPods as a mic on my PC?
To use your AirPods as a mic on your PC, follow these steps:
How do I connect my AirPods to a Mac?
To connect your AirPods to a Mac, follow these steps:
How do I connect my AirPods to a PC or Windows laptop?
To connect your AirPods to a PC or Windows laptop, follow these steps:
What should I do if I encounter issues connecting my AirPods to my PC?
If you encounter issues connecting your AirPods to your PC, try the following troubleshooting steps:
What tips do you have for using AirPods with PCs and laptops?
Here are some tips for using AirPods with PCs and laptops:


