Table of Contents
Are you looking for an easy way to transfer photos from your iPhone to your PC? In this guide, we will show you multiple methods to quickly and efficiently transfer your precious moments captured on your iPhone to your computer.
There are several ways to transfer photos from your iPhone to your PC. You can use iCloud Photos, import them to a Mac, or directly import them to a Windows PC. Let’s explore each method in detail.
Transfer Photos from iPhone to PC Using iCloud Photos
If you want a convenient and automated way to transfer photos, iCloud Photos is the perfect solution. By enabling iCloud Photos on your iPhone, you can effortlessly upload and store your photos in the cloud, making them accessible across all your Apple devices and iCloud.com. Here’s how you can do it:
- Go to Settings > Photos on your iPhone.
- Toggle on iCloud Photos.
- Install the iCloud for Windows app on your PC and sign in with your Apple ID.
- Select the Photos option in the iCloud for Windows program and choose to download new photos and videos to your PC.
Import Photos from iPhone to PC Using the Windows Photos App
If you prefer using the Windows Photos app, follow these steps to import your photos:
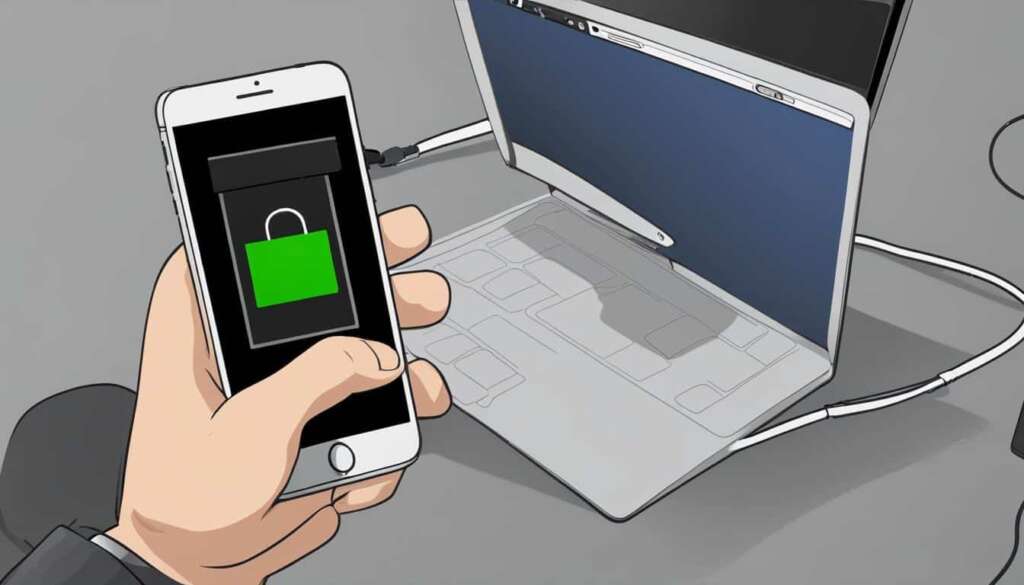
- Connect your iPhone to your PC using a USB cable.
- Open the Photos app on your PC.
- Click the Import icon in the top right corner.
- Select the photos you want to import and click Import.
Copy Photos from iPhone to PC Using Windows AutoPlay or File Explorer/Windows Explorer
For Windows 7 users, Windows AutoPlay provides a simple solution for copying photos from your iPhone to your PC. Here’s how:
- Connect your iPhone to your PC using a USB cable.
- Allow the necessary permissions on your iPhone.
- When the AutoPlay window opens, select the option to import photos and videos.
Alternatively, you can use File Explorer/Windows Explorer to manually copy the photos from your iPhone to your PC. Simply navigate to the Internal Storage or DCIM folder on your iPhone and copy the desired photos.
Transfer Photos from iPhone to PC Using iCloud Photos
iCloud Photos is a convenient and seamless way to transfer your photos from your iPhone to your PC. By enabling iCloud Photos on your iPhone and installing the iCloud for Windows app on your PC, you can easily access and download your photos. Here’s a step-by-step guide on how to transfer photos from iPhone to PC using iCloud Photos.
Enabling iCloud Photos on your iPhone
To start, open the Settings app on your iPhone and navigate to the “Photos” section. Toggle on the “iCloud Photos” option to enable it. This will automatically upload your photos to iCloud whenever your iPhone is connected to Wi-Fi. Ensure that you have enough storage space in your iCloud account to accommodate all your photos.
Downloading photos to your PC with iCloud for Windows
- On your PC, download and install the iCloud for Windows app from the official Apple website.
- Launch the app and sign in with your Apple ID.
- From the main iCloud for Windows program, select the “Photos” option. You can choose to download all your photos or select specific albums.
- Click on the “Options” button to customize your photo settings. Here, you can choose to download new photos and videos, create new folders, and more.
- Click “Apply” and then “OK” to save your settings.
- The iCloud for Windows app will now download your selected photos to your PC. You can find them in the designated location you specified during the setup.
With iCloud Photos and the iCloud for Windows app, you can easily transfer and access your photos from your iPhone to your PC. It provides a seamless and convenient way to keep your photos backed up and accessible across all your Apple devices.
Import Photos from iPhone to PC Using the Windows Photos App
The Windows Photos app provides a simple and efficient way to import photos from your iPhone to a Windows PC. By following a few easy steps, you can quickly transfer your precious memories to your computer for safekeeping or further editing.
To begin, connect your iPhone to your PC using a USB cable. Ensure that you have the latest version of iTunes installed on your computer. Once your iPhone is successfully connected, open the Windows Photos app.
Wait for the “Device” icon to appear in the Photos app, indicating that your iPhone is recognized and connected. Click on the “Import” icon located in the top right corner of the Photos app interface. A pop-up window will appear, showing you the photos available for import.
Select the photos you want to import and click the “Import” button. The Windows Photos app will begin copying the selected photos from your iPhone to your PC. You can monitor the progress of the import process through the progress bar displayed on the screen.
Once the import is complete, you can find the imported photos in the “Pictures” folder on your PC, organized by the date of import. From there, you can easily view, edit, and manage your iPhone photos on your computer.

Benefits of Using the Windows Photos App
The Windows Photos app offers several advantages when transferring photos from your iPhone to your PC:
- Easy and user-friendly interface
- Efficient transfer speed
- Automatic organization of imported photos by date
- Compatibility with Windows operating system
“The Windows Photos app provides a seamless experience for importing photos from your iPhone to your PC. Its intuitive interface and efficient transfer process make it a convenient choice for users seeking a hassle-free solution.”
Comparison with Other Methods
| Method | Advantages | Disadvantages |
|---|---|---|
| iCloud Photos | – Automatic syncing of photos across Apple devices – Accessible from iCloud.com |
– Requires an iCloud account and sufficient storage space – Slower transfer speeds compared to direct USB connection |
| Importing to a Mac | – Seamless integration with the Photos app – Quick and easy transfer process |
– Limited to Mac users – Requires a Mac computer with sufficient storage |
While iCloud Photos and importing to a Mac offer their own set of advantages, the Windows Photos app provides a straightforward and efficient method for importing photos from your iPhone to your Windows PC. Whether you prefer the convenience of wireless syncing with iCloud or the simplicity of a direct USB connection, the choice ultimately depends on your specific needs and preferences.
Copy Photos from iPhone to PC Using Windows AutoPlay or File Explorer/Windows Explorer
If you have a Windows 7 PC, you can transfer photos from your iPhone to your computer effortlessly using Windows AutoPlay. Simply connect your iPhone to your PC using a USB cable and allow the necessary permissions on your iPhone. When the AutoPlay window opens, select the option to import photos and videos. Choose the option with Photos beneath it, rather than the Dropbox option. All the photos on your iPhone will be imported and copied into the Pictures folder on your PC, organized by the date of import.
Alternatively, you can use File Explorer or Windows Explorer to manually copy the photos from your iPhone to your PC. Here’s how:
- Connect your iPhone to your PC using a USB cable.
- Open File Explorer or Windows Explorer.
- Under This PC or Computer, you should see your iPhone listed as a connected device. Click on it to access the internal storage of your iPhone.
- Navigate to the DCIM folder, which contains your iPhone’s photos and videos.
- Select the photos you want to copy to your PC, right-click, and choose Copy.
- Navigate to the folder on your PC where you want to save the copied photos, right-click, and choose Paste.
By following these steps, you can easily copy your photos from your iPhone to your PC using Windows AutoPlay or File Explorer/Windows Explorer. It’s a straightforward and convenient method for transferring your precious memories to your computer.
Table: Comparison of Methods to Copy Photos from iPhone to PC
| Methods | Pros | Cons |
|---|---|---|
| iCloud Photos | – Automatic syncing with all Apple devices – Accessible from anywhere with an internet connection – No need for physical connection |
– Requires an iCloud account and sufficient storage space – May require additional setup and configuration |
| Windows Photos App | – Simple and intuitive interface – Easy photo importing process |
– Requires a physical connection between iPhone and PC – Limited functionality compared to other methods |
| Windows AutoPlay or File Explorer/Windows Explorer | – No additional software required – Gives you manual control over the copying process |
– Requires a physical connection between iPhone and PC – Can be time-consuming for large photo libraries |
Conclusion
Transferring photos from iPhone to PC can be accomplished using various methods, providing flexibility and convenience for users. Whether you prefer using iCloud Photos, importing to a Mac, or utilizing Windows applications like Photos, AutoPlay, or File Explorer/Windows Explorer, there are options to suit your needs.
It’s important to regularly transfer and backup your photos from iPhone to PC to ensure their safety and create space for new memories. By keeping your devices and apps updated, you can ensure compatibility and a seamless photo transfer experience.
Remember to consider factors such as convenience, storage space, and device compatibility when choosing the best method for transferring photos. Utilize these methods and take control of your photo library, ensuring your precious memories are secure and accessible on your PC.
So, go ahead and transfer those cherished photos from your iPhone to your PC, freeing up storage and safeguarding your memories for years to come!
FAQ
How can I transfer photos from my iPhone to a PC?
There are multiple methods you can use to transfer photos from your iPhone to a PC. You can use iCloud Photos, import the photos to a Mac, or import them directly to a Windows PC.
How does iCloud Photos work?
iCloud Photos is a convenient way to automatically upload and store your photos in the cloud, making them accessible on all your Apple devices. It requires an iCloud account and enough storage space in iCloud.
How do I enable iCloud Photos on my iPhone?
To enable iCloud Photos on your iPhone, go to Settings > Photos and toggle on iCloud Photos. Once enabled, your photos will be automatically uploaded to iCloud whenever you have Wi-Fi.
How do I download photos from my iPhone to a PC using iCloud?
To download photos from your iPhone to a PC using iCloud, you need to install the iCloud for Windows app on your PC and sign in with your Apple ID. From the iCloud for Windows program, select the Photos option and choose to download new photos and videos to your PC.
How can I import photos from my iPhone to a Mac?
To import photos from your iPhone to a Mac, simply connect your device to your computer using a USB cable and open the Photos app. You can then select and import the photos you want.
How do I import photos from my iPhone to a Windows PC using the Windows Photos app?
Connect your iPhone to your Windows PC using a USB cable and open the Photos app. Wait for the “Device” icon to appear, indicating that your iPhone is connected. Click the Import icon in the top right corner of the Photos app, select the photos you want to import, and click Import.
Can I transfer photos from my iPhone to a Windows PC without using the Windows Photos app?
Yes, you can also use Windows AutoPlay or File Explorer/Windows Explorer to transfer photos from your iPhone to a Windows PC. Simply connect your iPhone to your PC using a USB cable and follow the instructions provided by the respective programs.
Why is it important to regularly transfer and backup photos from my iPhone to a PC?
Regularly transferring and backing up your photos from your iPhone to a PC helps ensure their safety and creates space on your iPhone for new photos. It is recommended to keep your devices and apps updated to ensure compatibility and seamless photo transfer experiences.


