Table of Contents
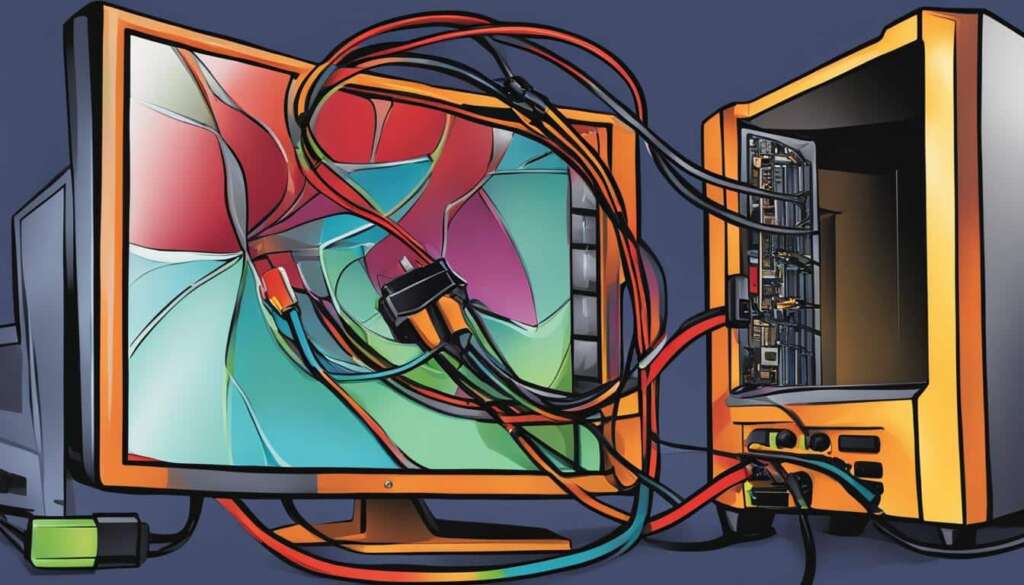
Switching to HDMI on your PC is a common task that many Windows 11 users may encounter. HDMI (High-Definition Multimedia Interface) allows you to connect your computer to an external display or TV, enabling you to enjoy a larger screen and better visual experience. In this section, we will provide a simple step-by-step guide on how to switch HDMI on your PC running Windows 11. We will outline the necessary equipment you’ll need and discuss key aspects that require your attention during the process.
Before diving into the methods of switching HDMI on your PC, it’s important to ensure you have the necessary equipment. In this section, we’ll outline the required items, including a Windows 11 PC, HDMI cable, and an external display or TV with an available HDMI input. We’ll also emphasize the importance of using a high-quality HDMI cable that supports the desired resolution and refresh rate.
There are several methods you can use to switch to HDMI on your PC running Windows 11. In this section, we’ll provide step-by-step instructions for each method, along with the advantages and limitations of each. The methods discussed include using the built-in display settings in Windows 11, accessing the graphics control panel, utilizing the Project menu, and using display drivers specific to your graphics hardware. We’ll discuss the pros and cons of each method to help you choose the one that best suits your needs.
While connecting your PC to an external display via HDMI is generally straightforward, there can be some common issues that you may encounter. In this section, we’ll provide troubleshooting tips to help you overcome HDMI connection problems. We’ll cover topics such as checking the HDMI cable, testing different HDMI ports or cables, updating graphics drivers, and restarting your PC and external display. These tips will help you troubleshoot and resolve any issues you may face when switching HDMI on your PC.
What’s Needed to Switch HDMI on Your PC
Before you can switch HDMI on your Windows 11 PC, it’s essential to have the necessary equipment at hand. In this section, we’ll outline the items you’ll need to successfully connect your PC to an external display or TV using an HDMI cable.
Required Equipment
- Windows 11 PC: Make sure you have a Windows 11 PC up and running.
- HDMI cable: Acquire a high-quality HDMI cable that suits your specific needs. Remember to choose a cable that supports the desired resolution and refresh rate for optimal visual experience and performance.
- External display or TV: Ensure you have an external display or TV with an available HDMI input. This could be a monitor, projector, or television.
By having these essential components ready, you’ll be well-equipped to switch HDMI on your Windows 11 PC and enjoy the benefits of a larger and more immersive display.
Methods to Switch HDMI on Windows 11
There are several methods you can use to switch to HDMI on your PC running Windows 11. In this section, we’ll provide step-by-step instructions for each method, along with the advantages and limitations of each.
Method 1: Built-in Display Settings
The first method involves using the built-in display settings in Windows 11. Here’s how to do it:
- Right-click on the desktop and select “Display settings” from the context menu.
- In the display settings window, scroll down to the “Multiple displays” section.
- Click on the “Detect” button to identify the connected HDMI device.
- Select the HDMI device from the drop-down menu under the “Multiple displays” section.
- Choose the appropriate display mode (Extended, Duplicate, or Second screen only) based on your preference.
- Click on the “Apply” button to save the changes.
This method is convenient for quickly switching to HDMI without the need for additional software.
Method 2: Graphics Control Panel
If your graphics driver comes with a control panel, you can use it to switch to HDMI. Here’s how:
- Right-click on the desktop and select the graphics control panel from the context menu. The name may vary depending on the graphics card manufacturer (e.g., “NVIDIA Control Panel” or “AMD Radeon Settings”).
- Navigate to the display settings or multiple displays section.
- Enable the HDMI output or select the HDMI device as the primary display.
- Save the changes, and the HDMI connection will be activated.
This method provides additional customization options but may require specific graphics software.
Method 3: Utilizing the Project Menu
Windows 11 offers a Project menu that allows you to switch display modes quickly. Here’s how to access it:
- Press the Windows key + P shortcut on your keyboard.
- A sidebar will appear with four display mode options: PC screen only, Duplicate, Extend, and Second screen only.
- Select the desired display mode, such as “Extend” or “Second screen only,” to switch to HDMI.
This method offers a straightforward solution without the need for accessing various settings menus.
Method 4: Display Drivers for Graphics Hardware
If you have specific graphics hardware, such as an NVIDIA GeForce or AMD Radeon graphics card, you can install the respective display drivers and utilize their features to switch to HDMI. Here’s how:
- Visit the official website of your graphics card manufacturer (NVIDIA, AMD) and download the latest display driver for your GPU model.
- Install the driver and follow the on-screen instructions.
- Open the graphics control panel (e.g., “NVIDIA Control Panel” or “AMD Radeon Settings”) and navigate to the display settings.
- Select the HDMI device as the main display or enable the HDMI output.
This method provides advanced features and customization options tailored to your specific graphics hardware.
Remember to choose the method that best suits your needs and hardware configuration. Now you can easily switch to HDMI on your Windows 11 PC and enjoy a larger screen and enhanced visual experience.
Troubleshooting HDMI Connection Issues
When it comes to connecting your PC to an external display using HDMI, things don’t always go as smoothly as expected. HDMI connection issues can be frustrating, but fear not – we’ve got some troubleshooting tips to help you overcome them.
The first step in resolving HDMI problems is to check the cable. Ensure that it is securely connected at both ends and free from any visible damage. If possible, try using a different HDMI cable to rule out any potential cable-related issues. It’s also worth testing different HDMI ports on both your PC and the external display. Sometimes, a faulty port can be the cause of the problem.
If the cable and ports are not the culprits, updating your graphics drivers can often resolve HDMI connection issues. Visit the website of your graphics card manufacturer and download and install the latest drivers for your specific model. Restart your PC after the installation to apply the changes.
If you’ve tried all the aforementioned steps and are still experiencing problems, try restarting both your PC and the external display. Power cycling the devices can help eliminate any temporary glitches and restore proper HDMI functionality.
FAQ
What is HDMI? How does it work?
HDMI (High-Definition Multimedia Interface) is a technology that allows you to connect your PC to an external display or TV. It transmits digital audio and video signals, providing a high-definition viewing experience. HDMI cables carry both audio and video signals, eliminating the need for separate audio cables.
What equipment do I need to switch HDMI on my PC?
To switch HDMI on your PC, you will need a Windows 11 PC, an HDMI cable, and an external display or TV with an available HDMI input. It’s important to use a high-quality HDMI cable that supports the desired resolution and refresh rate for optimal performance.
How can I switch to HDMI on my PC running Windows 11?
There are several methods you can use to switch to HDMI on your PC. These include using the built-in display settings in Windows 11, accessing the graphics control panel, utilizing the Project menu, and using display drivers specific to your graphics hardware. Each method has its advantages and limitations, so you can choose the one that best suits your needs.
What are some common issues with HDMI connections on PCs?
While connecting your PC to an external display via HDMI is generally straightforward, there can be some common issues you may encounter. These include no signal, poor picture quality, or audio not working. Troubleshooting tips for HDMI connection issues include checking the HDMI cable, testing different HDMI ports or cables, updating graphics drivers, and restarting your PC and external display.
How can I troubleshoot HDMI connection issues on my PC?
If you’re experiencing HDMI connection issues on your PC, there are several troubleshooting tips you can try. Check that the HDMI cable is securely connected and not damaged. Test different HDMI ports or cables to rule out any hardware problems. Make sure your graphics drivers are up to date. Finally, restart your PC and external display to refresh the connection and resolve any temporary issues.


