Table of Contents
Welcome to our guide on how to change the desktop icon size and transform your screen into a customized workspace that suits your preferences. Whether you want to resize, increase, adjust, modify, customize, alter, or change the PC icon size or adjust computer icon size, we have got you covered. By making simple changes to the desktop icon size, you can create a visually pleasing and efficient environment for all your desktop activities.
Are you tired of staring at the same old desktop icons? Do you find them too small or too large for comfortable viewing? Then it’s time to take control and revitalize your screen by tweaking the desktop icon size. By following our easy-to-follow instructions, you’ll be able to enhance your viewing experience and customize your display to suit your individual needs.
In the sections that follow, we’ll explore the steps to change the desktop icon size on both Windows and Mac operating systems. We’ll also provide you with additional tips and tricks to personalize your desktop further. So let’s dive in and discover how you can create a workspace that inspires productivity and creativity.
How to Change Desktop Icon Size on Windows
On Windows operating systems, you have the power to customize your desktop icon size to perfectly fit your preferences and create a visually pleasing workspace. Whether you want to resize, increase, or adjust the desktop icon size, there are a couple of straightforward methods you can use.
Method 1: Using the Mouse Wheel
If you have a mouse with a scroll wheel, this method allows you to effortlessly change the desktop icon size. Simply hold down the Ctrl key on your keyboard and scroll up to make the icons larger or scroll down to make them smaller. This intuitive feature gives you instant control over the size of your desktop icons.
Method 2: Adjusting Display Settings
An alternative approach to changing the desktop icon size is through the Display settings in the Control Panel. Here’s how:
- Click on the Windows Start menu and select the Control Panel.
- In the Control Panel, search for and click on “Display”.
- Within the Display settings, navigate to the “Change the size of all items” section.
- Drag the slider to the left to decrease the icon size or to the right to increase it.
- Click Apply and then OK to save the changes.
By following these steps, you can easily modify the size of your desktop icons to suit your personal preferences.
Changing the desktop icon size on Windows allows you to create a more visually appealing and organized desktop display. Whether you want to optimize your workspace for efficiency or simply prefer larger icons for easier navigation, customizing the desktop icon size is a fantastic way to tailor your Windows experience to your exact needs.
| Icon Size | Description |
|---|---|
| Small Icons | Allows you to fit more icons on the screen. Ideal for users who prefer a compact layout. |
| Medium Icons | Provides a balanced size for icons, suitable for most users. |
| Large Icons | Enlarges the icons, making them more prominent and easy to spot. Perfect for users with visual impairments or those who prefer a larger display. |
By selecting the appropriate icon size, you can enhance your Windows desktop experience and enjoy a workspace tailored to your preferences.
How to Change Desktop Icon Size on Mac
Mac users can also customize their desktop icon size to suit their preferences. By adjusting the Display settings in the System Preferences menu, you can easily modify the icon size to meet your needs.
To change the desktop icon size on your Mac:
- Start by accessing the System Preferences menu on your Mac.
- Within the menu, locate and click on the Display option.
- Once in the Display settings, you’ll find a slider labeled “Icon Size”.
- Use the slider to resize the desktop icons, making them larger or smaller based on your preferences.
- Additionally, you can customize the appearance of the icons by adjusting the Text Size and Label Position options.
By following these steps, you can easily change and modify the desktop icon size on your Mac, creating a more visually appealing and personalized workspace.
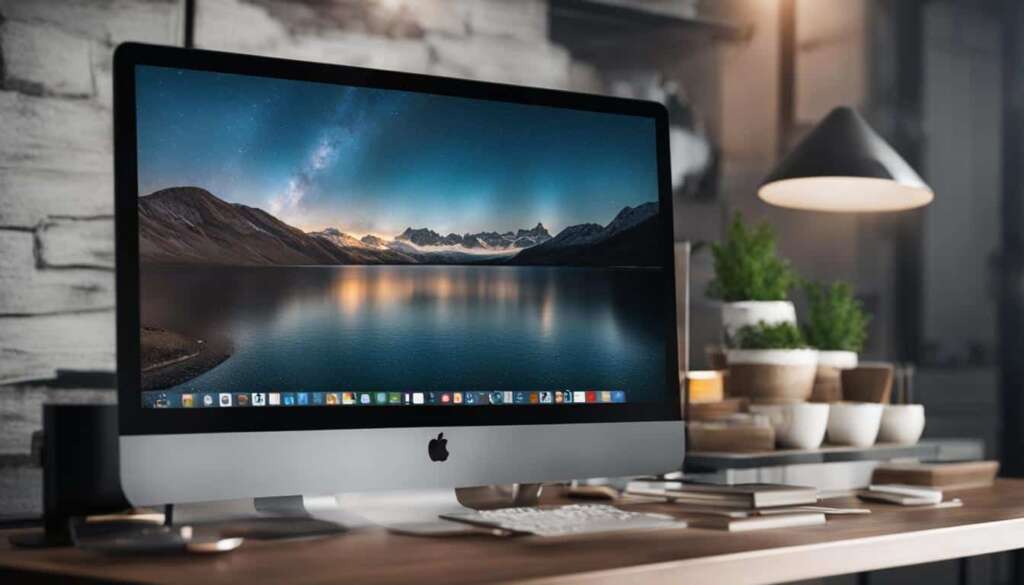
Customize your Mac’s desktop icon size for a visually appealing workspace.
Additional Tips for Desktop Customization
Aside from changing the desktop icon size, there are numerous ways to customize your desktop and create a more personalized user experience. By taking advantage of these additional tips, you can optimize your screen appearance and create a desktop that reflects your unique style and preferences.
- Customize Your Desktop Background: One of the simplest ways to personalize your desktop is by changing the background image. Choose a high-resolution image that resonates with you and adds a touch of flair to your workspace.
- Arrange Icons to Your Liking: Organize your desktop icons in a specific order that suits your workflow and aesthetic preferences. You can group similar icons or arrange them based on frequency of use.
- Customize the Taskbar or Dock: Make your desktop even more functional by customizing the taskbar (on Windows) or dock (on Mac). Add or remove shortcuts, change the size and position, and personalize it to fit your needs.
- Adjust Display Settings: Fine-tune your screen appearance by adjusting various display settings, such as brightness, contrast, and transparency. Optimize these settings to reduce eye strain and create a visually pleasing environment.
These desktop customization tips will help you optimize your workspace and create a desktop environment that inspires productivity and reflects your unique personality. Take the time to personalize your desktop and enjoy a visually appealing and tailored user experience.
Enhancing Performance with CleanMyMac X
In today’s fast-paced digital world, a sluggish Mac can hinder productivity and impede your workflow. To optimize Mac performance and improve speed, it’s essential to clean up the cluttered Mac and optimize memory usage. This is where CleanMyMac X comes to the rescue.
“CleanMyMac X is an optimization tool that can help you clear out unnecessary files, remove cached data, and optimize memory usage.”
CleanMyMac X is an all-in-one solution designed to streamline your Mac’s performance and enhance its efficiency. By removing unnecessary files and clearing cache files, it frees up valuable storage space, allowing your Mac to run smoothly and responsively.
Moreover, CleanMyMac X optimizes memory usage by identifying and closing resource-intensive apps and processes. This ensures that your Mac’s memory is efficiently utilized, maximizing its performance during demanding tasks.
With CleanMyMac X, you can also clean up cluttered Mac by eliminating duplicate files, old downloads, and unused applications. This further declutters your system, freeing up space and organizing your files for easy access.
By running maintenance scripts and performing various optimizations, CleanMyMac X fine-tunes your Mac’s performance, resulting in faster boot times, quicker application launches, and smoother multitasking.
Benefits of CleanMyMac X:
- Optimizes Mac performance
- Improves Mac speed
- Clears cache files
- Removes unnecessary files
- Optimizes memory usage
- Cleans up cluttered Mac
With CleanMyMac X, you can optimize your Mac’s performance and enjoy a seamless user experience. The intuitive interface and powerful features make it easy to keep your Mac running at its best, allowing you to focus on what matters most.
Customer Testimonials
| Testimonial | Rating |
|---|---|
| “CleanMyMac X has significantly improved my Mac’s speed and overall performance. It’s a must-have for anyone looking to optimize their system.” | 5/5 |
| “I was amazed at how much space CleanMyMac X was able to free up on my Mac. It’s like a breath of fresh air for my system!” | 5/5 |
| “CleanMyMac X is a game-changer. It keeps my Mac running smoothly and efficiently, without any performance hiccups.” | 5/5 |
Restoring Desktop Icons on Windows
If you find that your desktop icons are missing on Windows, there are simple steps you can take to restore them. On both Windows 10 and Windows 11, you can access the desktop icon settings through the settings menu. From there, you can select the system icons you want to show on the desktop and easily bring back any missing icons.
Restoring desktop icons is a straightforward process that can be done in a few easy steps:
- Start by opening the settings menu on your Windows computer.
- Search for “Desktop icon settings” and click on the corresponding option.
- In the Desktop Icon Settings window, you will see a list of system icons such as Computer, Network, Recycle Bin, and Control Panel.
- Check the box next to the icons you want to display on your desktop.
- Click the “Apply” or “OK” button to save your changes.
By following these steps, you can bring back the missing icons and restore your desktop to its original state. Whether you accidentally removed an icon or it disappeared for some other reason, this method should help you retrieve it.
If the above steps don’t restore your icons, there are a few additional troubleshooting options you can try:
- Restart your computer to see if the icons reappear.
- Check if the icons are hidden. Right-click on the desktop, select “View,” and make sure the “Show desktop icons” option is enabled.
- Reset the icon cache by deleting the IconCache.db file. You can do this by following these steps:
- Open File Explorer and navigate to the following location: C:\Users\YourUsername\AppData\Local.
- In the Local folder, look for the IconCache.db file.
- Delete the IconCache.db file.
- Empty the Recycle Bin.
- Restart your computer.
- If none of these steps work, you can try restoring your system to a previous restore point when the icons were still visible. This will undo any recent changes that may have caused the icons to disappear.
By following these troubleshooting options, you should be able to restore your desktop icons and enjoy a complete and organized desktop.
Remember, restoring desktop icons is a simple process that can be done in just a few clicks. If you ever find your icons missing, don’t worry – just follow these steps to bring them back.
Restoring Desktop Icons from the Recycle Bin
If you accidentally deleted a desktop icon, you can easily restore it from the Recycle Bin. Simply double-click on the Recycle Bin icon to view its contents, right-click on the desktop shortcut icon you want to restore, and select the “Restore” option. This will bring back the deleted icon to its original position on the desktop.
![]()
If you’re worried about permanently losing important icons, don’t fret. The Recycle Bin acts as a safety net, allowing you to recover deleted icons with ease. By following these simple steps, you can quickly and effortlessly restore any accidentally deleted desktop icons.
Conclusion
In conclusion, customizing the desktop icon size offers a simple and effective way to breathe new life into your screen and create a personalized workspace. Whether you’re using Windows or Mac, the ability to adjust the size of your desktop icons empowers you to tailor the appearance of your desktop to your preferences, making it truly yours.
Furthermore, taking advantage of tools like CleanMyMac X can further optimize your device’s performance and help you maintain a clutter-free desktop. By clearing out unnecessary files, removing cached data, and optimizing memory usage, CleanMyMac X can enhance your Mac’s speed and efficiency, ensuring a smooth and seamless user experience.
By following these tips and tricks, you can transform your desktop into a visually pleasing and efficient workspace that inspires productivity and creativity. So go ahead, resize those icons, explore the possibilities of customization, and create a desktop that reflects your unique style and preferences.
FAQ
How do I change the desktop icon size on Windows?
There are two methods. One method is to use the mouse wheel while holding the Ctrl key to make the icons larger or smaller. Alternatively, you can adjust the icon size through the Display settings in the Control Panel.
How do I change the desktop icon size on Mac?
Access the Display settings in the System Preferences menu and select the option to scale the icons, making them larger or smaller based on your needs. You can also adjust the text size and spacing to further customize the appearance of the desktop icons on your Mac.
What are some additional tips for desktop customization?
Besides changing the desktop icon size, you can personalize your desktop by changing the background, arranging icons, and customizing the taskbar or dock. You can also optimize the screen appearance by adjusting display settings such as brightness, contrast, and transparency.
How can CleanMyMac X enhance performance?
CleanMyMac X is an optimization tool that helps clear unnecessary files, remove cached data, and optimize memory usage on your Mac. By running maintenance scripts and performing various optimizations, CleanMyMac X can improve your Mac’s speed and efficiency.
How do I restore missing desktop icons on Windows?
Access the desktop icon settings through the settings menu on Windows 10 or Windows 11. From there, select the system icons you want to show on the desktop to bring back any missing icons.
How do I restore deleted desktop icons from the Recycle Bin?
Double-click on the Recycle Bin icon to view its contents, right-click on the desktop shortcut icon you want to restore, and select the “Restore” option. This will bring back the deleted icon to its original position on the desktop.


