Table of Contents
Installing an internal hard drive in your PC is a straightforward process that allows you to increase your storage capacity and improve system performance. Whether you need to store large files, upgrade your gaming experience, or back up important data, adding a hard drive to your computer can be a game-changer.
Before diving into the installation process, it’s crucial to have the right hard drive for your computer. Some top-rated options in the market include the Seagate BarraCuda, Toshiba X300, and WD Black, offering various capacities and spinning speeds to meet your specific needs.
When it comes to installing a hard drive, there are several mounting options to consider. Depending on your PC case, you can choose between drive cages, bays, or other methods to securely place the drive. This ensures that the hard drive remains stable inside your computer and minimizes the risk of damage or disconnection.
Connecting the hard drive to your PC involves using drive connectors, specifically the SATA interface. SATA cables are commonly used to establish a high-speed connection between the hard drive and the motherboard. These cables transmit both data and power, making it easy to integrate the hard drive into your system.
Once you have mounted the hard drive and connected the necessary cables, the final step is to format the drive for use. Formatting prepares the drive to be recognized by the operating system and allows you to start storing and accessing data. This simple process ensures that your hard drive is ready to unlock its full potential.
In the following sections, we will delve deeper into the considerations to keep in mind before installing a hard drive and provide step-by-step instructions to guide you through the installation process. Let’s get started on expanding your storage space and enhancing your PC’s capabilities.
Things to Consider Before Installing a Hard Drive
Before you start the process of installing a hard drive in your computer, there are a few things you should consider:
- Ground yourself: It’s important to ground yourself to prevent any electrostatic damage to your computer’s components. You can do this by touching something metal or using a static wristband.
- Backup data: Make sure to back up your computer’s data, especially if you’re removing an existing hard drive. This will allow you to restore the information later. You can back up your data using an external device or a cloud storage service.
- Check computer compatibility: Ensure that your computer is compatible with the hard drive you plan to install. Check the specifications of your computer’s motherboard or consult the manufacturer’s website to ensure compatibility.
- Buy a compatible hard drive: When purchasing a new hard drive, make sure it is compatible with your computer’s interface and form factor. The most common interface for internal hard drives is SATA, but there are also options such as IDE and NVMe. Additionally, check the physical size of the hard drive to ensure it fits in your computer’s drive bay.
By taking these considerations into account, you can ensure a smooth and successful installation of your new hard drive.
How to Install a Hard Drive in Your PC
Installing a hard drive in your PC allows you to increase your storage capacity and optimize your computer’s performance. Follow these step-by-step instructions to successfully install a new hard drive in your PC.
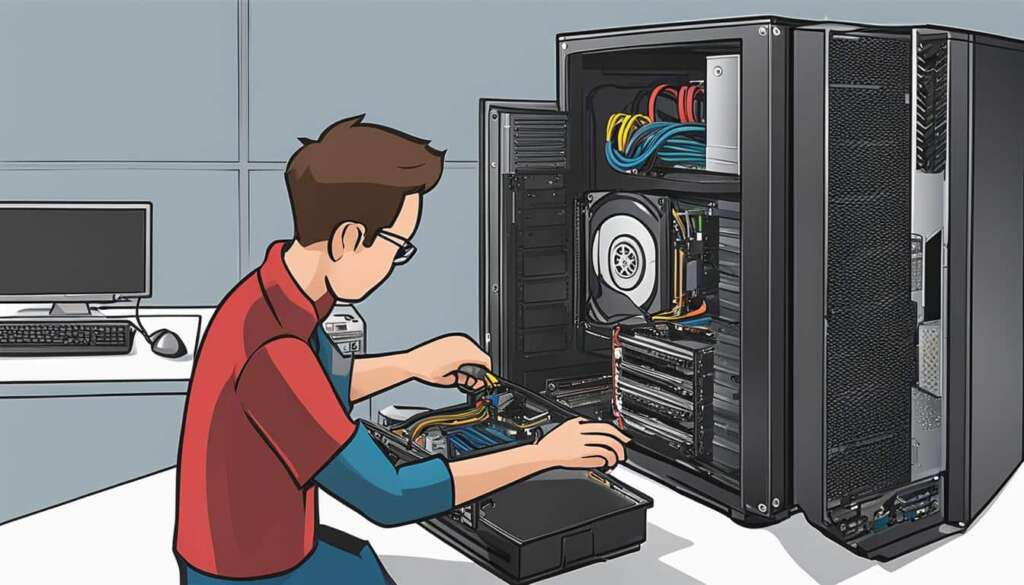
Firstly, open the side panel of your PC case by carefully unscrewing it with a Philips Head screwdriver. Make sure to ground yourself to prevent any static electricity damage. This can be done by touching something metal or wearing a static wristband.
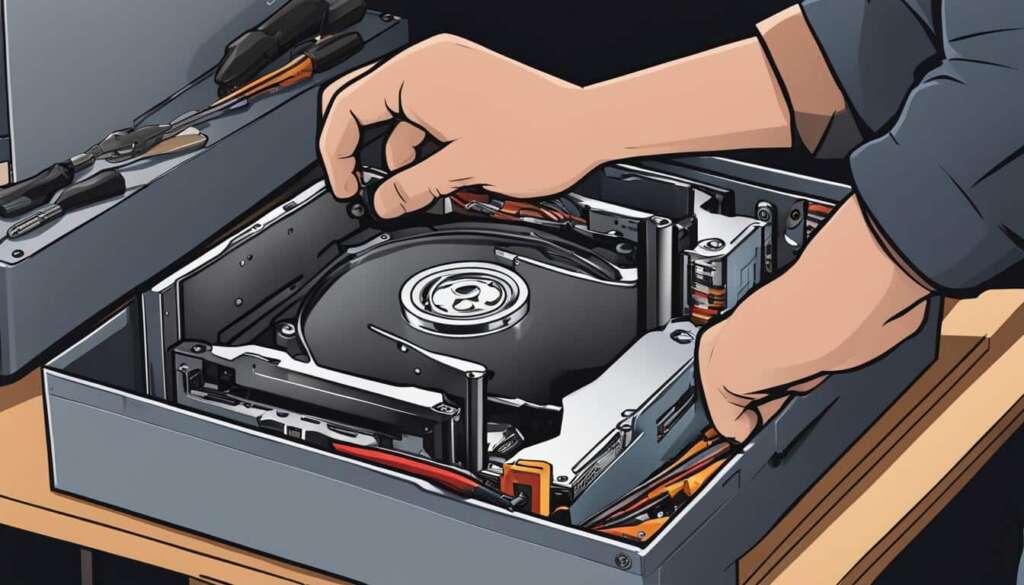
Once the side panel is removed, locate the drive bay in your PC case. Depending on your case, the bay may be tool-less or require screws for mounting. Carefully position the hard drive in the bay, aligning the screw holes with the holes in the bay. Secure the hard drive in place using the provided screws, ensuring it is firmly attached.
After securing the hard drive, it’s time to connect the necessary cables. Locate the SATA connectors on your motherboard and connect one end of the SATA cable to the hard drive and the other end to the motherboard. Make sure the connection is secure and the cable is properly aligned.
Once the hard drive is physically installed and the cables are connected, it’s time to confirm the installation. Close the side panel of your PC case and power on your computer. Navigate to your computer’s BIOS or UEFI settings and check if the new hard drive is detected. If it is, you can proceed to format the hard drive for use according to your operating system’s instructions.
FAQ
How do I connect a hard drive to my PC?
To connect a hard drive to your PC, you need to open the side panel of your PC case and locate the drive bay. Depending on your case, the drive bay may be tool-less or may require screws for secure mounting. Position the hard drive in the bay and screw it in securely using the provided screws.
What are the things I should consider before installing a hard drive?
Before installing a hard drive, it’s important to ground yourself to prevent electrostatic damage to your computer’s components. You can do this by touching something metal or using a static wristband. Additionally, make sure to backup your computer’s data, especially if you’re removing an existing hard drive. This will allow you to restore the information later.
How to install a hard drive in my PC?
To install a hard drive in your PC, follow these steps: 1. Open the side panel of your PC case, ensuring to ground yourself to prevent damage. 2. Locate the drive bay in your case, whether it is tool-less or requires screws for mounting. 3. Position the hard drive in the bay and screw it in securely using the provided screws. Make sure the drive is firmly in place.
What type of hard drive should I buy for my computer?
When purchasing a hard drive for your computer, it’s important to check the compatibility with your PC. Some highly regarded options include the Seagate BarraCuda, Toshiba X300, and WD Black, which offer various capacities and spinning speeds. Make sure to choose a hard drive that is compatible with your PC’s interface, such as SATA.
Do I need to format the hard drive after installation?
Yes, after installing the hard drive, you will need to format it for use. Formatting prepares the drive for storing data and ensures compatibility with your operating system. You can format the drive using the computer’s built-in disk management tool or through the operating system’s installation process.

