Table of Contents
Are you wondering how to connect your Nintendo Switch to your PC? Look no further! In this guide, we will walk you through the simple steps to connect your Switch to your PC using different methods. Whether you want to play Switch games on a larger screen or transfer screenshots and videos, we’ve got you covered.
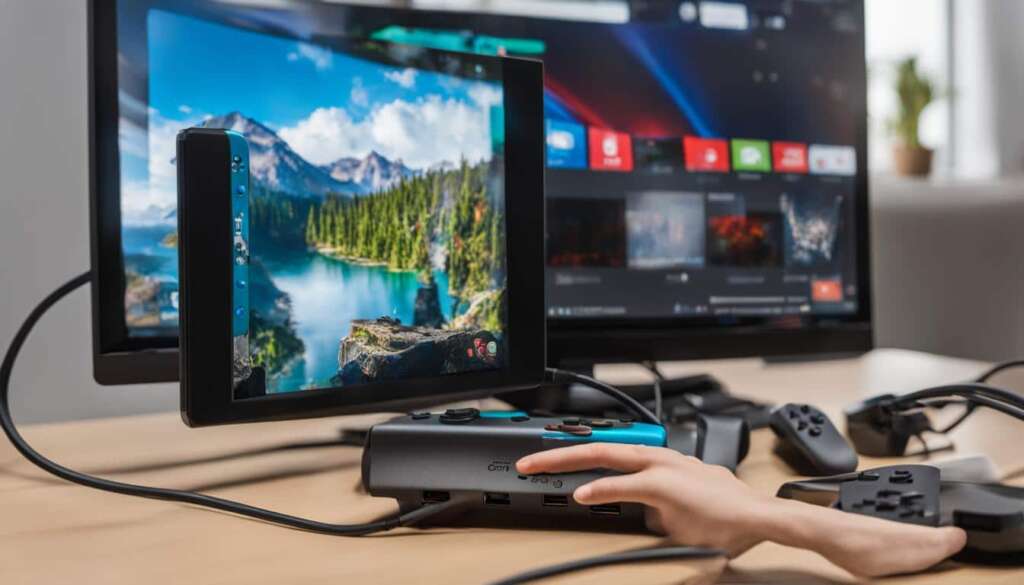
There are several methods you can use to connect your Switch to your PC. The first method involves using a video capture card and capture software. This method allows you to play and record gameplay on your PC using a Switch dock, an HDMI cable, a video capture card, and capture software.
If you prefer playing your Switch games on a PC monitor, you can use another method. Simply connect your Switch to your PC monitor using an HDMI cable. This method doesn’t require any additional hardware and allows you to enjoy your games on a larger screen.
Lastly, if you want to transfer screenshots and videos from your Switch to your PC, you can connect them via USB. With the latest Switch System Software, you can use a USB-C cable to connect your Switch to your PC. You can manage your media files by accessing the Data Management settings on your Switch or directly from the SD card.
Each method has its own requirements and steps, so let’s dive deeper into each one and explore the possibilities of connecting your Switch to your PC.
Stay tuned for the next sections where we will provide detailed step-by-step guides for each method, so you can start enjoying your Switch games on your PC or easily transfer your media files.
Method 1: Using a Video Capture Card
If you’re a streamer or someone who wants to record gameplay, this method is perfect for you. By utilizing a video capture card and capture software, you can connect your Switch to your PC and enjoy your games on a larger screen. To get started, make sure you have the following equipment: a Switch dock, an HDMI cable, a video capture card, and capture software.
Follow these step-by-step instructions:
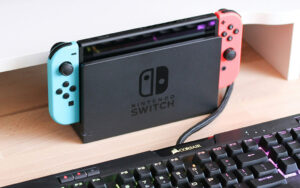
- Disconnect your Switch from your TV and place it in the dock.
- Connect the dock to the capture card using an HDMI cable. Ensure that the connections are secure.
- Insert the capture card into a USB port on your PC.
- Open the capture software on your PC and configure it to display the video from your capture card.
- Power on your Switch and you should see the interface on your PC screen.
You are now ready to play your Switch games on your PC and capture your gameplay for streaming or recording purposes. Enjoy the immersive experience and share your gaming adventures with others!
| Capture Card | Capture Software | Advantages |
|---|---|---|
| Elgato Game Capture HD60 S | OBS Studio (Open Broadcaster Software) | High-quality video and audio capture, wide compatibility |
| AverMedia Live Gamer Portable 2 Plus | XSplit Gamecaster | Portable and compact design, one-click streaming and recording |
| Razer Ripsaw HD | Razer Synapse 3 | 4K pass-through, customizable settings |
As shown in the table above, there are several popular capture cards and capture software options available in the market. Choose the one that suits your needs and budget to enhance your gaming experience on PC.
Method 2: Connecting to a PC Monitor
If you want to play your Switch games on a PC monitor, you can use this method. Start by placing your Switch in its dock and connect the dock to your PC monitor using an HDMI cable. Power on your Switch and you should see the interface on your monitor. This method allows you to play your Switch games on a larger screen without the need for additional hardware. However, it is important to note that not all games are compatible with this method, so be sure to check if a game supports TV Mode before playing it on your PC monitor.
“Playing my favorite Switch games on my PC monitor has been a game-changer! The larger screen provides a more immersive gaming experience.” – Switch enthusiast
Benefits of Playing Switch Games on a PC Monitor
- Enhanced visuals: Enjoy your games on a larger, high-resolution monitor for sharper graphics and more vibrant colors.
- Better immersion: Immerse yourself in the game with a bigger display that brings the action to life.
- Comfortable gaming experience: Sit back and play games comfortably on your PC monitor without straining your eyes.
- Convenience: Easily switch between working on your PC and playing games on the same monitor without the need for multiple screens.
Games Compatible with PC Monitor Connection
While most Switch games can be played in TV Mode, there are a few exceptions. Some games require specific features, such as the motion controls of the Joy-Con controllers, that may not be available when playing on a PC monitor. To ensure compatibility, always check the game’s packaging or online documentation for information about TV Mode support.
Method 3: USB Connection
The third method involves connecting your Nintendo Switch to your PC via USB for seamless transfer of screenshots and videos. With the latest Switch System Software, simply use a USB-C cable to establish a connection between your Switch and your PC. Once connected, your Switch will appear as a USB drive on your PC, allowing you to access its data.
To manage your screenshots and videos, navigate to the Data Management settings on your Switch. From there, you can easily transfer media from your Switch to your PC for editing, sharing, or storage purposes. This method provides a quick and convenient way to transfer your captured moments from the Switch’s internal storage or SD card to your PC.
If you prefer, there is an alternative option available: the Smart Device transfer function. Utilizing this method, you can transfer your media to your smartphone first and then sync it to your PC. This can be an efficient approach if you frequently edit or share media on your smartphone before transferring it to your PC.
Furthermore, accessing the data directly from the SD card is possible by removing it from the Nintendo Switch and using a USB SD card adapter or the integrated SD card slot on your PC. This provides additional flexibility and convenience for managing your screenshots and videos.
FAQ
How can I connect my Nintendo Switch to my PC?
There are several methods you can use to connect your Nintendo Switch to your PC. Let’s explore each one in more detail.
What is Method 1 for connecting the Nintendo Switch to a PC?
Method 1 involves using a video capture card and capture software to connect your Switch to your PC. This method is ideal for streamers or anyone who wants to record gameplay. You will need a Switch dock, an HDMI cable, a video capture card, and capture software. Follow the specific steps outlined in the guide to set up the connection.
What is Method 2 for connecting the Nintendo Switch to a PC?
Method 2 allows you to connect your Switch to a PC monitor using an HDMI cable. This method is useful if you want to play your Switch games on a larger screen. Simply place your Switch in its dock and connect the dock to your PC monitor using an HDMI cable. Follow the specific steps outlined in the guide to set up the connection.
What is Method 3 for connecting the Nintendo Switch to a PC?
Method 3 involves connecting your Switch to your PC via USB to transfer screenshots and videos. With the latest Switch System Software, you can connect your Switch to your PC using a USB-C cable. Once connected, your Switch will appear as a USB drive on your PC. Follow the specific steps outlined in the guide to set up the connection and manage your Switch media on your PC.

