Table of Contents
Installing a CPU cooler is an essential step in building a PC to ensure optimal performance and temperature control. CPU cooler installation plays a crucial role in maintaining PC performance by keeping the processor cool during heavy usage.
There are different types of CPU coolers available, including air coolers and liquid coolers. Air coolers are simpler and more budget-friendly options for general use, while liquid coolers provide more efficient cooling for high-end and overclocked CPUs.
In this guide, we will provide step-by-step instructions for installing both air and liquid coolers, as well as important tips for applying thermal paste, which is vital for effective heat transfer between the CPU and cooler.
Key Takeaways
- Proper CPU cooler installation is crucial for maintaining optimal PC performance.
- Air coolers are simple and affordable, while liquid coolers are more efficient for high-end systems.
- Applying thermal paste correctly is essential for efficient heat transfer.
- Follow the manufacturer’s instructions carefully when installing the CPU cooler.
- Maintaining a well-ventilated case with proper airflow enhances cooling performance.
How to Install a CPU Air Cooler
Installing a CPU air cooler is a straightforward process that can help keep your system cool and running efficiently. Follow these simple steps to ensure a successful installation.
Step 1: Check the Mounting Backplate or Retention Clips
Start by checking if your CPU air cooler comes with a mounting backplate or retention clips. This will depend on the type of cooler you have. If your cooler requires a backplate, you may need to assemble it according to the instructions provided. If it uses retention clips, make sure they are adjusted correctly to fit your motherboard.
Step 2: Apply Thermal Paste
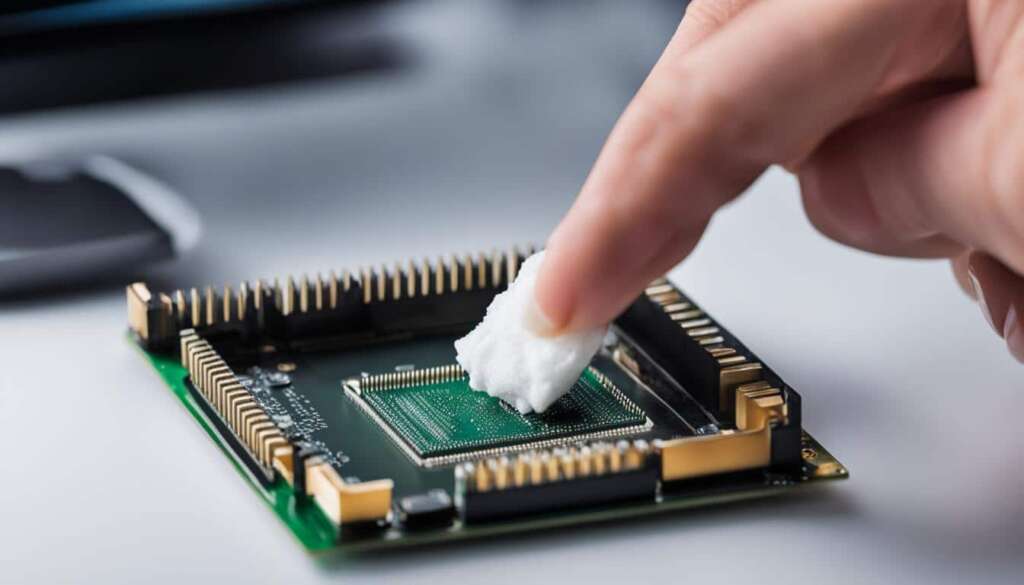
Next, it’s time to apply thermal paste to ensure proper heat transfer between the CPU and the cooler. The amount of thermal paste required will vary depending on the type of CPU you have. Consult the manufacturer’s guidelines to determine the appropriate amount. Apply a small, pea-sized blob of thermal paste to the center of the CPU.
Step 3: Attach the CPU Air Cooler
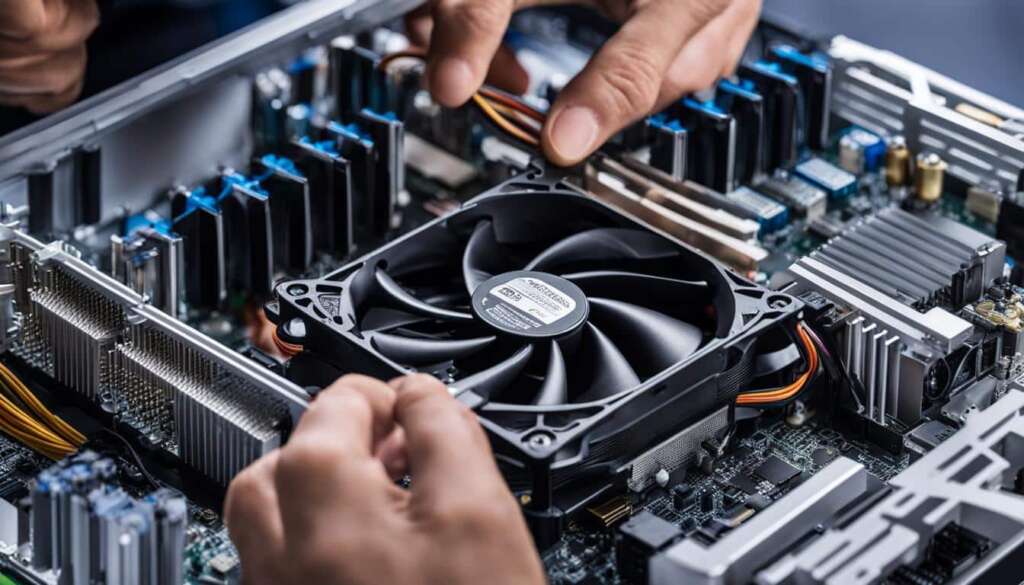
Once the thermal paste has been applied, it’s time to attach the CPU air cooler. Refer to the cooler’s manual for specific instructions on how to mount it to your motherboard. Typically, this involves using screws or other mounting mechanisms provided with the cooler. Make sure the cooler is securely attached to the motherboard to ensure optimal cooling performance.
Step 4: Connect the Fan
Finally, connect the fan that comes with the CPU air cooler to the CPU fan header on your motherboard. The CPU fan header is specifically designed to provide power to the cooling fan and control its speed. Ensure that the fan is connected securely to avoid any potential issues with cooling performance.
By following these steps, you can successfully install a CPU air cooler and enhance the cooling performance of your system. Remember to consult the manufacturer’s instructions for your specific CPU cooler model to ensure a proper installation.
Benefits of Installing a CPU Air Cooler
“A CPU air cooler is an effective and budget-friendly solution for keeping your processor cool. With proper installation and thermal paste application, it can dissipate heat efficiently, allowing for optimal performance and longevity of your CPU.”
– CPU Cooling Expert
How to Install a CPU Liquid Cooler
Installing a CPU liquid cooler is a bit more involved than installing an air cooler. Follow these steps to ensure a successful installation:
Step 1: Check Compatibility
Start by confirming if your liquid cooler uses a backplate or if it’s designed for an AMD socket that utilizes the motherboard’s retention clips. If a backplate is required, assemble it according to the manufacturer’s instructions.
Step 2: Attach the Mounting Bracket
Next, attach the mounting bracket to the pump of the liquid cooler. The specific instructions may vary depending on the brand and model of your cooler. Consult the cooler’s manual for detailed guidance.
Step 3: Apply Thermal Paste
Apply thermal paste to the CPU before placing the cooler on top. Thermal paste helps improve heat transfer between the CPU and the cooler. Spread the thermal paste evenly, ensuring full coverage of the CPU surface.
Step 4: Secure the Cooler
Secure the cooler to the motherboard using the provided mounting hardware, ensuring a tight and secure fit. The mounting mechanism may vary depending on the cooler model. Refer to the manual for specific instructions on securing the cooler to the motherboard.
Step 5: Connect the Fans
Connect the fans to the radiator and plug the fan cable into the CPU fan header on the motherboard. This ensures proper cooling and allows the motherboard to control fan speeds based on CPU temperature.
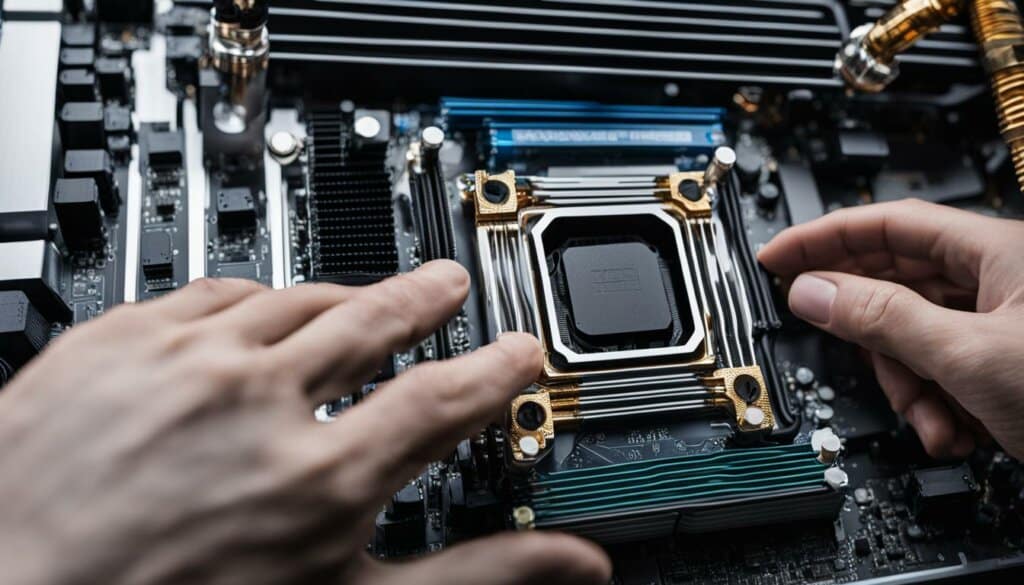
By following these steps, you will successfully install a CPU liquid cooler and ensure efficient cooling for your system.
The Importance of Thermal Paste
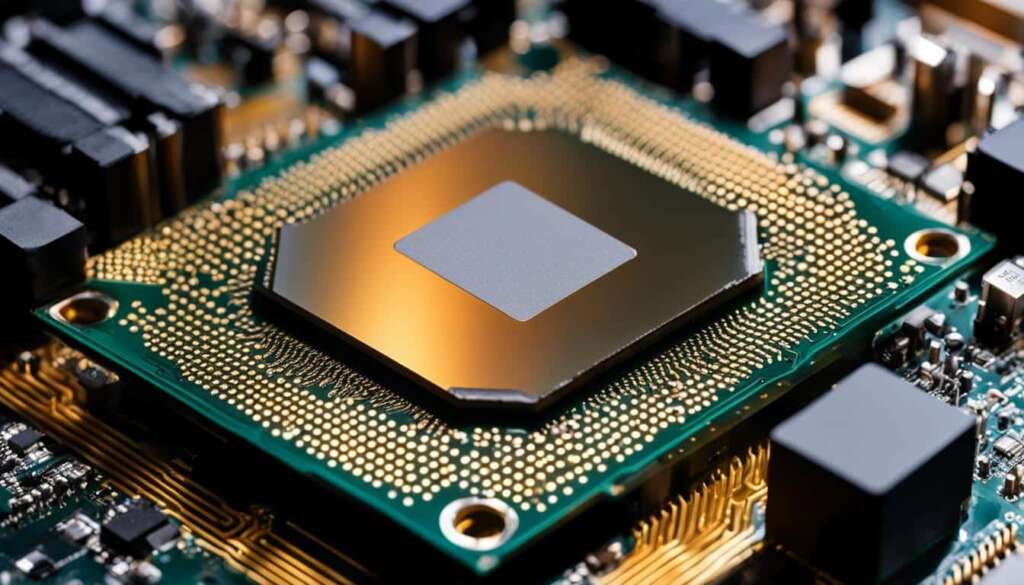
When it comes to CPU cooling, thermal paste plays a crucial role in ensuring optimal performance and temperature control. This highly conductive material fills the microscopic gaps between the CPU and the cooler, allowing for efficient heat transfer and dissipation.
Thermal paste, also known as thermal compound or thermal grease, has excellent thermal conductivity properties. It enables the heat generated by the CPU to be efficiently transferred to the cooler, preventing the CPU from overheating.
Proper application of thermal paste is essential for ensuring effective heat transfer. Applying too much or too little thermal paste can negatively impact cooling performance. The recommended method is to apply a small, pea-sized amount of thermal paste for Intel chips, and a slightly larger blob for AMD chips.
Top Tip: Apply a small, pea-sized amount of thermal paste for Intel chips and a slightly larger blob for AMD chips.
By filling the gaps between the CPU and the cooler, thermal paste maximizes the contact area, allowing for better heat dissipation. It eliminates the pockets of air that hinder heat transfer and prevents air gaps that can cause hot spots and affect CPU performance.
It’s important to note that using thermal paste is necessary even for coolers that come with pre-applied thermal pads. In such cases, removing the pre-applied thermal pad and applying high-quality thermal paste can greatly improve thermal conductivity and cooling performance.
Thermal paste is a vital component of CPU cooling, enhancing the overall performance and lifespan of the CPU. It is especially important for enthusiasts who engage in tasks that put a heavy load on the CPU, such as gaming, video editing, or overclocking.
Summarizing the key points:
- Thermal paste facilitates heat transfer from the CPU to the cooler.
- Applying the correct amount of thermal paste ensures optimal heat transfer.
- Thermal paste fills gaps and increases the contact area between the CPU and the cooler, improving heat dissipation.
- Even coolers with pre-applied thermal pads can benefit from using high-quality thermal paste.
The next section will delve into the various components that make up a CPU cooler, shedding light on their individual roles in maintaining proper CPU temperatures and enhancing overall system performance.
Components of a CPU Cooler
A standard CPU cooler comprises several crucial components that work together to maintain optimal temperatures for the processor. These components include thermal paste, heat sink, and fan.
Thermal paste plays a vital role in facilitating heat transfer from the CPU to the heat sink. It is a high-conductivity material that fills the minuscule gaps between the CPU and the heat sink, ensuring efficient dissipation of heat.
The heat sink is typically composed of large pins or fins strategically designed to collect and disperse heat away from the CPU. The increased surface area of the heat sink allows for faster heat dissipation, keeping the CPU within optimal operating temperatures.
The fan plays a crucial role in expelling the hot air from the heat sink, aiding in the cooling process. By drawing cooler air towards the heat sink and exhausting the hot air outwards, the fan helps maintain a consistent and cool temperature, preventing overheating and potential damage to the CPU.
Proper functioning of the CPU cooler, along with other cooling components such as case fans, is especially essential during demanding tasks like gaming or intensive computing activities.
To provide a visual representation, here is an informative table showcasing the different components of a CPU cooler:
| Component | Description |
|---|---|
| Thermal Paste | A high-conductivity material that fills gaps between the CPU and heat sink, facilitating heat transfer. |
| Heat Sink | A component made up of large pins or fins designed to collect and dissipate heat away from the CPU. |
| Fan | An integral part of the cooler that expels hot air from the heat sink, preventing overheating. |
Initial Steps Before Installation
Before installing a CPU cooler, it’s important to take a few pre-installation steps to ensure a smooth and successful installation process. These steps will help prepare your system and identify the necessary components for a hassle-free installation.
1. Unplug Your Computer and Ground Yourself
Start by unplugging your computer from the power source to avoid any electrical hazards during the installation process. Additionally, it’s crucial to ground yourself by wearing an ESD anti-static strap. This will help prevent any static electricity from damaging sensitive components.
2. Identify Your CPU Brand and Socket Type
To determine the specific installation process for your CPU cooler, you need to identify the brand of your CPU and the type of socket it uses. The socket is the interface between the CPU and the motherboard, and different CPUs require different coolers and installation methods.
In order to identify the CPU brand and socket type:
- Remove the existing cooler (if applicable) by following the manufacturer’s instructions for your current CPU.
- Carefully examine the CPU for any markings or labels indicating the brand and model.
- Consult the documentation or the manufacturer’s website to identify the socket type for your CPU.
3. Gather the Necessary Mounting Hardware
Most CPU coolers come with various types of mounting hardware, including plastic levers, metal brackets, retention clips, or mounting plates. It’s important to consult the manual that came with your specific cooler to determine which hardware to use. This will also help you identify if any modifications need to be made to the stock bracket or mounting hardware on your motherboard.
Here is a table outlining the common types of mounting hardware:
| Mounting Hardware | Description |
|---|---|
| Plastic Levers | Used to secure the cooler to the motherboard. |
| Metal Brackets | Provide added stability and support for the cooler. |
| Retention Clips | Secure the cooler onto the motherboard by clipping onto the socket. |
| Mounting Plates | Used as an alternative mounting mechanism for certain coolers. |
Make sure to gather all the necessary mounting hardware before proceeding with the installation process.
By following these pre-installation steps, including unplugging your computer, grounding yourself, and identifying your CPU brand and socket type, you’ll be well-prepared for the CPU cooler installation process. Additionally, having the correct mounting hardware on hand will ensure a successful installation.
Attaching and Connecting the CPU Cooler
When it comes to attaching a CPU cooler, the process involves securing it to the motherboard using the provided mounting hardware or installation mechanisms specific to your cooler type. This may include screws, spring screws, or standoffs, depending on the cooler model and manufacturer.
Following the instructions provided in the cooler’s manual is crucial to ensure the proper attachment of the CPU cooler. It’s essential to tighten the screws evenly to achieve the optimal pressure on the thermal paste and ensure efficient heat transfer.
If your CPU cooler comes with an attached fan, it is recommended to remove the fan before inserting the heat sink onto the CPU. Once the heat sink is correctly positioned, reattach the fan according to the instructions provided in the manual. This helps to avoid any interference during the installation process and ensures that the fan is properly aligned for optimal cooling performance.
After attaching the CPU cooler to the motherboard, the next step is to connect the fan to the CPU fan header on the motherboard. It’s important to locate the correct fan header, which is usually labeled and separate from the case fan connectors. This ensures that the CPU fan operates at the appropriate speed and is controlled by the system’s software.
To summarize, the process of attaching and connecting a CPU cooler involves:
- Securely attaching the cooler to the motherboard using the provided mounting hardware or specific installation mechanisms.
- Evenly tightening the screws to ensure proper pressure on the thermal paste.
- If necessary, removing and reattaching any attached fans to avoid interference during installation.
- Connecting the fan to the CPU fan header on the motherboard to ensure proper cooling performance.
Visual Guide: CPU Cooler Attachment
Here is a visual guide to help you better understand the process of attaching a CPU cooler:
| Step | Description |
|---|---|
| 1 | Preparation: Ensure your motherboard and CPU are ready for installation. |
| 2 | Attach the mounting hardware or specific installation mechanisms to the CPU cooler. |
| 3 | Place the cooler on the motherboard, aligning the mounting holes with the corresponding holes on the motherboard. |
| 4 | Tighten the screws evenly in a diagonal pattern to secure the cooler to the motherboard. |
| 5 | If necessary, remove and reattach any fans that were previously attached to the cooler. |
| 6 | Connect the CPU fan to the appropriate CPU fan header on the motherboard. |
Conclusion
Installing a CPU cooler is a crucial step in optimizing the performance and temperature control of your PC. Whether you choose an air cooler or a liquid cooler, following the proper installation process and applying thermal paste correctly are essential for efficient heat transfer and preventing overheating.
Additionally, it is important to maintain a well-ventilated case with proper airflow, including case fans. Adequate airflow helps to further enhance cooling performance and ensure that your PC stays at optimal temperatures during intensive tasks, such as gaming or video editing.
By carefully installing and maintaining your CPU cooler, you can maximize the lifespan and performance of your PC. Remember to regularly clean your cooler and monitor the temperatures to ensure everything is in working order. With these PC cooling tips in mind, you can keep your system cool and running smoothly for years to come.
FAQ
Is installing a CPU cooler necessary for optimal PC performance?
Yes, installing a CPU cooler is essential to ensure optimal performance and temperature control.
What are the different types of CPU coolers available?
There are air coolers and liquid coolers available for CPU cooling.
Are air coolers or liquid coolers more budget-friendly?
Air coolers are generally simpler and more budget-friendly.
Which type of cooler is more effective for high-end and overclocked CPUs?
Liquid coolers provide more effective cooling for high-end and overclocked CPUs.
How do I install a CPU air cooler?
The installation process for a CPU air cooler involves checking for a mounting backplate or retention clips, applying thermal paste, and attaching the cooler to the motherboard.
What are the additional steps involved in installing a CPU liquid cooler?
Installing a CPU liquid cooler involves checking for a backplate or AMD socket retention clips, attaching the mounting bracket to the cooler’s pump, applying thermal paste, securing the cooler to the motherboard, and connecting the fans to the radiator.
Why is thermal paste important for CPU cooling?
Thermal paste facilitates heat transfer from the CPU to the cooler, allowing for efficient heat dissipation.
How much thermal paste should I apply?
The amount of thermal paste needed varies based on the CPU type, with a small pea-sized blob recommended for Intel chips and a slightly larger blob for AMD chips.
What are the key components of a CPU cooler?
The key components of a CPU cooler include thermal paste, a heat sink made of large pins, and a fan to expel hot air.
What initial steps should I take before installing a CPU cooler?
Before installing a CPU cooler, it’s important to ensure your computer is unplugged and ground yourself with an ESD anti-static strap. Additionally, identify the CPU brand and type of socket you have installed.
How do I attach and connect a CPU cooler?
Attaching a CPU cooler involves securing it to the motherboard using the provided mounting hardware and tightening the screws evenly. You may also need to remove and reattach fans according to the instructions. Finally, connect the fan to the CPU fan header on the motherboard.
What is the importance of maintaining a well-ventilated case with proper airflow?
Maintaining a well-ventilated case with proper airflow, including case fans, is important for keeping the system cool, especially during intensive tasks such as gaming.
How does installing a CPU cooler optimize PC performance?
By installing a CPU cooler, you can ensure efficient heat transfer, prevent overheating, and maximize the lifespan and performance of your PC.

