Table of Contents
Welcome to the ultimate guide to building your best gaming PC! If you’re a gaming enthusiast looking for the perfect custom gaming PC build, you’ve come to the right place. In this comprehensive guide, we will take you through every step of the process, from understanding PC components to troubleshooting and performance optimization. By the end of this guide, you’ll have the knowledge and confidence to create a gaming PC that meets all your gaming needs. So, let’s dive in and start building your dream gaming rig!
Key Takeaways
- Building your own gaming PC allows for customization and a sense of accomplishment
- Understanding PC components is crucial for making informed decisions
- Choosing the right processor and graphics card is essential for optimal gaming performance
- Follow a step-by-step guide to ensure a successful build
- Troubleshooting and performance optimization are key for a seamless gaming experience
Introduction to Building a Gaming PC
Building a gaming PC is an exciting endeavor that offers both beginners and experienced gamers a unique opportunity to customize their gaming experience and have a sense of accomplishment. Instead of settling for a pre-built PC, building your own gaming rig allows you to handpick every component, ensuring optimal performance and personalization.
One of the main benefits of building a gaming PC is the ability to tailor it to your specific needs and preferences. Whether you’re a casual gamer or a hardcore enthusiast, customizing your gaming PC allows you to choose the perfect balance between performance, aesthetics, and budget. Additionally, building your own PC can often be more cost-effective than buying a pre-built system, as you have more control over the components and their respective prices.
Furthermore, building a gaming PC can be a rewarding learning experience. It provides an opportunity to gain a deeper understanding of the intricate workings of a computer and familiarize yourself with the various components that go into assembling a gaming rig. This knowledge can come in handy when troubleshooting any issues that may arise in the future.
Whether you’re a gaming enthusiast looking to upgrade your current setup or a beginner seeking to enter the world of PC gaming, building your own gaming PC is a worthwhile endeavor. The following sections of this guide will provide you with all the necessary information to embark on this exciting journey. From understanding PC components and selecting the right processor and graphics card to a step-by-step guide on building your gaming desktop and troubleshooting common issues, this guide has got you covered.
Understanding PC Components
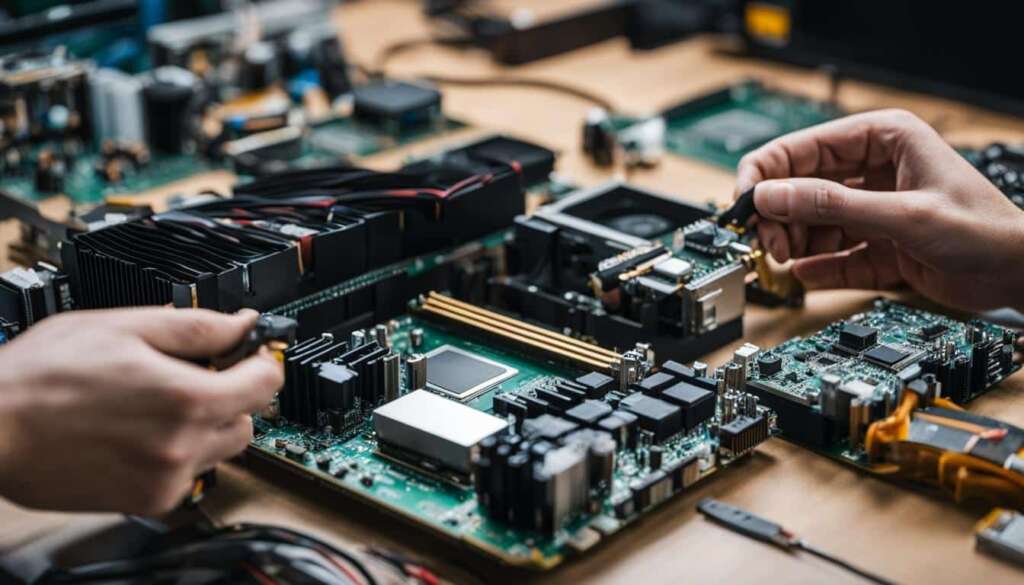
Building a gaming PC involves understanding the various components that make up a computer system. Each component plays a crucial role in the overall performance of the gaming PC. In this section, we will explore the key components and their significance in a gaming PC build, ensuring you have a comprehensive understanding before diving into the building process.
The Central Processing Unit (CPU)
The CPU is often referred to as the “brain” of the computer. It handles all the computations and instructions necessary for the operation of the gaming PC. When selecting a CPU for your custom gaming PC build, factors to consider include the number of cores, clock speed, and cache size. Popular brands for gaming CPUs include Intel and AMD.
The Graphics Processing Unit (GPU)
The GPU is responsible for rendering graphics and images on your gaming PC. It plays a critical role in delivering smooth and immersive gaming experiences. When choosing a GPU, factors to consider include VRAM size, core clock speed, and the availability of technologies like ray tracing and DLSS. Leading GPU manufacturers include NVIDIA and AMD.
The Motherboard
The motherboard serves as the foundation for all the components in your gaming PC. It provides connectivity and allows the different parts to communicate with each other. When selecting a motherboard, consider factors such as the socket type, expansion slots, RAM compatibility, and the number of USB ports. Popular motherboard brands include ASUS, Gigabyte, and MSI.
Memory (RAM)
RAM, or random access memory, is where the gaming PC stores data that is actively being used. Having sufficient RAM is crucial for smooth multitasking and gaming performance. When choosing RAM for your gaming PC, consider the capacity (measured in gigabytes) and the speed (measured in megahertz). Popular RAM brands include Corsair, Kingston, and G.Skill.
Storage Solutions
Storage solutions are where you store your operating system, games, and other files. There are two main types of storage: solid-state drives (SSDs) and hard disk drives (HDDs). SSDs offer faster boot times and loading speeds, while HDDs provide more storage capacity at a lower cost. Many gaming PC builds utilize a combination of both SSDs and HDDs for optimal performance and storage capacity.
Power Supply Unit (PSU)
The PSU is responsible for supplying power to all the components in your gaming PC. It is important to choose a PSU with sufficient wattage to handle the power requirements of your components. Additionally, look for PSUs with high efficiency ratings for energy savings. Leading PSU brands include Corsair, Seasonic, and EVGA.
Cooling Systems
Proper cooling is essential to prevent overheating and maintain optimal performance for your gaming PC. Cooling systems include CPU coolers and case fans. Air cooling and liquid cooling are the two main types of cooling solutions. Air coolers are more cost-effective, while liquid coolers offer superior cooling performance. Popular cooling brands include Cooler Master, NZXT, and Arctic.
PC Cases
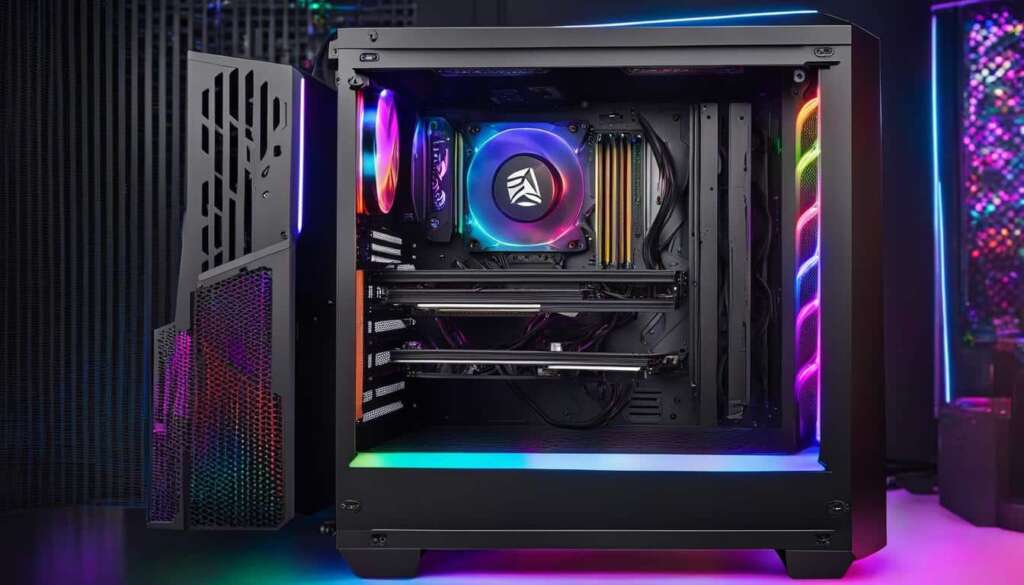
The PC case houses and protects all the components of your gaming PC. Consider factors such as size, airflow, cable management, and aesthetics when selecting a case. There are various case form factors, including ATX, Micro-ATX, and Mini-ITX. Leading case brands include NZXT, Corsair, and Fractal Design.
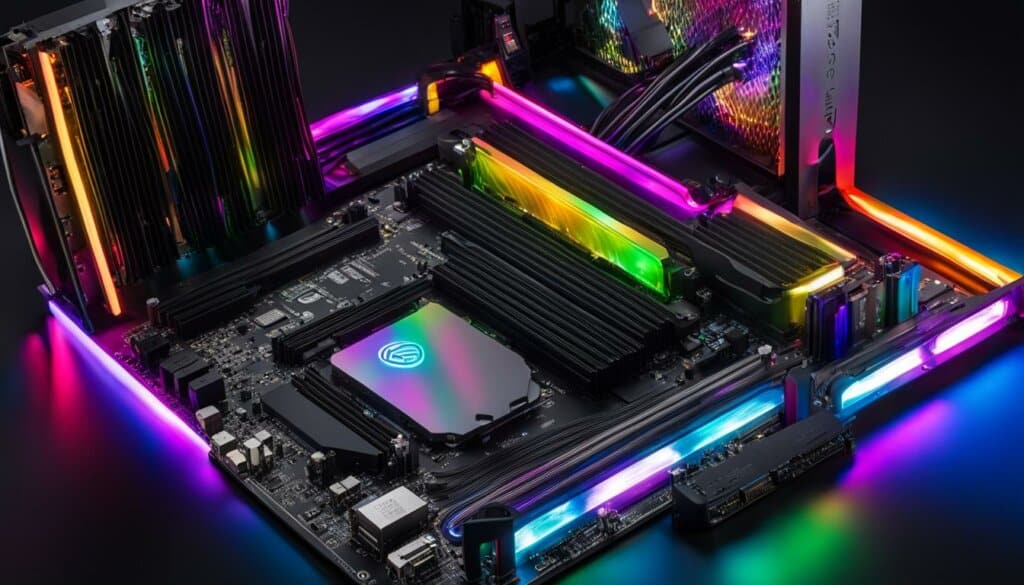
| Component | Brands |
|---|---|
| CPU | Intel, AMD |
| GPU | NVIDIA, AMD |
| Motherboard | ASUS, Gigabyte, MSI |
| RAM | Corsair, Kingston, G.Skill |
| Storage | Samsung, Western Digital, Seagate |
| PSU | Corsair, Seasonic, EVGA |
| Cooling | Cooler Master, NZXT, Arctic |
| Case | NZXT, Corsair, Fractal Design |
When it comes to building a high-end gaming PC, choosing the right processor and graphics card is crucial for optimal performance. Both components play a significant role in determining the gaming experience and the overall power of your system. In this section, we will explore the different options available and provide recommendations for the best gaming PC build.
Processor Selection
The processor, also known as the central processing unit (CPU), is responsible for executing instructions and performing calculations on your gaming PC. When selecting a processor for your high-end gaming build, it’s essential to consider factors such as performance, core count, and compatibility with other components.
Two popular options in the market are Intel and AMD processors. Intel processors are known for their strong single-core performance, making them ideal for gaming. On the other hand, AMD processors offer excellent multi-threaded performance at a more affordable price point. When deciding between the two, it ultimately comes down to your budget and specific gaming needs. For a high-end gaming PC build, you can consider Intel’s latest 11th Gen Core processors, such as the Intel Core i9-11900K, which offers exceptional performance and overclocking capabilities.
Graphics Card Selection
The graphics card, or GPU, is responsible for rendering and displaying the visuals in your games. Choosing the right graphics card is crucial for achieving smooth gameplay and stunning graphics. When selecting a graphics card for your high-end gaming PC build, consider factors like VRAM size, ray tracing support, and DLSS (Deep Learning Super Sampling) technology.
Nvidia’s GeForce RTX series is renowned for its high-performance gaming capabilities and its support for ray tracing and DLSS. The GeForce RTX 30 series, including the flagship RTX 3080 and RTX 3090, offers groundbreaking performance and cutting-edge features. Additionally, AMD’s Radeon RX 6000 series provides impressive gaming performance and is a great alternative to Nvidia’s offerings.
| Graphics Card | VRAM Size | Ray Tracing Support | DLSS Technology |
|---|---|---|---|
| Nvidia GeForce RTX 3080 | 10GB | Yes | Yes |
| Nvidia GeForce RTX 3090 | 24GB | Yes | Yes |
| AMD Radeon RX 6900 XT | 16GB | Yes | No |
As shown in the table above, Nvidia’s RTX 3080 and RTX 3090 offer greater VRAM sizes and support for both ray tracing and DLSS technology, making them excellent choices for a high-end gaming PC. However, if you’re looking for a more budget-friendly option without compromising performance, the AMD Radeon RX 6900 XT also offers impressive gaming capabilities.
By carefully evaluating your gaming needs and budget, you can choose the perfect processor and graphics card combination to create the best gaming PC build that meets your requirements.
Step-by-Step Guide to Building Your Gaming Desktop
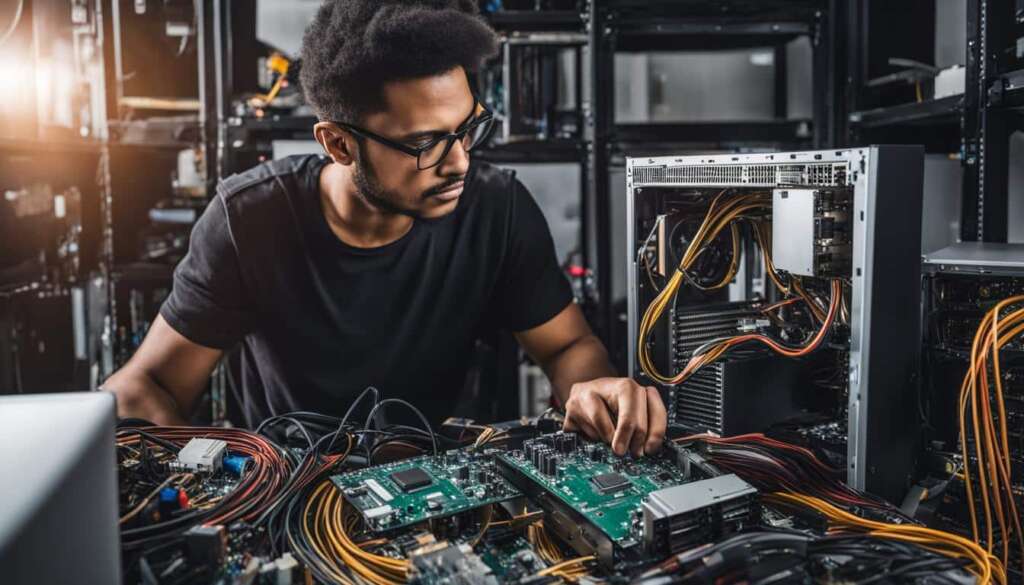
Building your own gaming desktop can be an exciting and fulfilling experience. Not only does it allow you to customize your PC according to your preferences, but it also gives you a deeper understanding of its inner workings. In this section, we will provide you with a step-by-step guide to help you successfully assemble your gaming PC.
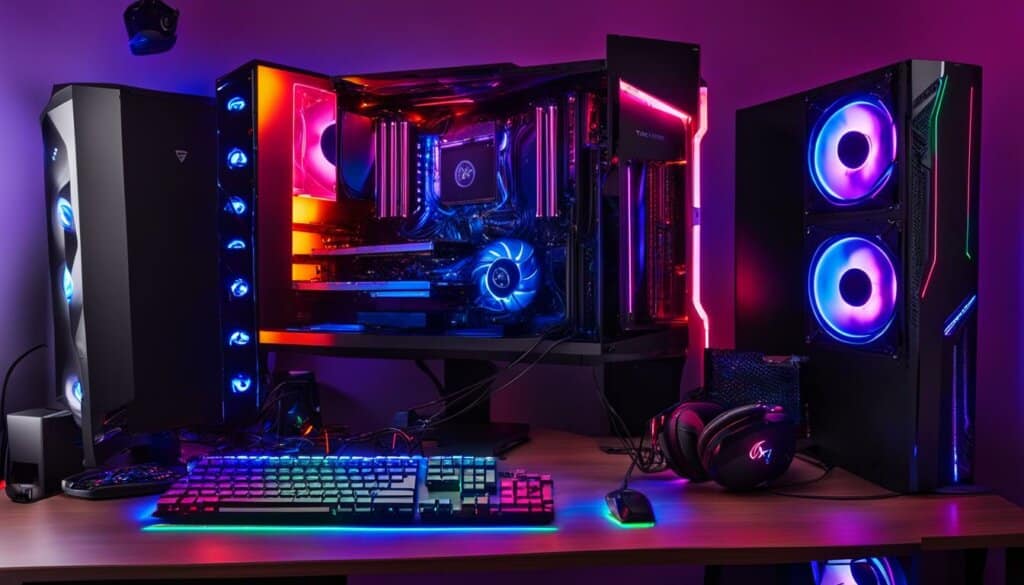
Table: Tools and Equipment Checklist
| Tools and Equipment | Description |
|---|---|
| Screwdriver | Used to tighten screws and secure components |
| Thermal paste | Applied to the CPU to ensure proper heat transfer |
| Cable ties | Used for cable management and organization |
| Anti-static wrist strap | Prevents electrostatic discharge and protects sensitive components |
| PC case | Houses all the components and provides proper ventilation |
Now that you have the necessary tools and equipment ready, let’s dive into the step-by-step process:
Step 1: Prepare the Workspace
- Choose a clean and well-lit area to work on your PC build.
- Ensure you have a static-free environment by using an anti-static mat or working on a non-static surface.
Step 2: Install the CPU and CPU Cooler
- Gently place the CPU into the socket on the motherboard, ensuring proper alignment.
- Apply a small amount of thermal paste onto the center of the CPU.
- Attach the CPU cooler onto the CPU, securing it with screws or clips.
Step 3: Mount the Motherboard and Connect Components
- Place the motherboard inside the PC case and align it with the mounting holes.
- Screw the motherboard into place using the provided screws.
- Connect the power supply cables to the motherboard.
- Install the RAM modules into the appropriate slots.
- Connect the SATA cables to the storage drives and the motherboard.
Step 4: Add the Graphics Card and Expansion Cards
- Insert the graphics card into the PCI-E slot on the motherboard.
- Secure the graphics card using the bracket and screws.
- If applicable, install any additional expansion cards into their respective slots.
Step 5: Connect Storage Drives
- Connect the storage drives (SSD, HDD) to the SATA cables.
- Secure the drives in the designated drive bays using screws or brackets.
Step 6: Install the Power Supply Unit and Manage Cables
- Position the power supply unit in the designated area of the PC case.
- Connect the necessary cables from the power supply to the motherboard and components.
- Organize and secure the cables using cable ties or Velcro straps for proper cable management.
Step 7: Set up Cooling Solutions
- Install any additional cooling fans or liquid cooling systems.
- Ensure proper airflow by positioning the fans appropriately.
- Connect the fan cables to the motherboard or fan controller.
Step 8: Boot Up and Initial BIOS Configuration
- Connect the monitor, keyboard, and mouse to the appropriate ports.
- Power on the PC and access the BIOS settings.
- Configure the BIOS settings, such as boot order and XMP profiles for RAM.
- Save the changes and exit the BIOS.
Now that you have successfully built your gaming desktop, you can proceed to the next section to learn about troubleshooting and performance optimization techniques for your new gaming PC.
Troubleshooting and Performance Optimization
Building your own gaming PC can be an exciting and fulfilling experience. However, it’s not uncommon to encounter challenges along the way. This section will provide you with valuable tips and techniques to troubleshoot and optimize the performance of your gaming PC build.
Common Building Mistakes to Avoid
When assembling your gaming PC, it’s important to be mindful of common mistakes that can affect performance and functionality. These include improper installation of components, loose connections, and inadequate cooling. Taking the time to carefully follow instructions and double-check your work can help minimize these errors.
Additionally, cable management plays a crucial role in maintaining optimal airflow and aesthetics. Poor cable management can lead to increased temperatures and hinder performance. By neatly organizing and securing your cables, you can ensure proper ventilation and improve the overall appearance of your gaming PC build.
Diagnosing Hardware Compatibility Issues
Compatibility issues can arise when certain components are not compatible with each other, resulting in system instability or failure to boot. To avoid these issues, it’s essential to research and ensure compatibility between your chosen CPU, motherboard, RAM, and other components. Consulting the manufacturer’s documentation and online resources can help you identify potential compatibility issues.
If you do encounter compatibility issues, troubleshooting steps may involve updating BIOS firmware, installing driver updates, or potentially replacing incompatible components. It’s important to approach these issues systematically and seek assistance from online communities or forums if needed.
Optimizing Performance and Achieving Aesthetics
Once your gaming PC build is complete, there are several software tweaks you can implement to optimize performance. This includes updating your operating system and drivers, disabling unnecessary background processes, and adjusting graphics settings for optimal gaming experience.
Furthermore, achieving an aesthetically pleasing setup can enhance your gaming experience. Cable management, as mentioned earlier, plays a crucial role. Additionally, adding RGB lighting can add a touch of personalization to your build, creating a visually captivating gaming environment.
| Common Building Mistakes to Avoid | Diagnosing Hardware Compatibility Issues | Optimizing Performance and Achieving Aesthetics |
|---|---|---|
| Improper installation of components | Incompatible CPU and motherboard | Updating operating system and drivers |
| Loose connections | Incompatible RAM and motherboard | Disabling unnecessary background processes |
| Inadequate cooling | Graphics card compatibility issues | Adjusting graphics settings for optimal performance |
| Consulting manufacturer documentation and online resources | Implementing cable management techniques |
Testing Your Gaming PC
After the completion of your gaming PC build, it’s essential to test your system to ensure optimal performance and functionality. This section will guide you through the testing process, including benchmarking, stress testing, and temperature monitoring. By conducting these tests, you can identify any potential issues and make necessary adjustments to enhance your gaming experience.
Benchmarking: One of the first steps in testing your gaming PC is benchmarking, which involves running performance tests to measure the capabilities of your system. This process provides valuable insights into your PC’s performance compared to other systems. By analyzing benchmarking numbers, you can gauge the effectiveness of your hardware and identify areas for improvement.
Stress Testing and Temperature Monitoring: Stress testing involves pushing your system to its limits to assess stability and performance under heavy workloads. This evaluation helps identify any potential bottlenecks, overheating issues, or system crashes. Additionally, monitoring the temperature of your CPU and GPU during stress testing is crucial to prevent overheating and ensure optimal performance. This information allows you to adjust cooling solutions if necessary and maintain a stable gaming environment.
By thoroughly testing your gaming PC, you can address any performance concerns and make any necessary tweaks or upgrades to enhance your gaming experience. It’s important to note that regular maintenance, such as dusting your components and updating drivers, can also contribute to the longevity and performance of your system. Now that you have successfully tested your gaming PC, you are ready to embark on an immersive gaming journey!
Table: Components Performance Benchmark
| Component | Benchmark Score |
|---|---|
| CPU | Score 1 |
| GPU | Score 2 |
| RAM | Score 3 |
| Storage | Score 4 |
| Overall | Score 5 |
Testing your gaming PC is a crucial step in ensuring that your system is capable of delivering the performance required for immersive gaming experiences. By understanding how to benchmark your components, stress test your system, and monitor temperatures, you can optimize your gaming PC for smooth gameplay and avoid potential issues. Now that you have completed the testing phase, you are ready to unleash the power of your custom-built gaming PC.
Conclusion
Congratulations on successfully building your gaming PC! You’ve reached the end of this comprehensive guide, and now it’s time to sit back and enjoy the fruits of your labor. Building your own gaming PC is truly a rewarding experience that offers customization and the ability to create a system tailored to your gaming needs.
By following the step-by-step guide and understanding the importance of each PC component, you have created the foundation for your best gaming PC build. From selecting the right processor and graphics card to troubleshooting and optimizing performance, you have gained valuable knowledge that will serve you well in the world of PC gaming.
As a beginner, you have successfully embarked on a journey that will provide endless hours of gaming pleasure. Now, it’s time to explore the vast gaming library, immerse yourself in captivating worlds, and experience the power and capabilities of your custom-built gaming PC.
If you crave further knowledge and support, there are numerous online communities and resources available to help you enhance your gaming experience. So, go ahead, pick up that controller, and dive into the world of gaming with pride in your achievement. Happy gaming!
FAQ
Why should I build my own gaming PC instead of buying a pre-built one?
Building your own gaming PC allows for customization and a sense of accomplishment. You have full control over the components you choose and can tailor them to your specific needs and budget. It also gives you a better understanding of how your PC works and the ability to easily upgrade individual components in the future.
What are the essential components needed for a gaming PC build?
The essential components for a gaming PC build include the central processing unit (CPU), graphics processing unit (GPU), motherboard, memory (RAM), storage solutions, power supply unit (PSU), cooling system, and PC case.
How do I choose the right processor and graphics card for my gaming PC build?
When selecting a processor, consider factors such as brand (Intel or AMD), core count, and performance. For graphics cards, look for features like VRAM size, ray tracing, and DLSS technology. Recommendations for both budget and high-end gaming builds can be found in our guide.
Can you provide a step-by-step guide to building a gaming desktop?
Yes, our guide includes a detailed step-by-step process for building your gaming desktop. It covers everything from preparing the workspace and tools to installing components, connecting cables, and setting up cooling solutions.
What are some common mistakes to avoid when building a gaming PC?
Some common mistakes to avoid include improper cable management, incorrect installation of components, and overlooking compatibility issues. Our guide provides tips and techniques to help you avoid these mistakes and ensure a smooth building process.
How can I troubleshoot and optimize the performance of my gaming PC build?
Troubleshooting and optimizing the performance of your gaming PC build can be achieved through software tweaks, diagnosing hardware compatibility issues, and optimizing cooling solutions. Our guide offers tips and techniques to help you troubleshoot and maximize the performance of your gaming PC.
How do I benchmark and test the performance of my gaming PC?
Our guide provides insights into benchmarking your gaming PC, stress testing components, and monitoring temperatures. This will help ensure optimal performance and stability when gaming.
What should I do once I’ve successfully built my gaming PC?
Congratulations on your new gaming PC! Take a moment to enjoy your accomplishment and start gaming. Our guide also offers additional resources for further exploration and support if you need it.

