Table of Contents
Building your own PC may seem daunting, but with the right guidance, it can be a rewarding experience. Follow this step-by-step guide to learn how to build a custom PC easily. We’ll provide in-depth instructions and tips to help you successfully assemble your own computer.
Key Takeaways
- Building your own PC allows you to customize every aspect of your computer.
- Choosing the right components is crucial for optimal performance.
- The PC case and motherboard determine the overall design and compatibility of your build.
- Properly installing the CPU, CPU cooler, and RAM is crucial for the functioning of your PC.
- Connecting components and installing the power supply should be done with effective cable management.
The Importance of Choosing the Right Components
When it comes to building your own PC, selecting the right components is crucial for optimal performance. The quality and compatibility of each component can significantly impact the overall functionality and longevity of your custom-built computer. From the motherboard to the power supply, every part plays a critical role in ensuring your PC runs smoothly and efficiently.
PC Parts and Hardware
One of the first steps in building your own PC is identifying the components you need. This includes the motherboard, CPU, RAM, graphics card, storage devices, and power supply. Each part should be carefully chosen to meet your specific requirements and budget. When selecting PC components, it’s essential to consider factors such as compatibility, performance, and future upgradability.
Choosing high-quality parts will not only enhance your PC’s performance but also contribute to its longevity. Investing in reliable components can save you from potential issues and the need for frequent replacements or repairs.
PC Building Tips
Here are some tips to keep in mind when choosing PC components:
- Research and compare different brands and models to find the best performance-to-cost ratio for each component.
- Check for compatibility between the motherboard and other components, such as the CPU socket type and RAM compatibility.
- Consider your intended use for the PC, whether it’s gaming, video editing, or general multitasking, and choose components accordingly.
- Take future upgrades into account when selecting components. Ensure that the motherboard has enough expansion slots and the power supply has sufficient wattage for potential additions.
- Read reviews and feedback from other users to get a better understanding of the reliability and performance of the components you’re interested in.
By carefully selecting the right components and following best practices, you can build a PC that meets your needs and delivers exceptional performance. Taking the time to research and invest in quality hardware will ensure a smoother building process and a more satisfying computing experience in the long run.
| Component | Function |
|---|---|
| Motherboard | Connects all the components and provides communication between them. |
| CPU | Performs calculations and executes instructions, acting as the brain of the computer. |
| RAM | Stores data that the CPU is currently working on, allowing for quick access and processing. |
| Graphics Card | Handles the rendering and display of graphics, essential for gaming and graphic-intensive tasks. |
| Storage Devices | Stores and retrieves data, including the operating system, programs, and files. |
| Power Supply | Supplies power to all the components and ensures stable and reliable operation. |
Summary
- Choosing the right PC components is essential for optimal performance and longevity.
- Consider factors such as compatibility, performance, and future upgradability when selecting components.
- Investing in high-quality components can save you from potential issues and frequent replacements.
- Research, compare brands and models, and read reviews to make informed decisions.
- Components like the motherboard, CPU, RAM, graphics card, storage devices, and power supply play crucial roles in a PC build.
The PC Case and Motherboard: A Crucial Pair
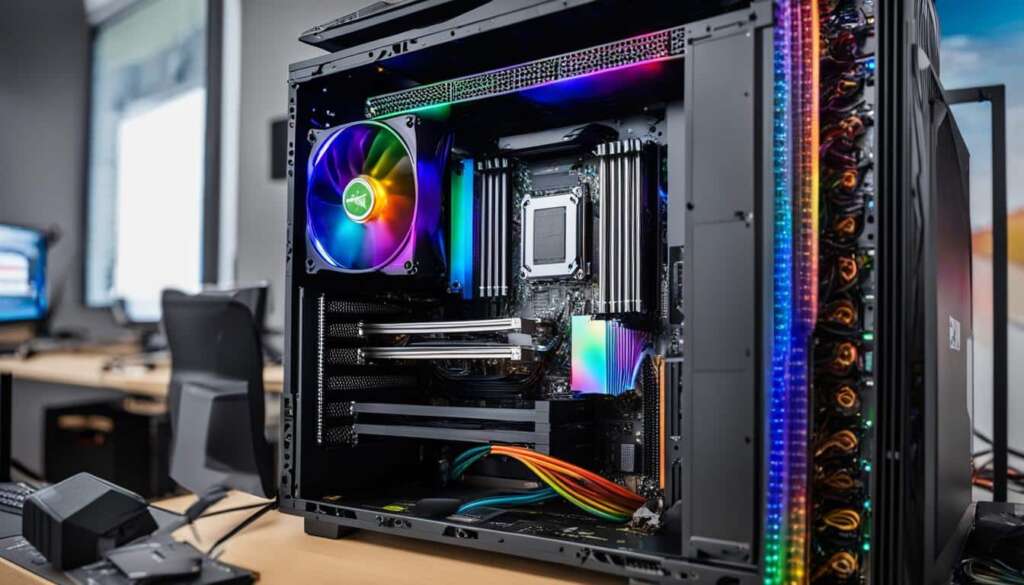
When it comes to building your own PC, two components play a vital role in determining the overall design and compatibility of your system: the PC case and motherboard. The PC case, also known as the chassis, not only houses all the internal components but also contributes to the aesthetics of your build. Choosing the right case is essential to ensure proper airflow, cable management, and future expansion possibilities.
As for the motherboard, it serves as the central hub where all other components connect. It’s important to select a motherboard that is compatible with your chosen CPU and provides the necessary features for your specific needs. Factors like socket type, chipset, and form factor should be considered when making a decision.
Form factor refers to the size and layout of the motherboard. The most common form factors are ATX (Advanced Technology Extended), microATX, and Mini-ITX. ATX motherboards offer the most expansion slots and are suitable for high-performance builds, while microATX and Mini-ITX are more compact options for smaller cases. It’s crucial to choose a motherboard that matches the form factor supported by your chosen PC case.
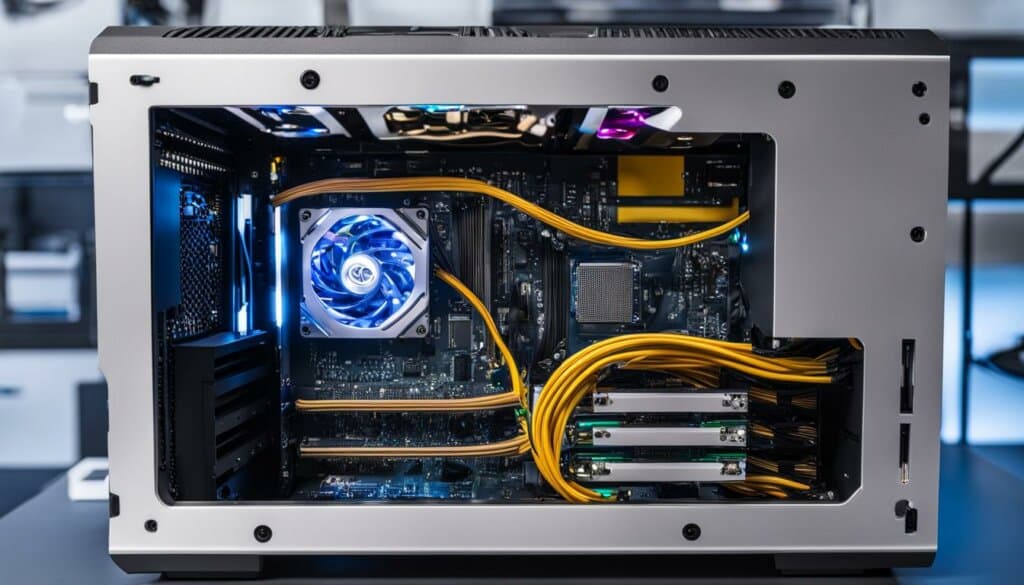
When selecting a PC case, it’s important to consider factors such as size, layout, and airflow. ATX cases are typically larger and provide more space for components and better cooling options. On the other hand, microATX and Mini-ITX cases are more compact and suitable for smaller builds or those with space constraints. Additionally, the layout of the case should accommodate the form factor of your chosen motherboard, ensuring a proper fit.
The PC case and motherboard are like a perfectly matched pair in the world of PC building. They should complement each other in terms of size, form factor, and compatibility to ensure a seamless and efficient build. Take your time in selecting the right PC case and motherboard combination, as they form the foundation of your custom PC.
Table: Comparison of PC Case Sizes and Form Factors
| Form Factor | Size | Main Features |
|---|---|---|
| ATX | Standard | – Most expansion slots – Suitable for high-performance builds |
| microATX | Smaller than ATX | – Fewer expansion slots – Compact option for smaller builds |
| Mini-ITX | Smallest | – Ultra-compact – Ideal for small form factor builds |
Choosing the right PC case and motherboard may seem overwhelming at first, but with careful consideration of the form factor, size, and compatibility, you can ensure a successful PC build. Remember, the case and motherboard are the backbone of your build and will greatly impact the overall performance and aesthetics of your custom PC.
Installing the CPU, CPU Cooler, and RAM
Properly installing the CPU, CPU cooler, and RAM is crucial for the smooth and efficient functioning of your PC. Follow these step-by-step instructions to ensure a successful installation process.
1. Installing the CPU
The central processing unit (CPU) is the brain of your computer. It is important to handle it with care and follow the recommended installation process.
- Begin by locating the CPU socket on your motherboard. It is usually a rectangular slot with a lever or latch.
- Gently lift the lever or release the latch to open the socket.
- Take the CPU, ensuring that the pins or contacts align with the socket.
- Place the CPU into the socket, taking care not to apply excessive force.
- Once the CPU is seated correctly, close the socket by lowering the lever or securing the latch.
It is crucial to consult your motherboard’s manual for specific instructions and precautions regarding the installation of the CPU.
2. Applying Thermal Paste and Installing the CPU Cooler
Thermal paste helps ensure efficient heat transfer between the CPU and the CPU cooler. Follow these steps to apply thermal paste and install the CPU cooler:
- Clean the surface of the CPU using a lint-free cloth or alcohol wipes.
- Apply a small pea-sized amount of thermal paste onto the center of the CPU.
- Spread the thermal paste evenly using a plastic card or a thermal paste spreader.
- Next, locate the CPU cooler mounting brackets or clips on your motherboard.
- Align the CPU cooler with the brackets and gently press it down until it locks into place.
Make sure to connect the CPU cooler’s fan cable to the appropriate header on the motherboard to ensure proper cooling.
3. Installing the RAM
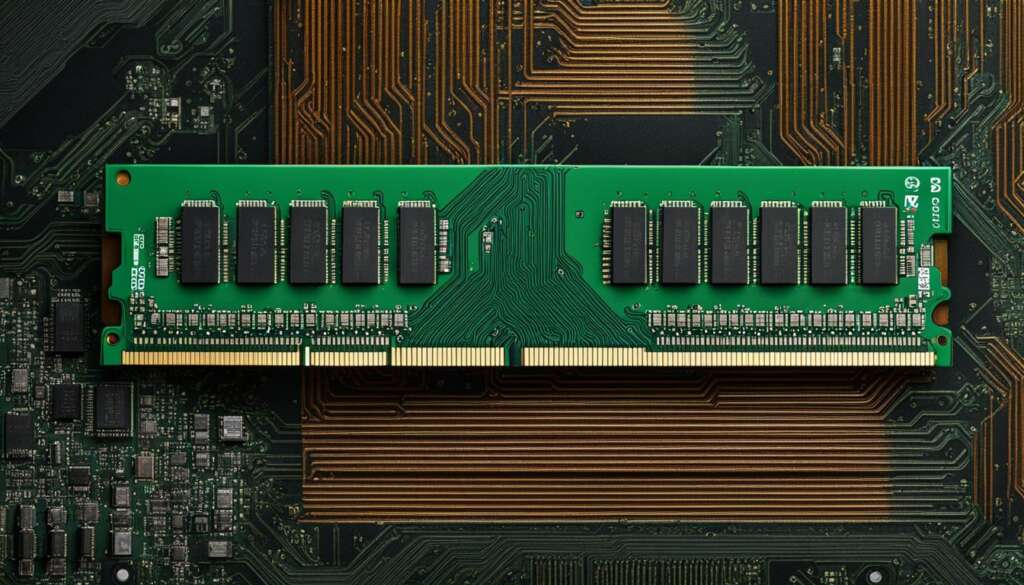
Random-access memory (RAM) is responsible for temporarily storing data that your computer needs to access quickly. Here’s how to install RAM:
- Locate the RAM slots on the motherboard. They are typically near the CPU socket.
- Open the retention clips on each side of the RAM slot.
- Align the notch on the RAM module with the slot key on the RAM slot.
- Gently insert the RAM module into the slot, applying equal pressure on both sides until the retention clips lock into place.
- Repeat the process for additional RAM modules if necessary.
Ensure that the RAM modules are fully seated in the slots and that the retention clips are securely closed.
By following these instructions, you can confidently install the CPU, CPU cooler, and RAM components in your PC build, setting a solid foundation for your custom computer.
Connecting Components and Installing the Power Supply
Once you have chosen the right components for your PC build, the next step is connecting them properly and installing the power supply unit (PSU). Proper cable management is essential for a clean and organized build, ensuring optimal airflow and reducing the risk of any potential issues. In this section, we will guide you through the process of connecting components and installing the PSU.
Organizing Cables for Effective Cable Management
Before connecting your components, it’s important to organize the cables in your PC case for effective cable management. This not only improves airflow but also makes troubleshooting and future upgrades easier. Start by routing and securing the cables along the designated cable management channels or tie them with zip ties. This will help keep the interior of your PC clean and clutter-free.
When connecting your components to the motherboard, make sure to use the appropriate cables and connectors. Review the motherboard’s manual to identify the correct headers and ports for each component. This includes connecting the SATA cables for storage drives, the front panel connectors for the case’s power button and LED lights, and any other necessary cables.
Installing the Power Supply Unit (PSU)
The PSU provides power to all the components in your PC, so it’s important to install it correctly. Start by placing the PSU in the dedicated PSU compartment in your PC case. The PSU should have a fan that faces downward, allowing it to draw in cool air from outside the case. This helps with cooling and prevents the PSU from overheating.
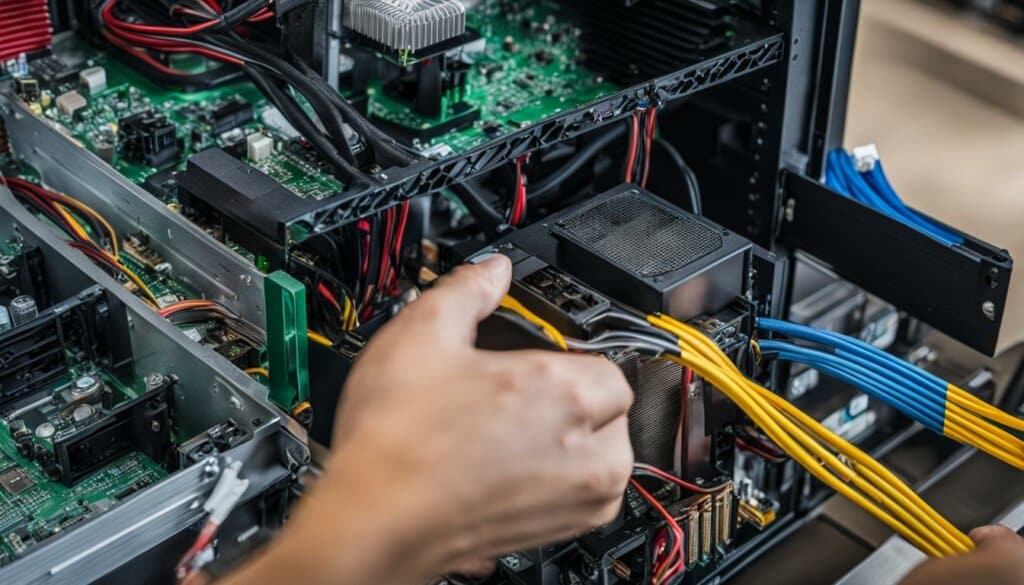
Next, connect the necessary cables from the PSU to the motherboard and other components. This includes the 24-pin ATX power connector, 8-pin CPU power connector, PCIe power connectors for the graphics card, and any additional power connectors required by your components. Make sure the connections are secure and properly aligned.
Once the PSU is connected and all cables are properly managed, you’re ready to move on to the next step of your PC build. In the following section, we will guide you through the process of installing the graphics card and storage drives.
Installing the Graphics Card and Storage Drives
Installing the graphics card and storage drives is an essential part of building your custom PC. These components play a crucial role in gaming performance and data storage, so it’s important to ensure they are installed correctly.
To install the graphics card, first, locate the appropriate PCIe slot on your motherboard. Carefully align the graphics card with the slot, ensuring that it is firmly seated. Gently press down on both ends of the card until it clicks into place. Connect the appropriate power cables to the graphics card, if required, to provide it with the necessary power.
Now, let’s move on to installing the storage drives. The two most common types of storage drives are SSDs (Solid State Drives) and HDDs (Hard Disk Drives). SSDs offer faster read and write speeds, while HDDs provide larger storage capacities. Depending on your needs, you may choose to install one or both types of drives.
To install an SSD or HDD, locate the drive bays within your PC case. Slide the drive into the bay, ensuring that the connectors are facing the appropriate direction. Use screws or other mounting mechanisms to secure the drive in place. Connect the SATA data cable from the drive to the motherboard, and connect the SATA power cable from the power supply unit to the drive. Repeat these steps for each additional drive you wish to install.
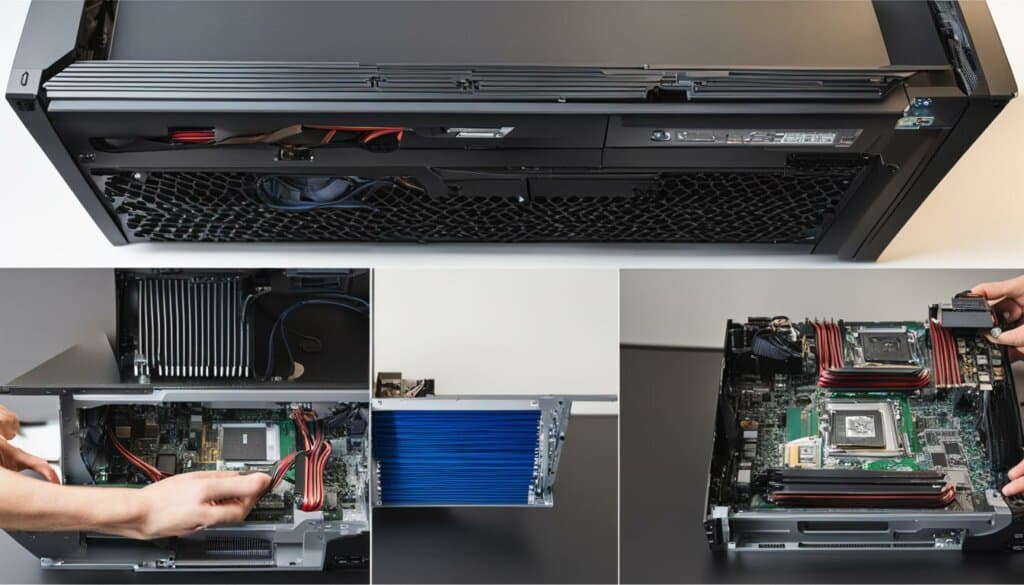
Table: Comparison of Graphics Card and Storage Drives
| Component | Graphics Card | SSD | HDD |
|---|---|---|---|
| Performance | High | High | Medium |
| Storage Capacity | N/A | Varies (typically smaller) | Varies (typically larger) |
| Read/Write Speeds | High | High | Medium |
| Price | Varies | Higher | Lower |
As seen in the table above, the graphics card, SSD, and HDD each have their own strengths and are suited for different purposes. The graphics card is essential for smooth gaming performance, while SSDs offer faster data access and transfer speeds. HDDs provide larger storage capacities at a more affordable price point.
By following the steps outlined in this section, you can successfully install the graphics card and storage drives in your custom PC build. These components are crucial for both gaming and data storage, so take your time to ensure they are installed properly. In the next section, we will cover the final steps of building your own PC.
Conclusion
Building your own PC allows you to customise every aspect of your computer and gain a deeper understanding of its inner workings. By following this step-by-step guide, you can confidently assemble your own custom PC. Remember to select the right components, follow proper installation procedures, and enjoy the satisfaction of creating your own personalised computer.
With the freedom to choose the components that meet your specific needs, you can build a PC that perfectly caters to your requirements. Whether you’re a gaming enthusiast, a creative professional, or someone in need of a powerful workstation, building your own PC provides the flexibility to create a machine that suits your unique preferences.
Not only does building your own PC offer the advantage of customization, but it also allows you to save money. By selecting individual components, you can often find better deals and avoid paying the premiums associated with pre-built systems. Plus, the knowledge and skills you gain from assembling your own PC can be invaluable for future upgrades and troubleshooting.
So, if you’re ready to embark on the journey of becoming a custom PC builder, make sure to follow the guidelines outlined in this guide. With a little patience and attention to detail, you’ll soon have your very own high-performance computer that reflects your personal style and meets your computing needs.
FAQ
Is building your own PC difficult?
Building your own PC may seem daunting, but with the right guidance, it can be a rewarding experience. Follow our step-by-step guide to learn how to build a custom PC easily.
What components do I need to select for my PC?
To ensure optimal performance, you need to choose the right motherboard, CPU, RAM, graphics card, storage, and power supply. Each component should be compatible with one another and suited to your specific needs.
How do I choose the right PC case and motherboard?
The PC case should be chosen based on factors like size, layout, and aesthetics. The motherboard should be selected based on its socket type, chipset, and compatibility with your chosen CPU.
How do I install the CPU, CPU cooler, and RAM?
Properly installing the CPU in the motherboard socket, applying thermal paste, and installing the CPU cooler are crucial for the functioning of your PC. You’ll also need to know how to properly install the RAM modules in their slots for optimal performance.
How do I connect components and install the power supply?
Connecting storage drives and peripherals to the motherboard and organizing cables for effective cable management are important steps. You’ll also need to know how to install the power supply unit (PSU) for providing power to all the components.
How do I install the graphics card and storage drives?
Installing the graphics card into the appropriate PCIe slot on the motherboard and installing SSDs and HDDs for storage are essential for gaming and data storage in your PC build.
Why should I build my own PC?
Building your own PC allows you to customize every aspect of your computer and gain a deeper understanding of its inner workings. Plus, it can be a truly satisfying experience to create your own personalized computer.

