Table of Contents
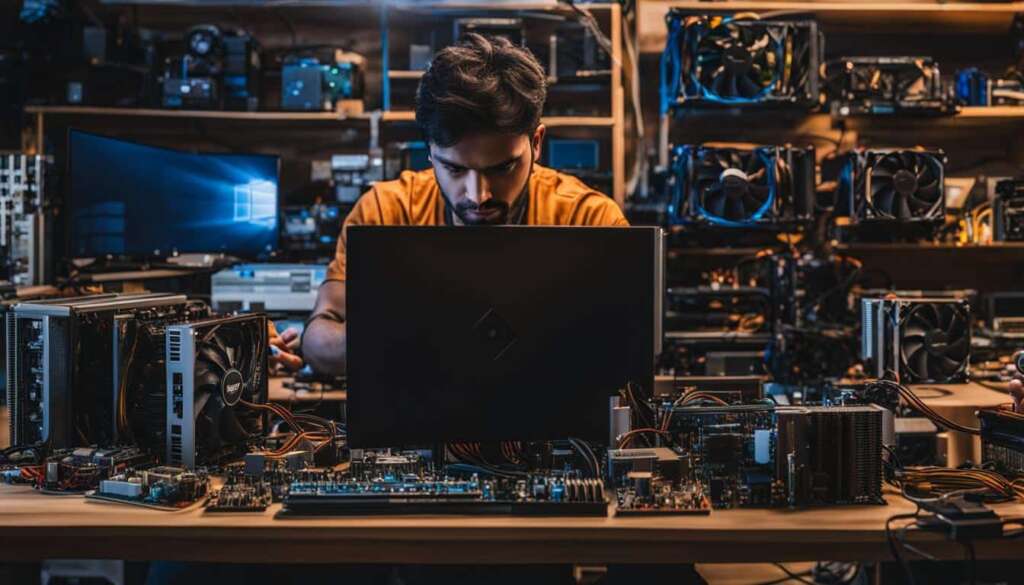
Building your own gaming PC may seem daunting, but with the right instructions, it can be a rewarding and enjoyable experience. In this step-by-step guide, we will walk you through the process of building a gaming PC from start to finish. Whether you’re a beginner or have some experience with computers, this guide will provide you with the knowledge and confidence to build your own gaming PC.
Key Takeaways
- Building a gaming PC can be a fulfilling and rewarding experience.
- With the right instructions, even beginners can successfully build their own gaming PC.
- Choosing the right components is crucial for high-performance gaming.
- Proper assembly and installation of the PC components are essential for optimal functionality.
- Don’t forget to optimize your gaming PC settings for the best gaming experience.
The Importance of Choosing the Right Components for Your Gaming PC
When building a gaming PC, one of the most crucial factors to consider is selecting the right components. Each component plays a specific role in the performance and functionality of your gaming rig, so it’s essential to choose wisely. In this section, we will explore the key components that make up a gaming PC and provide recommendations for the best options available on the market.
PC Case
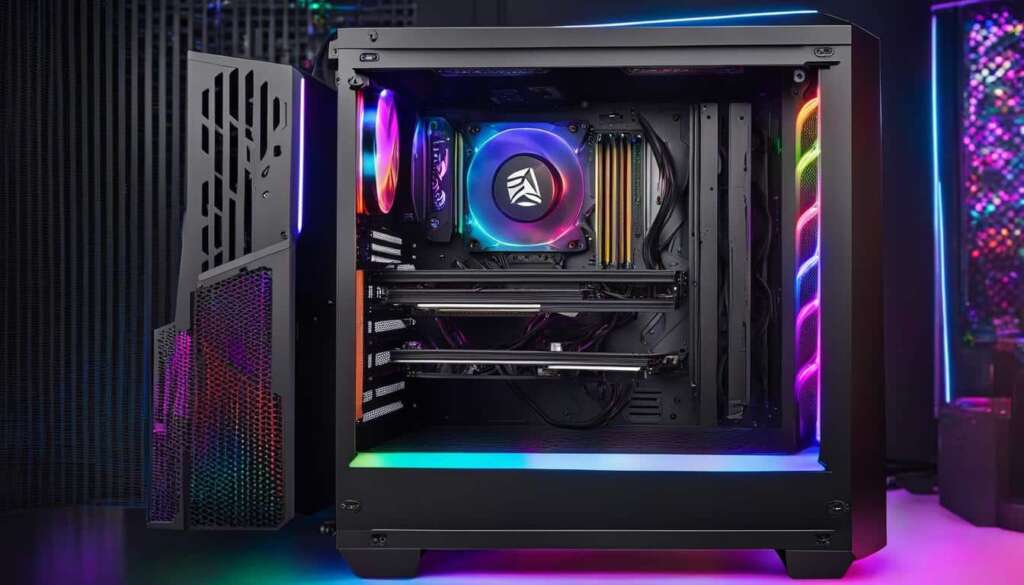
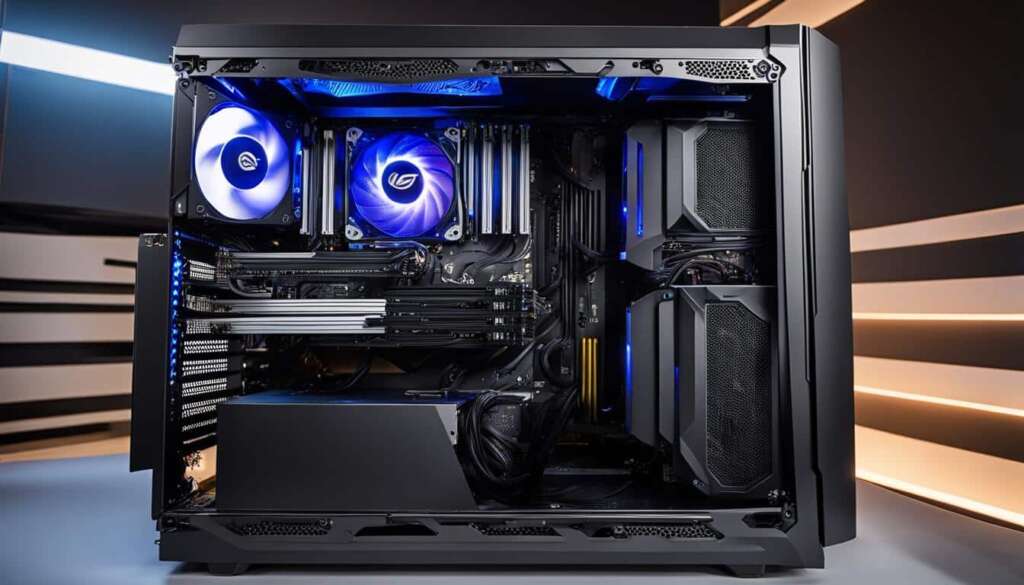
The PC case is not just a housing for your components; it also determines the size and layout of your build. Whether you prefer a sleek and compact design or a spacious case with room for future upgrades, choosing the right PC case is essential. Consider factors such as airflow, cable management, and expansion options when making your decision.
Motherboard
The motherboard is the backbone of your gaming PC, connecting all the components together. It is crucial to select a motherboard that is compatible with your chosen CPU, GPU, and other peripherals. Additionally, consider the number of expansion slots, USB ports, and other features that may be important to you. Choosing a reliable and reputable brand is also recommended.
CPU and GPU
The CPU and GPU are the powerhouse of your gaming PC, responsible for processing and rendering graphics. When selecting a CPU, consider factors like clock speed, number of cores, and cache size. For the GPU, look for models that offer high-performance gaming capabilities and sufficient VRAM. Both the CPU and GPU should be chosen based on your budget and gaming requirements.
Memory, Storage, and Power Supply
Memory (RAM), storage, and power supply are also important components to consider. Opt for sufficient RAM to ensure smooth multitasking and gaming performance. When it comes to storage, consider a combination of fast SSDs for your operating system and games, along with larger-capacity HDDs for storing media files. Lastly, choose a reliable power supply that can handle the power requirements of your components.
Choosing the right components for your gaming PC is crucial to ensure optimal performance and long-term satisfaction. By considering factors like PC case design, motherboard compatibility, CPU and GPU performance, and memory/storage options, you can create a gaming rig that meets your needs and provides an immersive gaming experience. In the next section, we will delve deeper into selecting the right PC case and motherboard for your gaming PC build.
The Importance of Selecting the Right PC Case and Motherboard
When it comes to building a gaming PC, selecting the right PC case and motherboard is crucial. These components set the foundation for your entire setup, determining the size, layout, compatibility, and expandability of your build. In this section, we will guide you through the process of choosing the right PC case and motherboard, ensuring that your gaming PC setup is optimized for performance and functionality.
Firstly, let’s talk about the PC case. The PC case not only houses all your components but also affects the overall aesthetics and airflow of your gaming rig. When selecting a PC case, consider the size, design, and cooling capabilities. Choose a case that accommodates your motherboard size (ATX, Micro ATX, Mini-ITX), has sufficient space for your desired components, and offers good cable management options.
Next, let’s discuss the motherboard. The motherboard is the central hub that connects all your components, such as the CPU, GPU, RAM, and storage devices. It is essential to choose a motherboard that is compatible with your chosen CPU and offers the necessary expansion slots for future upgrades. Consider factors such as the chipset, socket compatibility, number of RAM slots, available PCIe slots, and connectivity options (USB ports, audio ports, etc.).
Gaming PC Accessories
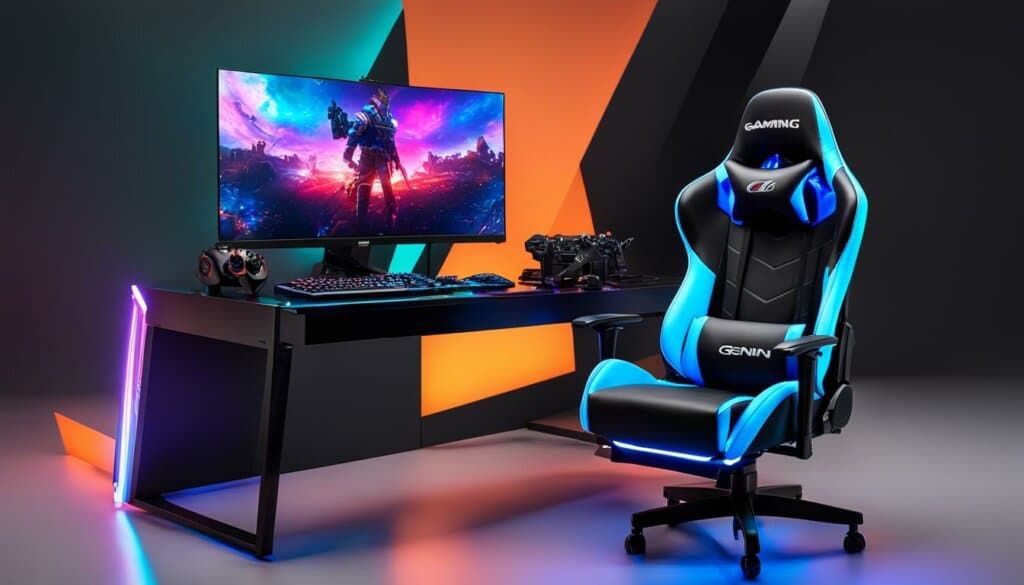
In addition to selecting the right PC case and motherboard, there are various gaming PC accessories that can enhance your gaming experience. These accessories range from RGB lighting kits and high-quality headphones to gaming keyboards, mice, and monitors. The right accessories can improve your gaming setup’s functionality, aesthetics, and overall immersion. Consider your personal preferences and budget when choosing gaming PC accessories.
| Accessory | Description | Price Range |
|---|---|---|
| Gaming Keyboard | Mechanical keyboards with customizable RGB lighting and programmable keys. | £50 – £200 |
| Gaming Mouse | Precision gaming mice with adjustable DPI settings and extra programmable buttons. | £30 – £100 |
| Gaming Monitor | High-refresh rate monitors with low response times and adaptive sync technologies. | £150 – £500 |
| RGB Lighting Kit | LED light strips and fans that can be synced with your gaming setup for immersive lighting effects. | £20 – £100 |
| Gaming Headset | Headphones with built-in microphones for clear communication during gaming sessions. | £50 – £200 |
By carefully selecting the right PC case, motherboard, and gaming PC accessories, you can ensure that your gaming setup is optimized for performance, functionality, and aesthetics. These components lay the foundation for your gaming PC, allowing you to create a personalized and immersive gaming experience. In the next section, we will delve into the process of selecting the right CPU and GPU for your gaming PC build.
Choosing the Right CPU and GPU
When it comes to building a gaming PC, choosing the right CPU and GPU is crucial for optimal gaming performance. The CPU, or Central Processing Unit, handles the processing power of your PC, while the GPU, or Graphics Processing Unit, is responsible for rendering graphics.
When selecting a CPU, it’s important to consider factors such as clock speed, number of cores, and cache size. For gaming purposes, a CPU with a higher clock speed and more cores will generally provide better performance. Some popular options for gaming CPUs include the Intel Core i5 and i7, as well as the AMD Ryzen series.
As for GPUs, they come in various models and brands, each offering different levels of performance. The key factors to consider when choosing a GPU are its VRAM capacity, clock speed, and the number of CUDA cores (for Nvidia GPUs) or Stream Processors (for AMD GPUs). Popular choices for gaming GPUs include the Nvidia GeForce RTX series and the AMD Radeon RX series. It’s also worth considering the power requirements and compatibility with other components when making your decision.
Here is a table summarizing the key specifications of some popular CPUs and GPUs for gaming PCs:
| Component | Model | Clock Speed | Number of Cores | VRAM Capacity |
|---|---|---|---|---|
| CPU | Intel Core i5-9600K | 3.7 GHz | 6 | N/A |
| CPU | Intel Core i7-9700K | 3.6 GHz | 8 | N/A |
| GPU | Nvidia GeForce RTX 2060 | 1680 MHz | 1920 | 6 GB GDDR6 |
| GPU | AMD Radeon RX 5700 XT | 1605 MHz | 2560 | 8 GB GDDR6 |
It’s important to note that these are just a few examples, and there are many other options available on the market. When choosing a CPU and GPU, consider your budget, performance requirements, and compatibility with other components in your gaming PC build. Research and read reviews to make an informed decision and ensure you get the best gaming experience possible.
Selecting the Right Memory and Storage
When it comes to building a gaming PC, selecting the right memory (RAM) and storage options is crucial for optimal performance and gaming experience. In this section, we will discuss the different types of memory and storage available and provide recommendations based on your gaming needs. Let’s dive in!
Memory (RAM)
RAM plays a vital role in gaming PC optimization, as it helps in the smooth and efficient running of games. The amount of RAM you choose will depend on your gaming requirements and budget.
For most gaming enthusiasts, 16GB of RAM is sufficient to handle modern games and multitasking. However, if you plan on running demanding games or engaging in content creation, opting for 32GB or even 64GB of RAM can significantly enhance your gaming performance.
Storage (SSD/HDD)
When it comes to storage, there are two primary options to consider: Solid State Drives (SSD) and Hard Disk Drives (HDD).
- SSDs: SSDs offer faster data transfer speeds, quicker boot times, and reduced loading times in games. They are ideal for storing your operating system, frequently played games, and software.
- HDDs: HDDs provide higher storage capacity at a lower cost per gigabyte. They are suitable for storing large game libraries, media files, and other data that doesn’t require fast access times.
For the best of both worlds, consider opting for a combination of SSD and HDD. You can install your operating system and frequently played games on the SSD for faster performance, while using the HDD for additional storage space.
Recommended Memory and Storage Options:
| Memory | Storage | |
|---|---|---|
| Entry Level | 8GB – 16GB DDR4 RAM | 240GB – 500GB SSD |
| Mid-Range | 16GB – 32GB DDR4 RAM | 500GB – 1TB SSD 1TB – 2TB HDD |
| High-End | 32GB – 64GB DDR4 RAM | 1TB – 2TB SSD 2TB – 4TB HDD |
These recommendations serve as a starting point, and you can adjust the memory and storage options based on your specific needs and budget. Investing in ample memory and fast storage will ensure smoother gameplay and faster loading times, contributing to an overall enhanced gaming experience.
Building and Assembling Your Gaming PC
Now that you have gathered all the necessary components for your gaming PC, it is time to start building and assembling your rig. Follow these step-by-step instructions to ensure a successful build process.
Step 1: Prepare your workspace
Before you begin assembling your gaming PC, it is important to have a clean and organized workspace. Clear a table or desk to provide ample space for all the components and tools. Make sure you have a static-free environment by wearing an antistatic wristband and working on an antistatic mat.
Step 2: Install the CPU and CPU cooler
Start by installing the CPU onto the motherboard. Unlock the CPU socket and gently place the CPU into the socket, aligning the golden triangle on the CPU with the corresponding mark on the socket. Carefully lower the CPU lever to secure it in place. Attach the CPU cooler according to the manufacturer’s instructions, ensuring a tight and secure fit.
Step 3: Install the motherboard
Position the motherboard inside the PC case, aligning the screw holes with the standoffs. Attach the motherboard to the case using the screws provided. Make sure the motherboard is firmly in place and all connections are secure.
Step 4: Install the memory
Insert the memory sticks into the appropriate slots on the motherboard. Apply equal pressure on both ends of the stick until it clicks into place. Make sure the locking mechanism engages and the memory is securely installed.
Step 5: Install the storage devices
Connect the storage devices, such as SSD or HDD, to the motherboard using the appropriate cables. Secure the storage devices in the designated drive bays within the PC case. Make sure the connections are tight and the devices are properly positioned.
Step 6: Install the GPU
Insert the GPU into the PCIe slot on the motherboard. Apply gentle but firm pressure until the GPU is fully seated. Secure the GPU to the case using screws or brackets, if required. Connect the necessary power cables to the GPU for it to function properly.
Step 7: Install the power supply
Position the power supply in the designated area of the PC case. Connect the necessary power cables to the motherboard, GPU, and storage devices. Make sure all connections are secure and properly routed for optimal cable management.
Step 8: Connect peripherals and cables
Connect your monitor, keyboard, mouse, and other peripherals to the appropriate ports on the motherboard or GPU. Route the cables neatly and ensure they do not obstruct the airflow inside the case.
Step 9: Test and troubleshoot
Before closing up the case, connect the power cord and turn on the PC. Check if all components are functioning properly and if the system boots up successfully. If any issues arise, consult the manufacturer’s documentation or seek assistance from online forums and communities.
By following these step-by-step instructions, you will be able to build and assemble your gaming PC with confidence. Take your time, double-check all connections, and ensure proper cable management for a clean and efficient build. Once completed, your gaming PC will be ready to deliver an exceptional gaming experience.
Installing Operating System and Drivers
Now that you have successfully assembled your gaming PC, it’s time to move on to the next crucial step: installing the operating system (OS) and drivers. This process will ensure that your gaming PC is fully functional and optimized for the best gaming experience. Let’s dive into the steps involved in installing the OS and drivers.
Installing the Operating System
Start by inserting the installation disk or USB drive containing your chosen operating system, such as Windows. Restart your PC and access the BIOS settings by pressing the designated key (usually Del or F2) during the boot process. In the BIOS settings, change the boot priority to prioritize the disk or USB drive. Save the changes and exit the BIOS.
The installation process will guide you through various prompts, including language selection, user agreement acceptance, and disk partitioning. Follow the on-screen instructions and choose the appropriate options based on your preferences. Once the installation is complete, your PC will automatically restart.
Updating Drivers
After the operating system is installed, it’s essential to update your drivers to ensure optimal performance and compatibility with your components. Start by connecting your PC to the internet and opening the device manager. Right-click on each component and select “Update driver.” Windows will search for the latest drivers online and install them automatically.
If Windows fails to find the latest drivers, you can manually download them from the manufacturer’s website. Visit the support section of each component manufacturer’s website, locate the respective drivers, and download them. Once downloaded, open the downloaded files and follow the installation instructions provided.
Remember to restart your PC after updating each driver to apply the changes. This will ensure that your gaming PC is running on the latest drivers, maximizing performance and stability.
| Component | Manufacturer | Latest Driver |
|---|---|---|
| CPU | Intel | Version 10.4.3.46 |
| GPU | NVIDIA | Version 471.41 |
| Motherboard | ASUS | Version 3.5.2.18016 |
| Memory | Corsair | Version 5.43.5.164 |
| Storage | Western Digital | Version 3.7.25.0 |
| Other | N/A | N/A |
Conclusion
Building your own gaming PC can be a fulfilling and rewarding experience. With this step-by-step guide, you now have the knowledge and confidence to build a high-performance gaming PC that suits your needs and preferences. Remember to choose the right components, assemble them carefully, and optimize your system for the best gaming experience.
By selecting the right components, such as the PC case, motherboard, CPU, GPU, memory, storage, power supply, and cooling system, you can ensure that your gaming PC delivers top-notch performance. Take your time during the assembly process, following our detailed instructions to ensure everything is properly connected and secured.
Once your gaming PC is up and running, don’t forget to optimize it for the best gaming experience. Install the operating system and drivers, and make sure to update them regularly to keep your system running smoothly. Consider adjusting your gaming PC settings to maximize performance and tailor it to your specific needs.
Now, you’re ready to enjoy your new gaming rig and immerse yourself in the world of gaming. Whether you’re playing the latest AAA titles or exploring indie gems, your gaming PC will provide you with the power and performance you need. Happy gaming!
FAQ
Is building a gaming PC difficult?
Building your own gaming PC may seem daunting, but with the right instructions, it can be a rewarding and enjoyable experience.
Do I need any prior experience with computers to build a gaming PC?
Whether you’re a beginner or have some experience with computers, this guide will provide you with the knowledge and confidence to build your own gaming PC.
What are the key components I need to build a gaming PC?
The key components include the PC case, motherboard, CPU, GPU, memory, storage, power supply, and cooling system.
How do I choose the right PC case and motherboard?
The PC case determines the size and layout of your build, while the motherboard determines the compatibility and expandability of your components. We will guide you through the process of selecting the right PC case and motherboard based on your needs and preferences.
What are the key components for gaming performance?
The CPU handles the processing power, while the GPU handles the graphics rendering. We will discuss the different options available for CPUs and GPUs and provide recommendations for the best ones for gaming PC builds.
What types of memory and storage do I need for gaming performance?
Memory (RAM) and storage (SSD/HDD) are essential for smooth gaming performance and storage capacity. We will explain the different types available and their impact on gaming performance, as well as provide recommendations for the best options based on your needs.
How do I assemble my gaming PC?
We will provide step-by-step instructions on how to assemble your PC, including installing the motherboard, CPU, memory, storage, GPU, and power supply. We will also provide tips for cable management and ensuring proper airflow for optimal cooling.
How do I install the operating system and drivers?
We will guide you through the process of installing the operating system (such as Windows) and updating drivers to ensure optimal performance. We will also offer tips for optimizing your gaming PC settings for the best gaming experience.
Is building your own gaming PC worth it?
Building your own gaming PC can be a fulfilling and rewarding experience. By following this step-by-step guide, you will have the knowledge and confidence to build a high-performance gaming PC that suits your needs and preferences.

