Table of Contents
Taking a screenshot on a PC can be useful for various purposes, such as sharing information or capturing important content. Whether you are using Windows 10 or Windows 11, there are multiple methods and tools available to easily capture screenshots. In this easy guide, we will explore different ways to take screenshots on a PC, including built-in tools like Snip & Sketch and Snipping Tool, keyboard shortcuts, and third-party apps.
Let’s dive into some of the most effective screenshot methods for Windows 10 and Windows 11.
Using Built-in Tools: Snip & Sketch and Snipping Tool
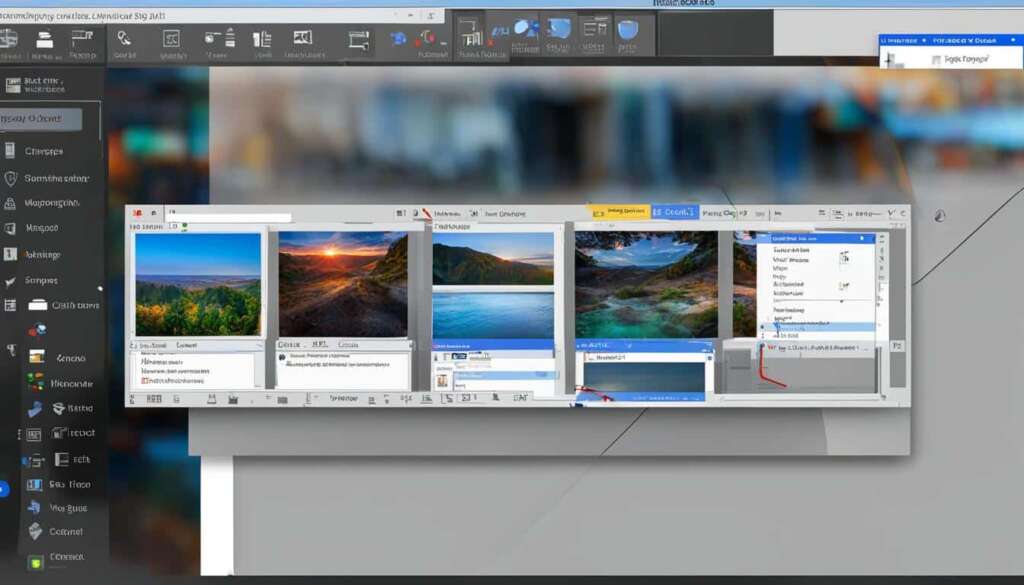
Built-in tools like Snip & Sketch and Snipping Tool provide convenient options for capturing screenshots on Windows 10 and Windows 11. Snip & Sketch is an improved version of the Snipping Tool, offering features like easy access, annotation, and sharing options. It can be launched using keyboard shortcuts or through the Start menu. Snipping Tool, although being phased out, is still available in Windows 11 and can be accessed via the search bar. Both tools allow you to capture rectangular, freeform, window, or full-screen screenshots, which can be saved to the clipboard or directly as files.
To take advantage of these screenshot tools, follow these simple steps:
- For Snip & Sketch:
- Launch Snip & Sketch by pressing the Windows key + Shift + S or by clicking the Start button, searching for “Snip & Sketch,” and selecting the app.
- Select the type of snip you want from the options available in the Snip & Sketch toolbar (rectangular, freeform, window, or full-screen).
- Drag your cursor to capture the desired area, release the mouse button, and the screenshot will be saved to the clipboard.
- Alternatively, click the “Copy” or “Save” button in the Snip & Sketch toolbar to copy the screenshot to the clipboard or save it directly to a file.
- For further editing options or to share the screenshot, click the notification that appears after capturing the snip or open the Snip & Sketch app.
- Launch the Snipping Tool by typing “Snipping Tool” in the search bar and selecting the app from the results.
- Click on the “New” button in the Snipping Tool window.
- Select the desired snip type from the options (rectangular, freeform, window, or full-screen) using the drop-down menu.
- Click and drag the cursor to capture the desired area, release the mouse button, and the screenshot will be displayed in the Snipping Tool window.
- To save the screenshot as an image, click on the “File” menu, select “Save As,” choose the desired location, enter a file name, and select the file format (e.g., PNG, JPG).
- Alternatively, click on the “Edit” menu to use the available annotation tools, such as a pen or highlighter, to draw or emphasize specific areas on the screenshot.
- Once you are satisfied with the edits, click on “File” and select “Save” or “Save As” to save the edited screenshot.
Snip & Sketch and Snipping Tool are user-friendly and versatile screenshot tools that can handy in various scenarios. From capturing an entire window to highlighting specific content, these tools provide efficient ways to capture and save screenshots on Windows 10 and Windows 11.
Keyboard Shortcuts for Screenshots
Windows provides several keyboard shortcuts for capturing screenshots on a PC. These shortcuts offer quick and efficient ways to capture screenshots without the need for additional tools.
Print Screen (PrtScn) Key
The Print Screen key captures the entire screen and saves it to the clipboard. Simply press the PrtScn key on your keyboard. This method is useful when you want to paste the screenshot into an image editing program or document.
Windows key + Print Screen Key
Pressing the Windows key combined with the Print Screen key automatically saves a full-screen screenshot to the “Screenshots” folder in the “Pictures” directory. To capture the screenshot, press the Windows key and without releasing it, press the Print Screen key.
Alt + Print Screen Key
The Alt + Print Screen shortcut captures the active window only. This is useful when you only want to capture the contents of a specific window, such as an open application or web browser. Press the Alt key and without releasing it, press the Print Screen key.
Fn + Windows Logo Key + Space Bar
If your keyboard does not have a designated PrtScn key, you can use the Fn + Windows logo key + Space Bar combination to capture screenshots. This shortcut is commonly found on laptops or keyboards with built-in screen capture functionality.
By utilizing these keyboard shortcuts, you can easily capture screenshots on your Windows 10 or Windows 11 PC without the need for additional tools or software.
Third-Party Apps for Screenshot Capture
In addition to the built-in tools, Windows users have the option to explore third-party apps for capturing screenshots on their PCs. These apps offer an array of additional features and customization options, allowing users to enhance their screenshot-taking experience.
There are several popular third-party screenshot apps available for Windows, including Lightshot, Greenshot, ScreenRec, Snagit, and Screencast-O-Matic. Lightshot stands out for its seamless social sharing capabilities, making it easy to share your screenshots with others. On the other hand, Greenshot provides editing capabilities, allowing users to refine their captured images with annotations and highlights. ScreenRec offers annotation tools and easy sharing options, while Snagit goes a step further by enabling animated GIF creation and advanced editing features in its paid version. Additionally, users can opt for Screencast-O-Matic, a web-based tool for recording and sharing on-screen activities.
These third-party apps cater to various preferences and requirements, providing Windows users with greater flexibility in capturing and managing screenshots. Whether you need advanced editing capabilities, seamless social sharing, or specialized features like recording on-screen activities, these apps offer diverse options to enhance your screenshotting process on Windows 10 and Windows 11.
FAQ
How do I take a screenshot on a PC?
There are multiple methods available to capture screenshots on a PC, including built-in tools like Snip & Sketch and Snipping Tool, keyboard shortcuts, and third-party apps.
What are the built-in screenshot tools on Windows 10 and Windows 11?
Windows 10 and Windows 11 have built-in tools called Snip & Sketch and Snipping Tool. Snip & Sketch is an improved version of the Snipping Tool, offering features like easy access, annotation, and sharing options. Snipping Tool, although being phased out, is still available in Windows 11 and can be accessed via the search bar.
What features do Snip & Sketch and Snipping Tool offer?
Both Snip & Sketch and Snipping Tool allow you to capture rectangular, freeform, window, or full-screen screenshots, which can be saved to the clipboard or directly as files. Snip & Sketch also provides convenient options for annotation and sharing.
What are the keyboard shortcuts for taking screenshots on a PC?
There are several keyboard shortcuts for capturing screenshots on a PC. The Print Screen (PrtScn) key captures the entire screen and saves it to the clipboard. Pressing the Windows key + Print Screen key automatically saves a full-screen screenshot to the “Screenshots” folder in the “Pictures” directory. The Alt + Print Screen shortcut captures the active window only. If your keyboard does not have a PrtScn key, you can use the Fn + Windows logo key + Space Bar combination.
Are there third-party apps available for capturing screenshots on a PC?
Yes, there are third-party apps available for capturing screenshots on a PC. Some popular options include Lightshot, Greenshot, ScreenRec, Snagit, and Screencast-O-Matic. These apps offer additional features and customization options to cater to different preferences and requirements.
What additional features do third-party screenshot apps offer?
Third-party screenshot apps like Lightshot allow for easy social sharing, Greenshot provides editing capabilities and scrolling web page capture, ScreenRec offers annotation tools and easy sharing, Snagit allows for animated GIF creation and advanced editing (paid version), and Screencast-O-Matic is a web-based tool for recording and sharing on-screen activities.
Which screenshot method should I choose?
The choice of screenshot method depends on your personal preferences and requirements. Built-in tools like Snip & Sketch and Snipping Tool are convenient options for basic screenshot capture. Keyboard shortcuts offer quick and efficient ways to capture screenshots without the need for additional tools. Third-party apps provide additional features and customization options for more advanced screenshot needs. Consider your specific needs and explore the different methods to find the one that works best for you.


