Table of Contents
Welcome to our guide on how to back up your iPhone to your PC. Having a secure iPhone backup is essential to protect your valuable data. In this article, we will provide you with quick steps and options for backing up your iPhone to your PC. Whether you have a Mac or a Windows PC, we’ve got you covered.
When it comes to iPhone backup, you have multiple options. One convenient way is to use iCloud, which offers automatic daily backups when your iPhone is connected to power, locked, and connected to Wi-Fi. To enable iCloud backup, go to Settings > [your name] > iCloud > iCloud Backup and turn it on. You can also perform a manual backup by tapping “Back Up Now”.
If you have a Mac computer, you can use your Mac to back up your iPhone. Simply connect your iPhone to your computer, select your iPhone in the Finder sidebar, click General, and choose “Back up all of the data on your iPhone to this Mac”.
If you own a Windows PC, you can use iTunes to back up your iPhone. Connect your iPhone to your computer, open iTunes, click the iPhone button, select Summary, and then click “Back Up Now”.
Make sure to keep reading to learn more about backing up your iPhone using iCloud, Mac, and Windows PC. Protect your valuable data with secure iPhone backups.
Back Up iPhone with iCloud
When it comes to backing up your iPhone, iCloud offers a convenient and wireless solution. By enabling iCloud backup on your iPhone, you can ensure that your data is securely stored in the cloud. Here’s how:
- Go to Settings > [your name] > iCloud > iCloud Backup.
- Turn on iCloud Backup.
With iCloud backup enabled, your iPhone will automatically back up on a daily basis when it is connected to Wi-Fi, locked, and connected to power. This ensures that your data is always up to date and protected.
If you want to perform a manual backup to iCloud, simply tap on “Back Up Now” in the iCloud Backup settings. This allows you to take control of your backups and ensure that everything is backed up at a convenient time.
To view your iCloud backups, follow these steps:
- Go to Settings > [your name] > iCloud > Manage Account Storage > Backups.
- In the Backups section, you will find a list of your iCloud backups.
From there, you can easily manage your backups and delete any that you no longer need, freeing up storage space in your iCloud account.
Backing up your iPhone with iCloud provides peace of mind knowing that your data is safely stored in the cloud. It’s a seamless and hassle-free way to protect your valuable information.
Back Up iPhone with Mac
If you have a Mac computer with macOS 10.15 or later, you can easily back up your iPhone using the Finder. Follow these simple steps to ensure your data is securely backed up:
- Connect your iPhone to your Mac using a cable.
- Select your iPhone from the Finder sidebar.
- Click on the “General” tab.
- Choose the option to “Back up all of the data on your iPhone to this Mac.”
By selecting this option, you’ll be able to save all your iPhone data directly to your Mac for safekeeping. But the backup process doesn’t stop there! You can enhance the security of your backup by encrypting it:
To encrypt your backup, simply check the box that says “Encrypt local backup” and set a password. This password will ensure that only you can access your backed-up data, providing an extra layer of protection.
Now that you’ve successfully backed up your iPhone and encrypted the data, it’s essential to know how to access your backups on your Mac. Here’s how:
View Mac Backups
- Click on the Spotlight search button located on the top-right corner of your Mac’s screen.
- Type in the following text: ~/Library/Application Support/MobileSync/Backup/
This will take you directly to the folder where your backups are stored. You’ll be able to browse through your backups and access the data whenever you need it. Keep in mind that the path mentioned above is case-sensitive, so make sure to enter it accurately.
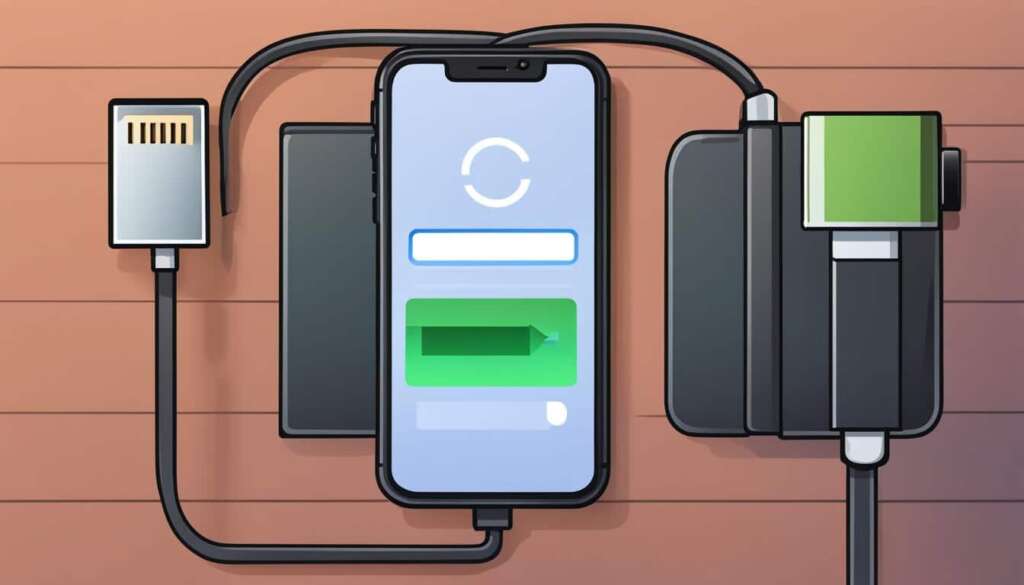
The image above illustrates the process of backing up your iPhone using a Mac computer. It showcases the seamless connection between your iPhone and Mac, simplifying the backup process and ensuring the safety of your data.
Now that you’re familiar with backing up your iPhone with your Mac, you can have peace of mind knowing that your valuable data is protected and easily accessible whenever you need it.
Back Up iPhone with Windows PC
If you own a Windows PC, you have the option to use iTunes to back up your iPhone.
To begin, connect your iPhone to your PC using a cable. Once connected, open iTunes on your computer and click the iPhone button located near the top left corner of the iTunes window.
From there, click on “Summary” and then select “Back Up Now” to initiate the backup process. If you want to add an extra layer of security to your backup, you can choose to encrypt it. Simply select “Encrypt local backup,” set a password, and click “Set Password.” Encrypted backups will be indicated by a lock icon in the list of backups.
To view your backups on your Windows PC, launch iTunes, click on “Edit,” then “Preferences,” and finally select “Devices.” This will provide you with a list of your backups, allowing you to manage and delete any backups that are no longer necessary.
FAQ
How can I back up my iPhone to my PC?
You have multiple options for backing up your iPhone to your PC. You can use iCloud, your Mac computer, or your Windows PC.
How do I back up my iPhone using iCloud?
To back up your iPhone using iCloud, go to Settings > [your name] > iCloud > iCloud Backup and turn on iCloud Backup. You can also perform a manual backup by tapping Back Up Now.
How do I view and delete my iCloud backups?
To view your iCloud backups, go to Settings > [your name] > iCloud > Manage Account Storage > Backups. From there, you can see a list of your backups and delete any that you no longer need.
How do I back up my iPhone using my Mac?
Connect your iPhone to your Mac using a cable, select your iPhone in the Finder sidebar, click General, and choose “Back up all of the data on your iPhone to this Mac.”
Can I encrypt my iPhone backup on my Mac?
Yes, you can encrypt your backup data by selecting “Encrypt local backup” and setting a password. This will protect your backup with encryption.
How do I view my Mac backups?
To view your backups on your Mac, you can click the Spotlight search button and copy in the following text: ~/Library/Application Support/MobileSync/Backup/. This will take you to the folder where your backups are stored.
How do I back up my iPhone using my Windows PC?
Connect your iPhone to your PC using a cable, open iTunes, click the iPhone button near the top left of the iTunes window, click Summary, and then click Back Up Now.
Can I encrypt my iPhone backup on my Windows PC?
Yes, to encrypt your backups, select “Encrypt local backup,” set a password, and click Set Password. Encrypted backups have a lock icon in the list of backups.
How do I view and delete my Windows PC backups?
To view your backups on your Windows PC, you can open iTunes, click Edit, then Preferences, and click Devices. From there, you can see a list of your backups and delete any that you no longer need.


