Table of Contents
Welcome to our step-by-step guide on how to connect your Steam Deck to your PC for seamless gameplay and content sharing. The Steam Deck is a powerful handheld gaming device that allows you to play your favorite PC games on the go. But did you know that you can also connect it to your PC for an even greater gaming experience? In this guide, we will walk you through the process of connecting your Steam Deck to your PC, so you can enjoy your games on a bigger screen and transfer files between the devices.
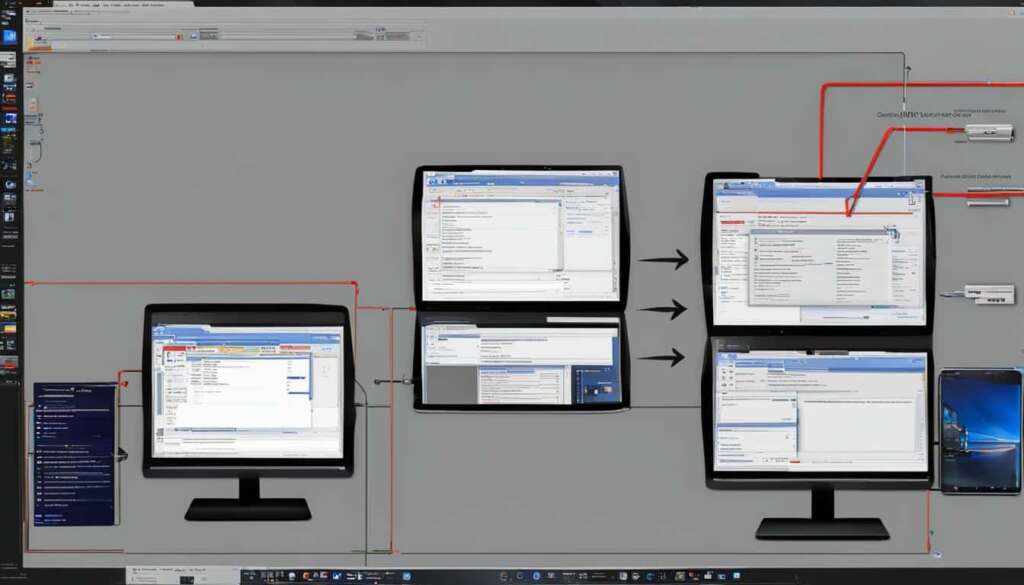
To begin, you’ll need to enable USB connectivity on your Steam Deck. Simply go to Settings, then navigate to the System tab and select the Console option. From there, enable “USB Debugging” to allow your PC to recognize your Steam Deck.
Next, you’ll need to connect your Steam Deck to your PC using a USB Type-C to Type-C cable or a USB Type-C to Type-A cable with an OTG adapter. Ensure that both ends of the cable are securely connected.
Once your devices are connected, launch Steam on your PC and log in to your account. Enable Remote Play in the Steam settings on your PC to allow your Steam Deck to connect and stream games. If you’re using a game controller, don’t forget to pair it with your PC by enabling “PS4/Xbox Configuration Support” in the Controller settings.
Now that everything is set up, you can start playing games on your Steam Deck. Simply select a game from your Steam library and click the “Play” button. The game will stream to your Steam Deck, providing you with a seamless gaming experience.
Additionally, you can easily transfer files between your Steam Deck and PC. Whether it’s media files, game mods, or other content, you can easily transfer them using file transfer applications like Warpinator or portable media such as USB flash drives or Micro SD cards.
Connecting your Steam Deck to your PC opens up a world of possibilities. Whether you want to enjoy your games on a bigger screen or transfer files between devices, the process is simple and straightforward. So why wait? Connect your Steam Deck to your PC today and enhance your gaming experience!
Why Connect Steam Deck to PC?
There are several reasons to connect your Steam Deck to a PC. One of the main advantages is the ability to transfer files between the devices. Whether it’s media files, game mods, or other content that you can’t find on Steam, connecting your Steam Deck to your PC allows for seamless file transfer.
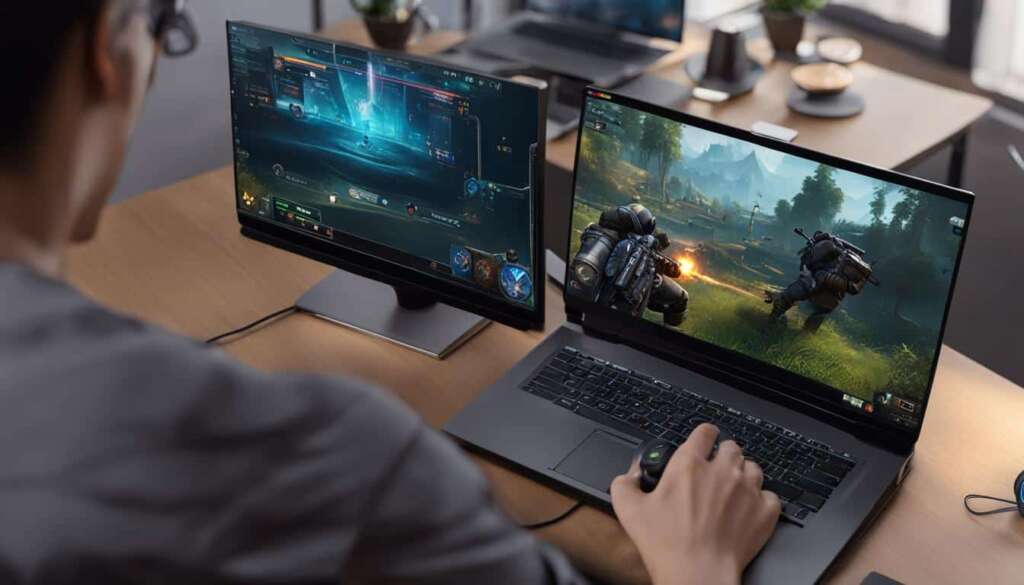
Connecting your Steam Deck to a powerful gaming PC opens up a world of possibilities. Not only can you transfer files, but you can also stream games from your PC directly to your Steam Deck, without the need to install them on the device itself.
This is especially useful if you have a powerful gaming PC that can handle resource-intensive games and want to enjoy them on the go with your Steam Deck. By connecting your Steam Deck to your PC, you can take advantage of the superior performance and graphical capabilities of your gaming rig, enhancing your gaming experience wherever you are.
Additionally, connecting your Steam Deck to a PC is an ideal solution for playing modded games. You can mod the game on your PC, taking advantage of the flexibility and customization options that a powerful gaming PC provides, and then easily stream the modded game to your Steam Deck for on-the-go gaming.
Overall, connecting your Steam Deck to a PC offers the convenience of transferring files, the ability to stream games from a powerful gaming PC, and the flexibility to play modded games. It’s a valuable feature that enhances the gaming experience and extends the capabilities of your Steam Deck.
Benefits of Connecting Steam Deck to PC
| Benefits | Description |
|---|---|
| Transfer files | Seamlessly transfer media files, game mods, and other content between your Steam Deck and PC. |
| Stream games | Enjoy games from your powerful gaming PC on your Steam Deck without the need to install them on the device. |
| Powerful gaming PC | Leverage the superior performance and graphical capabilities of your gaming rig for an enhanced gaming experience on your Steam Deck. |
| Modded games | Create and customize modded games on your PC, then stream them to your Steam Deck for on-the-go gaming. |
By connecting your Steam Deck to a PC, you can unlock the full potential of your gaming experience, seamlessly transfer files, stream games from a powerful gaming PC, and enjoy the flexibility of playing modded games. It’s a feature that adds convenience, versatility, and expands the capabilities of your Steam Deck.
How to Use Steam Deck on PC?
To enhance your Steam Deck experience on a PC, there are various ways to make the most out of its features. In this section, we will explore two primary ways: transferring files and streaming games.
Transferring Files
When it comes to transferring files between your Steam Deck and PC, you have multiple options at your disposal:
- File Transfer Application: A convenient choice is using file transfer applications like Warpinator, which seamlessly works on both Steam Deck and Windows PCs. It enables you to transfer files effortlessly, ensuring a smooth workflow.
- Portable Media: Another method is utilizing portable media, such as USB flash drives or Micro SD cards. Simply format them correctly, and your Steam Deck can easily read and transfer files from these storage devices.
- Network Attached Storage (NAS) Device: If you have a NAS device connected to your network, you can access it from both your Steam Deck and PC. This allows for efficient file transfers and easy accessibility of your data.
Streaming Games
Streaming games from your PC to your Steam Deck is a fantastic way to enjoy your favorite games on a larger screen. Here’s how you can do it:
- Select your PC: From the Steam Deck’s library, choose your PC as the streaming source.
- Tap the streaming button: With a simple tap, initiate the game streaming from your PC to your Steam Deck.
By following these steps, you can effortlessly transfer files and stream games between your Steam Deck and PC, enhancing your gaming experience and maximizing the potential of both platforms.
How to Connect Steam Deck to TV or Monitor?
If you’d like to enjoy your Steam Deck gaming experience on a larger screen, connecting it to a TV or monitor is a straightforward process.
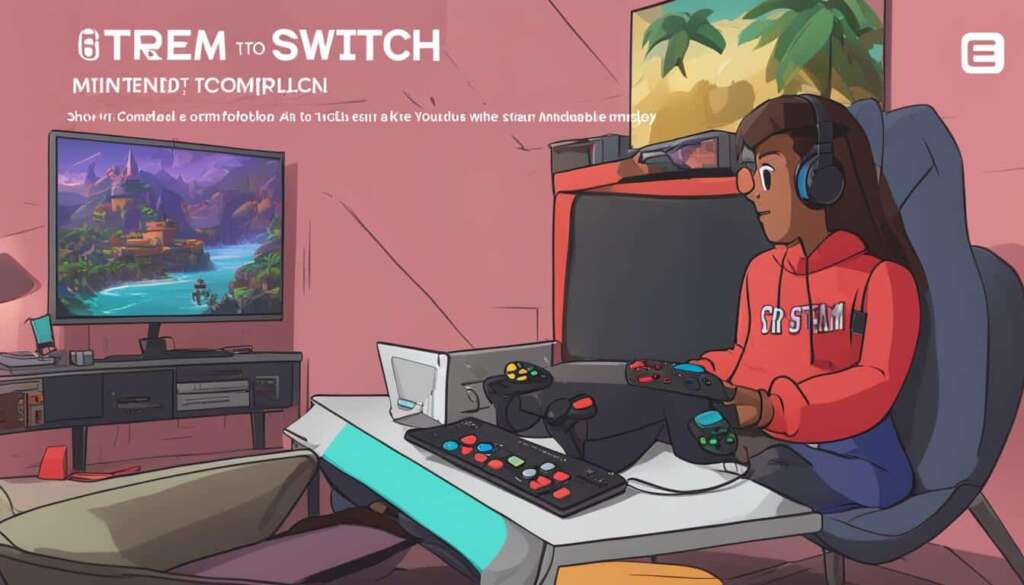
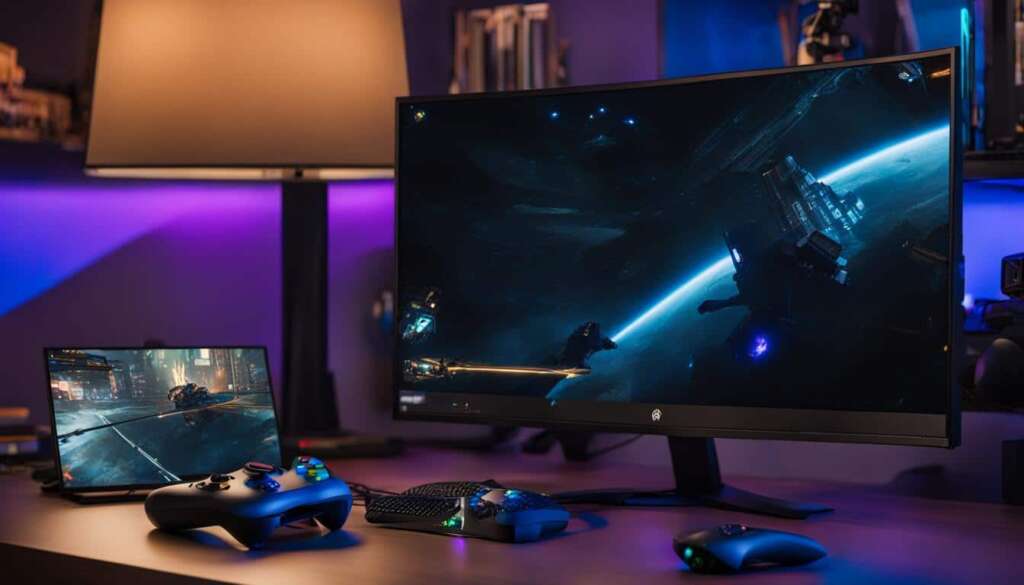
To get started, you’ll need an HDMI to USB-C adapter. Simply plug the HDMI cable into your TV or monitor, then connect the adapter to the USB-C port on your Steam Deck. Finally, connect the HDMI cable to the HDMI end of the adapter.
By connecting your Steam Deck to a TV or monitor, you can elevate your gaming sessions with a bigger display. Immerse yourself in the action and enjoy a more optimized gaming experience on the big screen.
FAQ
How do I connect my Steam Deck to a PC?
To connect your Steam Deck to a PC, you need to enable USB connectivity on your Steam Deck settings and connect it to your PC using a USB Type-C to Type-C cable or a USB Type-C to Type-A cable with an OTG adapter. Once connected, you can launch Steam on your PC, enable Remote Play settings, and start playing games on your Steam Deck.
What are the reasons to connect my Steam Deck to a PC?
Connecting your Steam Deck to a PC allows you to transfer files between the devices, stream games from your PC to your Steam Deck, and enjoy modded games without installing them on your Steam Deck. It’s also a convenient way to leverage the power of your gaming PC for a more enhanced gaming experience.
How can I use my Steam Deck on a PC?
There are a few ways to use your Steam Deck on a PC. You can transfer files between the devices using file transfer applications, portable media such as USB flash drives or Micro SD cards, or Network Attached Storage (NAS) devices. Additionally, you can stream games from your PC to your Steam Deck by selecting your PC from the Steam Deck’s library and tapping the streaming button.
How do I connect my Steam Deck to a TV or monitor?
To connect your Steam Deck to a TV or monitor, you’ll need an HDMI to USB-C adapter. Simply plug the HDMI cable into your TV or monitor, connect the adapter to the USB-C port on your Steam Deck, and then connect the HDMI cable to the HDMI end of the adapter. This allows you to enjoy a larger gaming experience on a bigger screen.

