Table of Contents
Want to join an Xbox party on your PC? Look no further! In this step-by-step guide, we’ll show you how to join an Xbox party on your PC effortlessly. Whether you’re a seasoned gamer or new to the Xbox app, these instructions will help you connect with your friends and start gaming together.
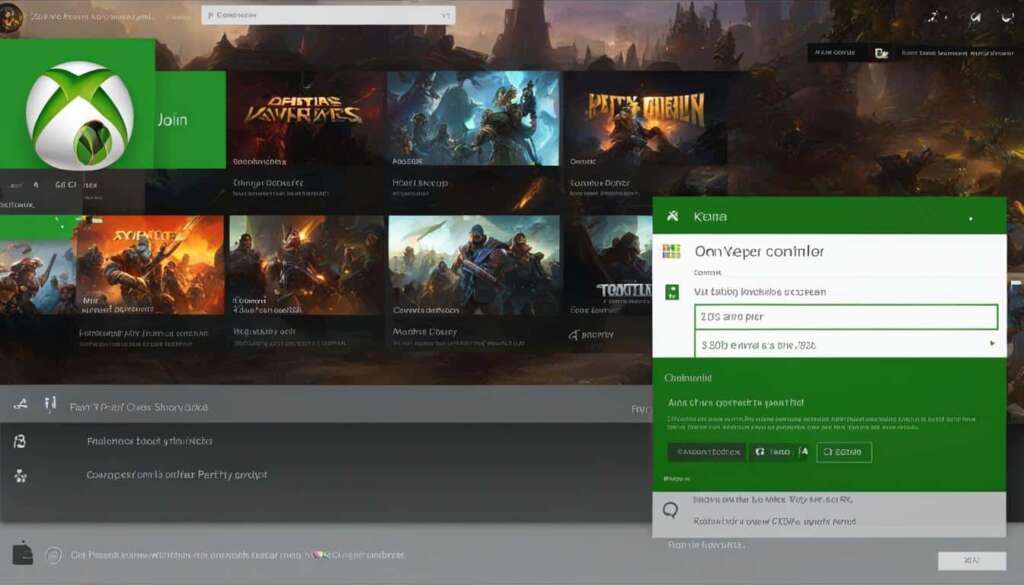
To get started, open the Xbox app on your PC. If you don’t have it installed, you can easily download it from the Microsoft Store. Once you’re in the app, click on your Gamerpic in the upper-left corner to open the side menu. From there, select “Parties” to access the party settings.
On the “Parties” page, click “Start a party” to initiate a new party. Next, you can invite your friends by selecting the option to “Invite friends.” Once your friends have joined the party, it’s time to start gaming together!
Now that you know how to join an Xbox party on your PC, get ready for an exciting gaming session with your friends. Remember, the Xbox app on PC offers a seamless and immersive experience, so you can focus on the game and enjoy every moment. Happy gaming!
How to Set Up a Party on Xbox App for PC
If you want to set up your own Xbox Party on the Xbox app for PC, follow these steps:
- Download the Xbox app from the Microsoft Store and sign in with your Microsoft account.
- Open the Xbox app and go to the “Parties” section.
- Click “Create a party” and choose the party settings, such as voice chat options and who can join.
- Invite your friends by selecting their gamertags and clicking “Invite to party”.
- Once your friends have joined the party, you’re ready to start gaming and chatting together.
Setting up a party on the Xbox app for PC allows you to gather your friends and enjoy gaming and conversations. It’s a great way to connect and have fun together. Here’s an example of how the party settings might look:
| Party Settings | Options |
|---|---|
| Voice Chat | Enabled |
| Allow Friends of Friends | Yes |
| Max Party Size | 8 |
How to Start and Leave an Xbox Party using Xbox Game Bar
Another way to start and leave an Xbox Party on PC is by using the Xbox Game Bar. Here’s how:
- Press the Windows key + G to bring up the Xbox Game Bar.
- Click the “Social” button at the end of the Game Bar to open the Social Widget.
- To start a party, click the headset icon and set the party options.
- To join a party, right-click on a friend’s name and select “Join Party”.
- To leave a party, click the icon with the arrow pointing away from a tall rectangle.
Using the Xbox Game Bar provides a convenient and intuitive way to start and leave Xbox Parties on your PC. Whether you’re starting a gaming session with friends or need to exit a party, the Xbox Game Bar has got you covered.
| Xbox Game Bar | Description |
|---|---|
| The Xbox Game Bar is a built-in feature in Windows 10 that allows gamers to access various gaming features and functionalities without leaving their game. |
How to Send Messages and Chat in Xbox Party on PC
In an Xbox Party on PC, you can easily stay connected with your friends by sending messages and chatting. Here’s how:
To start, open the Xbox Game Bar and sign in to your account. This will give you access to a range of social features.
Next, use the Xbox Social Widget to add your friends to Xbox Live. Right-click on their names and select “Invite to Party” to invite them to join your party.
Once your friends are in the party, you can message them individually by right-clicking on their name and selecting “Open chat”. This will bring up the Xbox Chat widget where you can type your message. Press Enter to send it and keep the conversation going.
With the ability to send messages and chat in an Xbox Party on PC, you can coordinate strategies, share gaming tips, or simply have a friendly chat while gaming together.
FAQ
How do I join an Xbox Party on PC?
To join an Xbox Party on PC, open the Xbox app on your PC, click your Gamerpic in the upper-left corner to open the side menu, select “Parties” from the side menu, and on the “Parties” page, click “Start a party”. Invite your friends by selecting the option to “Invite friends”. Once your friends have joined the party, you’re ready to start gaming together.
How do I set up a party on Xbox App for PC?
To set up your own Xbox Party on the Xbox app for PC, download the Xbox app from the Microsoft Store and sign in with your Microsoft account. Open the Xbox app and go to the “Parties” section. Click “Create a party” and choose the party settings, such as voice chat options and who can join. Invite your friends by selecting their gamertags and clicking “Invite to party”. Once your friends have joined the party, you’re ready to start gaming and chatting together.
How do I start and leave an Xbox Party using Xbox Game Bar?
To start an Xbox Party on PC using the Xbox Game Bar, press the Windows key + G to bring up the Xbox Game Bar. Click the “Social” button at the end of the Game Bar to open the Social Widget. To start a party, click the headset icon and set the party options. To join a party, right-click on a friend’s name and select “Join Party”. To leave a party, click the icon with the arrow pointing away from a tall rectangle.
How do I send messages and chat in an Xbox Party on PC?
In an Xbox Party on PC, you can send messages and chat with your friends. Open the Xbox Game Bar and sign in. Use the Xbox Social Widget to add friends to Xbox Live. To invite friends to a party, right-click on their name and select “Invite to Party”. To message friends in the party, right-click on their name and select “Open chat”. Type your message in the Xbox Chat widget and press Enter to send it.

