Table of Contents
Taking screenshots on a Windows laptop is easy and convenient. Whether you’re using Windows 10 or Windows 11, there are several built-in tools and shortcuts that you can use to capture your screen. These tools include Snip & Sketch, Snipping Tool, Print Screen, Windows key + Print Screen, Alt + Print Screen, Game bar, and Windows Logo + volume down.
In this article, we will explore these methods in detail, helping you capture and preserve your precious memories effortlessly.
Snip & Sketch
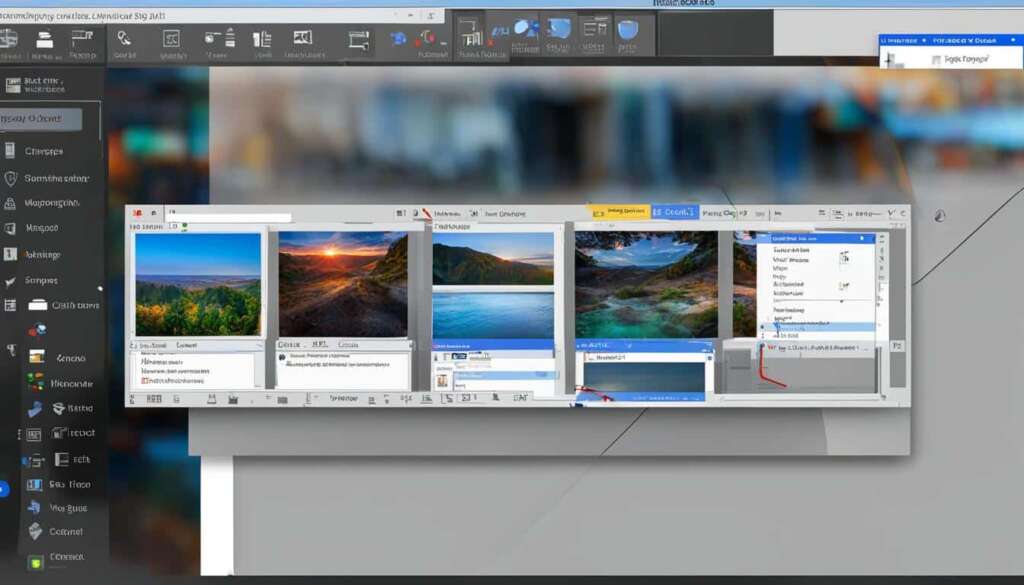
Snip & Sketch is an improved screenshot tool that is available on both Windows 10 and Windows 11. It offers a seamless and efficient way to capture and edit screenshots on your Windows laptop. Through its user-friendly interface and versatile features, Snip & Sketch simplifies the process of capturing, annotating, and sharing screenshots.
Accessible via the keyboard shortcut Windows key + Shift + S or by searching for it in the Start menu, Snip & Sketch provides a convenient and quick way to capture screenshots. With Snip & Sketch, you have the flexibility to capture specific portions of your screen, including a window, a rectangular area, a freeform area, or the entire screen.
Once you have captured a screenshot using Snip & Sketch, it is automatically saved to your clipboard. You can then open the Snip & Sketch app to further enhance and customize the screenshot. Add annotations, highlight important details, or crop the image to focus on specific areas. Snip & Sketch offers a range of tools to help you personalize your screenshots according to your needs.
After editing, you can save the screenshot to your computer or share it directly with others. Whether you’re sending an important image to a colleague, sharing a funny moment with friends, or documenting an issue for technical support, Snip & Sketch makes it easy to create and distribute high-quality screenshots.
The Snip & Sketch tool is a valuable asset for Windows laptop users, allowing them to effortlessly capture and enhance screenshots for various purposes. Its intuitive design and comprehensive features make it a reliable companion for anyone seeking to capture and share visual content.
Snipping Tool
The Snipping Tool is a reliable and versatile screenshot tool that continues to be available on Windows 11, despite being excluded from the Start menu. Capturing screenshots with the Snipping Tool is quick and easy, making it a popular choice for many Windows laptop users.
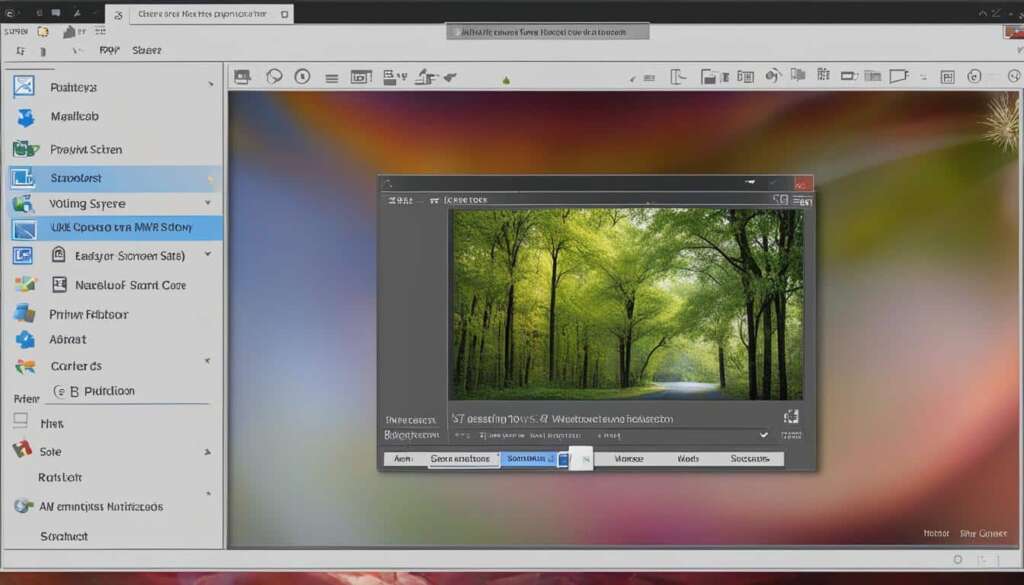
To access the Snipping Tool, you can either open it directly from the search bar or use the convenient keyboard shortcut Windows key + Shift + S. Once open, the Snipping Tool provides various options for capturing screenshots, giving you the flexibility to choose the best mode for your needs.
With the Snipping Tool, you can capture screenshots in different modes:
- Rectangular: Capture a specific rectangular area on your screen.
- Free-form: Capture a customized, irregular-shaped area.
- Full-screen: Capture the entire contents of your screen.
- Window: Capture a specific window, including contents and borders.
After capturing a screenshot with the Snipping Tool, it is automatically copied to your clipboard. However, it’s important to note that the screenshot is not saved automatically. You will need to manually save it within the Snipping Tool application.
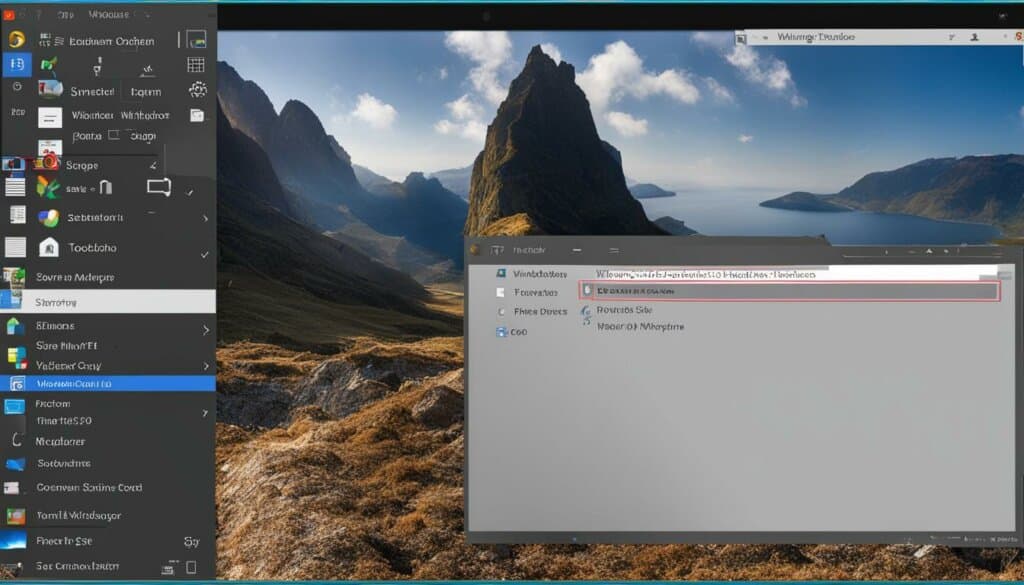
“The Snipping Tool on Windows laptops is a convenient and flexible option for capturing screenshots in various modes, giving you control over what you want to capture.”
Take advantage of the Snipping Tool’s functionality to capture and save screenshots tailored to your specific requirements. Whether you need to capture a specific section of a webpage, highlight important information, or share interesting content with others, the Snipping Tool is there to assist you.
Print Screen
The Print Screen key (sometimes labeled PrtScn) on your keyboard is a quick and easy way to capture your entire screen. Pressing the Print Screen key will copy the screenshot to your clipboard. You can then open an image editing tool, such as Microsoft Paint, paste the screenshot, and save it as a file. Alternatively, you can set the PrtScn button to open the Snip & Sketch tool by going to Settings > Ease of Access > Keyboard and toggling on Use the PrtScn button to open screen snipping.
When capturing your screen using the Print Screen key, you can easily save and share important information, memorable moments, or interesting content. Let’s look at how easy it is to use this screenshot keyboard shortcut.
- Ensure that the content you want to capture is displayed on your screen.
- Locate the Print Screen key on your keyboard. It is usually labeled as PrtScn.
- Press the Print Screen key. This will copy the screenshot to your clipboard.
- Open an image editing tool, such as Microsoft Paint.
- Paste the screenshot into the image editing tool by right-clicking and selecting Paste or using the keyboard shortcut Ctrl + V.
- Save the screenshot as a file by clicking on the File menu and selecting Save or using the keyboard shortcut Ctrl + S.
That’s it! You’ve successfully captured a screenshot using the Print Screen key. Now you can use the screenshot for various purposes, such as creating tutorials, documenting software issues, or simply capturing a moment worth remembering.
Additional Methods and Tips
In addition to the built-in tools, there are several other methods and tips for capturing screenshots on a Windows laptop. These methods provide you with more options and flexibility for capturing the perfect screenshot.
1. Using the Game bar
If you’re a gamer or simply enjoy playing games on your Windows laptop, you can use the Game bar to easily snap a screenshot. Simply press the Windows key + G to open the Game bar, and then click on the camera icon to capture a screenshot of your game or any other window on your screen.
2. Keyboard shortcut: Alt + PrtScn
Another handy keyboard shortcut for capturing screenshots is Alt + PrtScn. This shortcut allows you to capture the active window only, rather than the entire screen. It’s useful when you want to focus on a specific window or application without capturing unnecessary elements in the background.
3. Keyboard shortcut: Windows Logo + volume down
If you’re using a Microsoft Surface device, you can use a different keyboard shortcut to capture screenshots. Simply press the Windows Logo key + volume down button simultaneously, and the screenshot will be saved in your Screenshots folder. This method is especially convenient for tablet mode or when using the device in a handheld position.
4. Third-party apps and image editors
In addition to the built-in tools, you can also explore third-party apps and image editors for capturing and editing screenshots on your Windows laptop. These apps often provide advanced features and customization options that can enhance your screenshot-taking experience. Some popular options include Lightshot, Greenshot, and SnagIt.
It’s important to note that not all laptops may have a dedicated Print Screen key. In such cases, you can use the Fn + Windows logo key + Space Bar shortcut to capture screenshots instead.
With these additional methods and tips, you have a range of options to choose from when capturing screenshots on your Windows laptop. Experiment with different tools and shortcuts to find the ones that suit your needs and preferences. Whether you’re a gamer, a designer, or just someone who wants to capture and share moments on your screen, these methods will help you capture the perfect screenshot.
Conclusion
Capturing screenshots on a Windows laptop is a breeze with the array of built-in tools and shortcuts at your disposal. Whether you’re a fan of Snip & Sketch, the Snipping Tool, or prefer using the trusty Print Screen key, you have multiple options to effortlessly capture and save screenshots for various purposes.
Don’t be afraid to experiment with different tools and find the one that suits your needs best. Snip & Sketch offers a versatile and user-friendly interface, allowing you to capture screenshots in different shapes and sizes, while the Snipping Tool provides flexibility and options, despite its absence from the Start menu in Windows 11. And if you’re a fan of simplicity, the Print Screen key is always at your service, enabling you to capture your entire screen with a single press.
Capturing screenshots on your Windows laptop is more than just a utilitarian task – it’s about capturing and preserving those precious memories effortlessly. Whether you want to record an important piece of information, save an inspiring quote, or share a hilarious moment, these screenshot tools allow you to immortalize the moments that matter, ensuring they are never forgotten.
FAQ
How do I capture a screenshot on a Windows laptop?
There are several built-in tools and shortcuts you can use to capture a screenshot on a Windows laptop. These include Snip & Sketch, Snipping Tool, the Print Screen key, and more.
How do I use Snip & Sketch to capture a screenshot on a Windows laptop?
You can easily access Snip & Sketch by using the keyboard shortcut Windows key + Shift + S or by searching for it in the Start menu. This tool allows you to capture a screenshot of a window, rectangular area, freeform area, or the entire screen. The screenshot is automatically saved to your clipboard and can be opened in the Snip & Sketch app for annotation, saving, or sharing.
How do I use the Snipping Tool to capture a screenshot on a Windows laptop?
To use the Snipping Tool, simply open it from the search bar or use the keyboard shortcut Windows key + Shift + S. The Snipping Tool allows you to capture screenshots in rectangular, free-form, full-screen, or window mode. The screenshots are copied to the clipboard and need to be manually saved in the tool.
How do I capture a screenshot of my entire screen using the Print Screen key?
Pressing the Print Screen key (PrtScn) on your keyboard will copy the screenshot to your clipboard. You can then open an image editing tool, such as Microsoft Paint, paste the screenshot, and save it as a file. Alternatively, you can set the PrtScn button to open the Snip & Sketch tool by going to Settings > Ease of Access > Keyboard and toggling on Use the PrtScn button to open screen snipping.
Are there any additional methods or tips for capturing screenshots on a Windows laptop?
Yes, there are. You can use the Game bar to snap a screenshot, use the keyboard shortcut Alt + PrtScn to capture the active window, use the keyboard shortcut Windows Logo + volume down on Microsoft Surface devices, or even use third-party apps or image editors. It’s important to note that some laptops may not have a Print Screen key, but you can use the Fn + Windows logo key + Space Bar shortcut instead.
Can I use these methods to capture and save screenshots for various purposes?
Absolutely! The built-in tools and shortcuts on a Windows laptop make it easy to capture and save screenshots for various purposes. Whether it’s documenting important information, sharing a funny meme, or preserving memories, you can find the method that works best for you and effortlessly capture the screenshots you need.

