Table of Contents
Taking screenshots or capturing snippets on a PC is a useful skill, whether it’s for sharing with others or for personal reference. Fortunately, both Windows 10 and Windows 11 offer built-in tools that make the process easy. In this quick guide, we’ll explore different methods for capturing snippets on your PC using the Snip & Sketch tool, the Snipping Tool, and keyboard shortcuts.
When it comes to capturing snippets on your PC, you have several options at your disposal. Windows 10 and Windows 11 provide tools that allow you to effortlessly capture screenshots and snippets from your desktop or any active window. Whether you want to capture a specific section of your screen or the entire screen, these tools have got you covered.
In the following sections, we’ll delve into the details of each tool, so you can choose the one that suits your needs best. Whether you’re working on Windows 10 or Windows 11, you can still capture snippets efficiently with these built-in features. Let’s get started!
Using the Snip & Sketch Tool
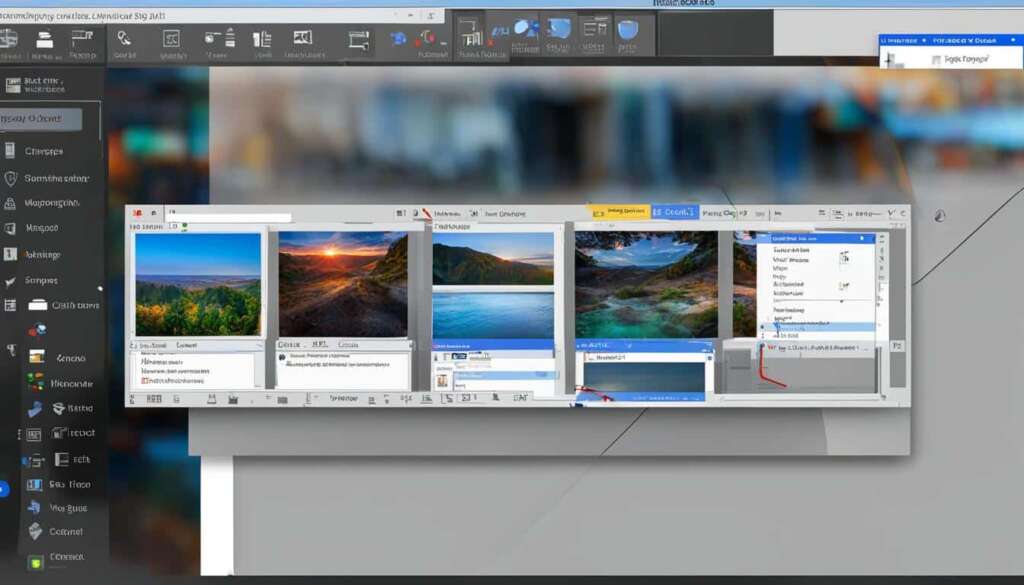
The Snip & Sketch tool is a built-in feature in both Windows 10 and Windows 11 that provides an easy way to capture and annotate screenshots. You can access the Snip & Sketch tool by using the keyboard shortcut Windows key + Shift + S or by searching for it in the Start menu. It allows you to capture different types of screenshots, such as rectangular, freeform, window, or full-screen.
“The Snip & Sketch tool is a game-changer when it comes to capturing screenshots on Windows 10 and Windows 11. Whether you need to capture a specific area of your screen or the entire screen, this tool has got you covered.”
After taking a screenshot, it is saved to your clipboard and can be opened in the Snip & Sketch app for annotation, saving, or sharing. With the Snip & Sketch app, you can easily highlight important information, draw shapes, or add text to your screenshots. It’s a versatile tool that caters to various annotation needs.
Capturing Screenshots using the Snip & Sketch Tool
To capture a screenshot using the Snip & Sketch tool:
- Press the keyboard shortcut Windows key + Shift + S to open the Snip & Sketch tool.
- Select the desired snip type (rectangular, freeform, window, or full-screen) from the toolbar.
- Click and drag the cursor to select the area you want to capture.
- Release the mouse button to take the screenshot.
Once you’ve captured the screenshot, it will be automatically saved to your clipboard. You can then open the Snip & Sketch app by clicking on the notification that appears after capturing the screenshot. In the Snip & Sketch app, you can annotate your screenshot, save it to your desired location, or share it with others.
| Feature | Description |
|---|---|
| Snip Types | Choose from rectangular, freeform, window, or full-screen snips to capture different areas of your screen. |
| Annotation Tools | Use the Snip & Sketch app to annotate your screenshots with highlights, shapes, and text. |
| Clipboard Integration | Screenshots are automatically saved to your clipboard for quick access and sharing. |
Using the Snipping Tool and Keyboard Shortcuts
The Snipping Tool is a valuable built-in feature available in both Windows 10 and Windows 11, providing an efficient way to capture screenshots.
To access the Snipping Tool in Windows 11, simply use the search bar, as it has been delisted from the Start menu. In Windows 10, you can find it by searching or using the Run command (Windows key + R) and typing “SnippingTool”.
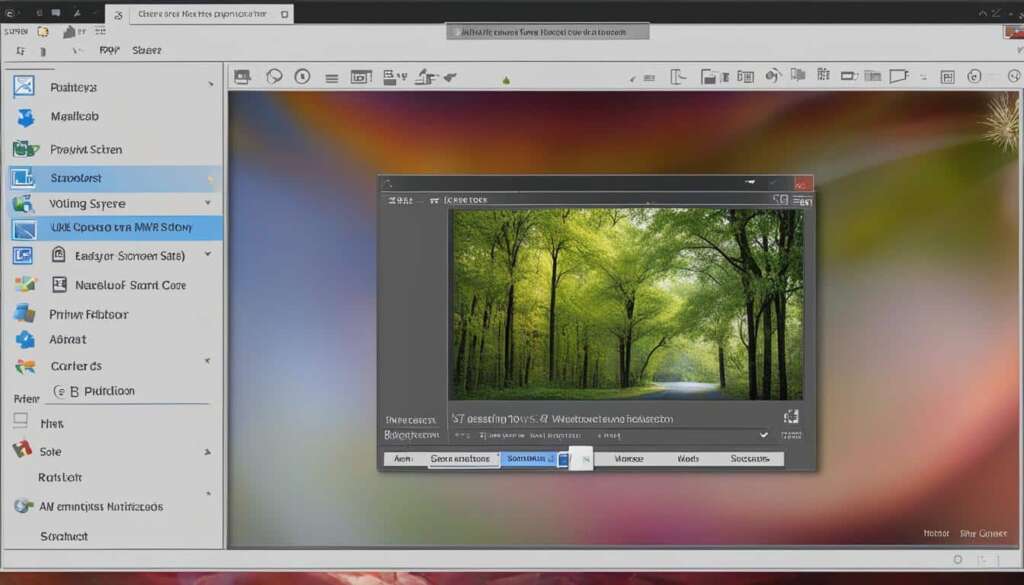
Once you have the Snipping Tool open, you can choose from various snip types, including rectangular, freeform, full-screen, and window snips. This versatility allows you to capture precisely what you need, whether it’s a specific area or the entire screen.
Unlike the Snip & Sketch tool, the Snipping Tool does not automatically save the screenshots, so it’s essential to manually save them before exiting the tool. Simply click on the “File” menu and choose the “Save As” option to save your captured screenshot in a location of your choice.
FAQ
How do I access the Snip & Sketch tool on Windows 10 and Windows 11?
You can access the Snip & Sketch tool by using the keyboard shortcut Windows key + Shift + S or by searching for it in the Start menu.
What types of screenshots can I capture with the Snip & Sketch tool?
The Snip & Sketch tool allows you to capture rectangular, freeform, window, or full-screen screenshots.
Where are the screenshots saved after using the Snip & Sketch tool?
The screenshots taken with the Snip & Sketch tool are saved to your clipboard and can be opened in the Snip & Sketch app for annotation, saving, or sharing.
How do I access the Snipping Tool on Windows 10 and Windows 11?
Although the Snipping Tool has been delisted from the Start menu in Windows 11, you can still access it via the search bar.
What types of screenshots can I capture with the Snipping Tool?
The Snipping Tool allows you to capture rectangular, freeform, full-screen, and window snips.
Does the Snipping Tool automatically save the screenshots?
Unlike the Snip & Sketch tool, the Snipping Tool does not automatically save the screenshots. You will need to manually save them before exiting the tool.


