Table of Contents
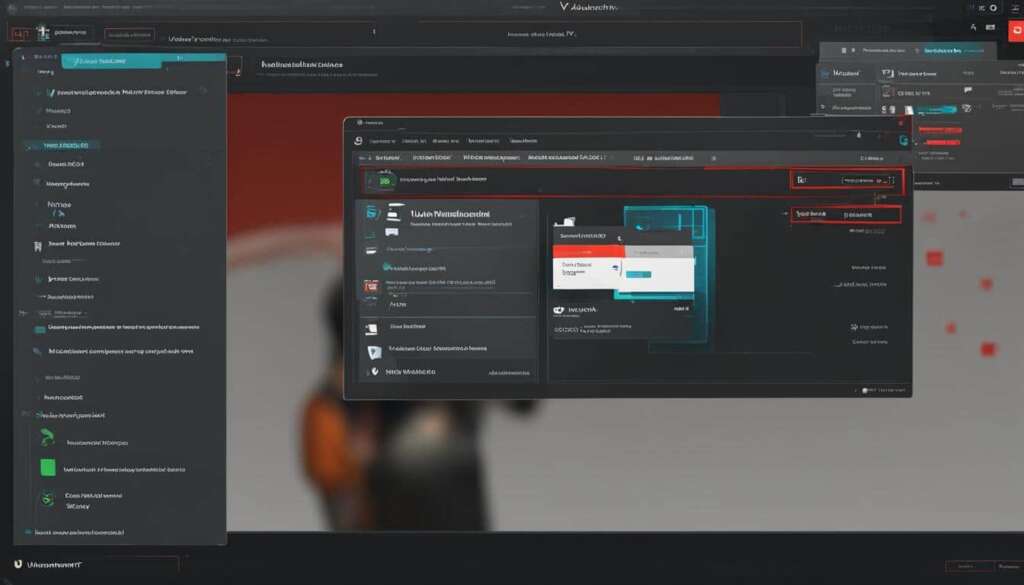
Are you looking to uninstall Valorant from your PC? Whether you’re facing issues with the game, tired of the ranked grind, or simply want a break from the toxic community, we’ve got you covered. Uninstalling Valorant might seem like a challenging task, especially with the Riot Vanguard anti-cheat system in place. However, with our step-by-step guide, you’ll be able to remove Valorant from your Windows 10/11 PC hassle-free.
Before we dive into the uninstallation process, it’s important to mention that disabling the Vanguard anti-cheat software is a crucial step. To disable Vanguard, simply right-click on the Vanguard icon in your system tray and select the “Exit Vanguard” option. By doing so, you’ll stop the Vanguard anticheat service, clearing the way for a successful uninstallation.
Now, let’s move on to the uninstallation process itself. To uninstall Valorant, you’ll need to open the settings app on your Windows PC. Use the Windows key + I shortcut to access the settings. Once you’re in the settings app, navigate to the “Apps” section. Look for Valorant in the list of installed apps and click on it. Finally, click the “Uninstall” button to remove Valorant from your PC.
However, our job isn’t done just yet. It’s essential to ensure that no leftover files remain after uninstalling Valorant. Open File Explorer and go to the “C:\Riot Games” directory. Check if there are any folders associated with Valorant and delete them to guarantee a complete removal from your system.
By following these simple steps, you’ll be able to uninstall Valorant and bid farewell to the game without any hassle. Whether you’re taking a break or moving on to new gaming adventures, the process is straightforward and efficient.
Stay tuned for the next sections of our guide, where we’ll provide further details on disabling and uninstalling Vanguard, as well as properly removing Valorant from your PC. Say goodbye to Valorant and hello to a fresh gaming experience!
How to Disable and Uninstall Vanguard
Before uninstalling Valorant, it is important to disable the Vanguard anti-cheat software. To do this, you can right-click on the Vanguard icon in your system tray and select the “Exit Vanguard” option. This will stop the Vanguard anticheat service on your PC. After disabling Vanguard, you can proceed with uninstalling the Riot Vanguard software itself. This step is crucial in the uninstallation process of Valorant.
Disabling Vanguard is the first step towards uninstalling Riot Vanguard and ultimately removing Valorant from your PC. Follow the steps below:
- Locate the Vanguard icon in your system tray. It’s usually a small V-shaped icon representing the program.
- Right-click on the Vanguard icon to open the context menu.
- Select the “Exit Vanguard” option from the menu.
By exiting Vanguard, you are effectively disabling the anti-cheat software, allowing you to proceed with the uninstallation process.
Once you have disabled Vanguard, you can move on to uninstalling the Riot Vanguard software itself. Here’s how:
- Open the Control Panel on your PC.
- Navigate to the “Programs” or “Programs and Features” section, depending on your Windows version.
- Locate Riot Vanguard in the list of installed programs.
- Select Riot Vanguard and click on the “Uninstall” button.
- Follow the on-screen prompts to complete the uninstallation process.
By following these steps, you will successfully uninstall Riot Vanguard from your PC, removing the anti-cheat software associated with Valorant. This prepares your system for a clean uninstallation of the game itself.
Uninstalling Valorant Properly
Once you have uninstalled Riot Vanguard, it’s time to focus on removing Valorant from your PC. To begin, press the Windows key + I shortcut to open the settings app on your Windows PC. From there, navigate to the “Apps” section and locate Valorant in the list of installed apps.
Click on Valorant and then click the “Uninstall” button to initiate the removal process. This will uninstall Valorant from your PC, freeing up valuable storage space. However, the uninstallation process doesn’t end there.
To ensure the complete removal of Valorant, it is important to check for any leftover files. Open File Explorer and navigate to the “C:\Riot Games” directory. Look for any remaining folders associated with Valorant and delete them. Removing these files will help eliminate any traces of the game from your system, ensuring a proper uninstallation.
FAQ
How do I uninstall Valorant from my PC?
To uninstall Valorant from your PC, you can follow a simple step-by-step guide. Open the Settings app using the Windows key + I shortcut, navigate to the “Apps” section, locate Valorant in the list of installed apps, click on it, and then click the “Uninstall” button.
Why would I need to uninstall Valorant?
There can be various reasons to uninstall Valorant. Some players might encounter issues or errors in the game that require a fresh installation to resolve. Others might choose to uninstall due to the ranked grind or a toxic community.
How do I disable the Riot Vanguard anti-cheat software before uninstalling Valorant?
To disable the Riot Vanguard anti-cheat software, right-click on the Vanguard icon in your system tray and select the “Exit Vanguard” option. This will stop the Vanguard anticheat service on your PC.
How do I uninstall Riot Vanguard?
After disabling Vanguard, you can proceed with uninstalling the Riot Vanguard software itself. Open the Settings app using the Windows key + I shortcut, navigate to the “Apps” section, locate Riot Vanguard in the list of installed apps, click on it, and then click the “Uninstall” button.
Are there any leftover files to remove after uninstalling Valorant?
Yes, it is important to check for any leftover files after the uninstallation process. Open File Explorer, navigate to the “C:\Riot Games” directory, and delete any remaining folders associated with Valorant to ensure its complete removal from your system.


