Table of Contents
Welcome to our step-by-step guide on how to transfer photos from your iPhone to a PC running Windows 10. Whether you want to import photos from your iPhone to your PC or backup your cherished memories, we’ve got you covered. In this guide, we’ll explore both USB and wireless methods, so you can choose the one that suits you best. Let’s dive in!
First things first, let’s discuss the USB method. To transfer your photos using a USB cable, you’ll need to use the Windows Photos app, Windows AutoPlay, or File Explorer/Windows Explorer. Don’t worry, we’ll show you exactly how to do it in the following sections.
If you prefer a wireless approach, we’ve got you covered too. By using Apple’s iCloud Photos feature and iCloud.com, you can easily transfer your iPhone photos to your PC without any cables. We’ll walk you through the process step-by-step, so you can seamlessly transfer your photos wirelessly.
Whether you choose the USB or wireless method, you’ll be able to successfully transfer your precious photos from your iPhone to your Windows 10 PC. We’ll also provide helpful links for Mac users who might be looking for similar solutions.
So, bookmark this guide and let’s get started! The next sections will provide you with all the information and instructions you need to import photos from your iPhone to your PC with ease.
How to Transfer Photos From iPhone to PC: USB vs Wireless
When it comes to transferring photos from your iPhone to your PC, you have two main options: using a USB cable or wirelessly. Each method has its own advantages and considerations, so let’s explore both to help you make an informed decision.
USB Cable Method
If you prefer a direct and straightforward approach, using a USB cable to transfer photos is a reliable choice. All you need is your iPhone charger cable and a compatible USB port on your PC. Here’s how it works:
- Connect your iPhone to your PC using the iPhone charger cable.
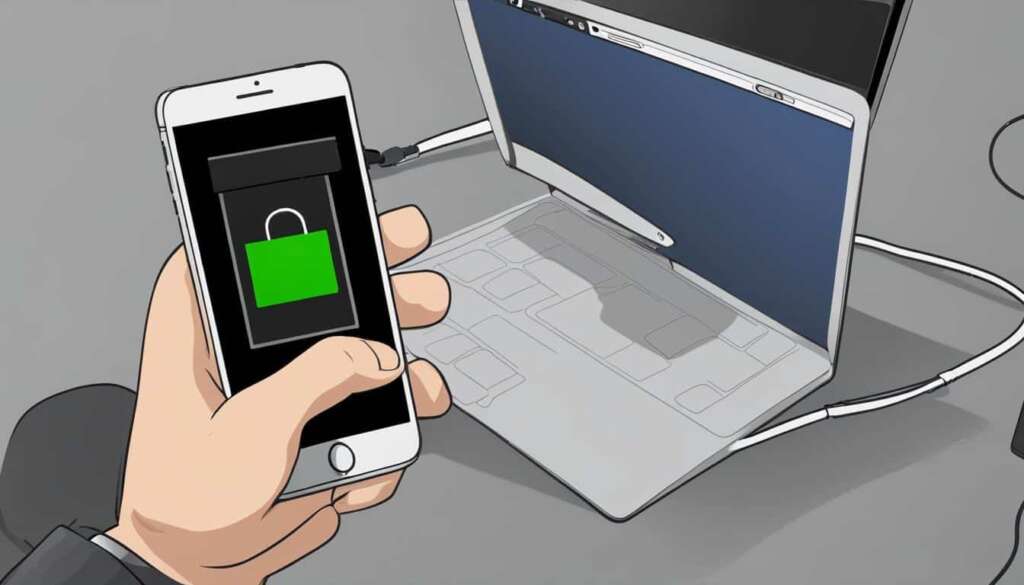
- Unlock your iPhone and tap “Trust” when prompted to establish a connection.
- Your PC will recognize the iPhone as a device and may open the Windows Photos app or display the AutoPlay prompt.
- Follow the on-screen instructions to import your photos to your PC using either the Windows Photos app or File Explorer/Windows Explorer.
This method is ideal if you prefer a direct connection and want to transfer a large number of photos quickly. However, it requires physical access to both your iPhone and PC, and you’ll need to connect and disconnect the devices each time you want to transfer photos.
Wireless Method
If you prefer a more convenient and wireless approach, you can transfer photos from your iPhone to your PC using your Apple iCloud account. Here’s what you need to do:
- Ensure your iPhone and PC are connected to the same Wi-Fi network.
- On your iPhone, go to Settings and tap on your Apple ID at the top of the screen.
- Select “iCloud” and then “Photos”.
- Enable the “iCloud Photos” option to sync your iPhone photos to your iCloud account.
- On your PC, download and install the iCloud for Windows app from the Apple website.
- Launch the iCloud for Windows app and sign in with your Apple ID.
- Configure the app to download your iCloud photos to a desired folder on your PC.
Once set up, your iPhone photos will automatically sync with your iCloud account, and you’ll be able to access and download them on your PC. This method offers the convenience of wireless transfer, as you can access your photos from anywhere with an internet connection. However, it requires a stable Wi-Fi connection and an Apple iCloud account.
Comparison of USB and Wireless Methods
| Method | Pros | Cons |
|---|---|---|
| USB Cable |
|
|
| Wireless |
|
|
Consider your preferences and requirements when deciding between the USB cable and wireless methods for transferring photos from your iPhone to your PC. Both options offer their own set of advantages and considerations, so choose the method that suits your needs best.
How to Transfer Photos From iPhone to Computer Wirelessly
Transferring photos from your iPhone to your computer wirelessly can be a convenient and efficient way to manage your photo library. By utilizing the iCloud Photos feature and iCloud.com, you can easily access and download your iPhone photos on your computer without the need for a USB cable.
Here is a step-by-step guide on how to transfer photos from your iPhone to your computer wirelessly:
Step 1: Enable iCloud Photo Library on Your iPhone
To begin the wireless transfer process, make sure iCloud Photo Library is enabled on your iPhone. Here’s how:
- Open the “Settings” app on your iPhone.
- Tap on your name at the top of the Settings screen.
- Select “iCloud” and then “Photos”.
- Toggle on the “iCloud Photo Library” option.
Step 2: Download iCloud for Windows on Your Computer
In order to access your iPhone photos on your computer, you’ll need to download the iCloud for Windows app. Follow these steps:
- Open a web browser on your computer and visit the iCloud for Windows download page.
- Click on the “Download” button to begin the download.
- Once the download is complete, run the iCloud for Windows installer and follow the on-screen instructions to install the app on your computer.
Step 3: Configure iCloud Photo Library Settings
After installing the iCloud for Windows app, you’ll need to configure the iCloud Photo Library settings to sync your iPhone photos with your computer. Here’s how:
- Open the iCloud for Windows app on your computer.
- Sign in with your Apple ID and password.
- Check the “Photos” box in the “iCloud” section.
- Click on the “Options” button next to “Photos”.
- Select “iCloud Photo Library” and choose whether you want to download new photos and videos to your PC automatically.
- Click “Done” and then “Apply” to save your settings.
Step 4: Access and Download Photos from iCloud.com
Once you have enabled iCloud Photo Library on your iPhone and configured the iCloud for Windows app on your computer, you can easily access and download your iPhone photos using iCloud.com. Follow these steps:
- Open a web browser on your computer and visit iCloud.com.
- Sign in with your Apple ID and password.
- Click on the “Photos” icon to access your photo library.
- Select the photos you want to download by clicking on them.
- Click on the download button to save the selected photos to your computer.
With these simple steps, you can wirelessly transfer your iPhone photos to your computer using iCloud Photos and iCloud.com. This method allows you to free up space on your iPhone while still having access to your photos on your computer.
Wireless Photo Transfer: iCloud Photos
| Method | Pros | Cons |
|---|---|---|
| Wireless transfer via iCloud Photos |
|
|
How to Transfer Photos From iPhone to PC With a USB Cable
If you prefer a more traditional method of transferring photos from your iPhone to your PC, you can use a USB cable. This method allows for a direct and secure connection between your devices, ensuring a fast and reliable transfer.
To begin, connect your iPhone to your PC using a USB cable. Once connected, your PC may prompt you to give permission to access your iPhone. Click ‘Allow’ to proceed.
Next, depending on your PC’s operating system, you can utilize different tools to transfer your photos. If you’re using Windows 10, you can use the built-in Windows Photos app to import your photos. Open the app, click on the ‘Import’ button, and select the photos you want to transfer. Follow the on-screen instructions to complete the import process.
If you’re running an older version of Windows or prefer a different approach, you can use Windows AutoPlay or File Explorer/Windows Explorer. With Windows AutoPlay, your PC will automatically recognize your iPhone as a portable device and display options for importing photos. Simply select the ‘Import photos and videos’ option and follow the prompts. Alternatively, you can open File Explorer/Windows Explorer, locate your iPhone under ‘Devices and drives,’ and manually copy the desired photos to your PC.
FAQ
How can I transfer photos from my iPhone to my PC running Windows 10?
There are two main methods for transferring photos from your iPhone to your PC: using a USB cable or wirelessly. The USB method involves connecting your iPhone to your PC using the iPhone charger cable, while the wireless method requires a Wi-Fi connection and an Apple iCloud account.
How do I transfer photos wirelessly from my iPhone to my computer?
To transfer photos wirelessly, you can use the iCloud Photos feature and iCloud.com. First, enable iCloud Photo Library on your iPhone, then download the iCloud for Windows app on your computer and configure the iCloud Photo Library settings. Finally, you can access and download your photos from iCloud.com using a web browser on your computer.
What is the USB method for transferring photos from iPhone to PC?
The USB method involves using the Windows Photos app, Windows AutoPlay, or File Explorer/Windows Explorer. You can import photos from your iPhone to your PC using the Windows Photos app, copy photos from your iPhone to your PC using Windows AutoPlay, or get photos from your iPhone to your computer using File Explorer/Windows Explorer.
Can I transfer photos from my iPhone to a PC running Windows 7?
The Windows Photos app is not available for Windows 7 computers. However, you can still transfer photos from your iPhone to your PC using the USB method by using Windows AutoPlay instead.

