Table of Contents
Welcome to our comprehensive guide on how to screenshot on a laptop. Whether you need to capture important information, document issues, or save valuable content, being able to take screenshots is an essential skill for every laptop user.
In this article, we will walk you through the various methods of capturing your laptop screen, providing you with step-by-step instructions for both Windows and Mac operating systems. By the end of this guide, you will be able to effortlessly capture and save screenshots on your laptop, regardless of the platform you are using.
Discover the most efficient ways to take screenshots on Windows laptops using methods such as the print screen key and the Snip & Sketch tool. Additionally, we will explore the screenshot shortcuts available on Macs, including the Command + Shift + 3 and Command + Shift + 4 combinations.
So, whether you’re a Windows or Mac user, grab your laptop and let’s begin our journey into the world of screen capture!
Using the Snip & Sketch Tool in Windows
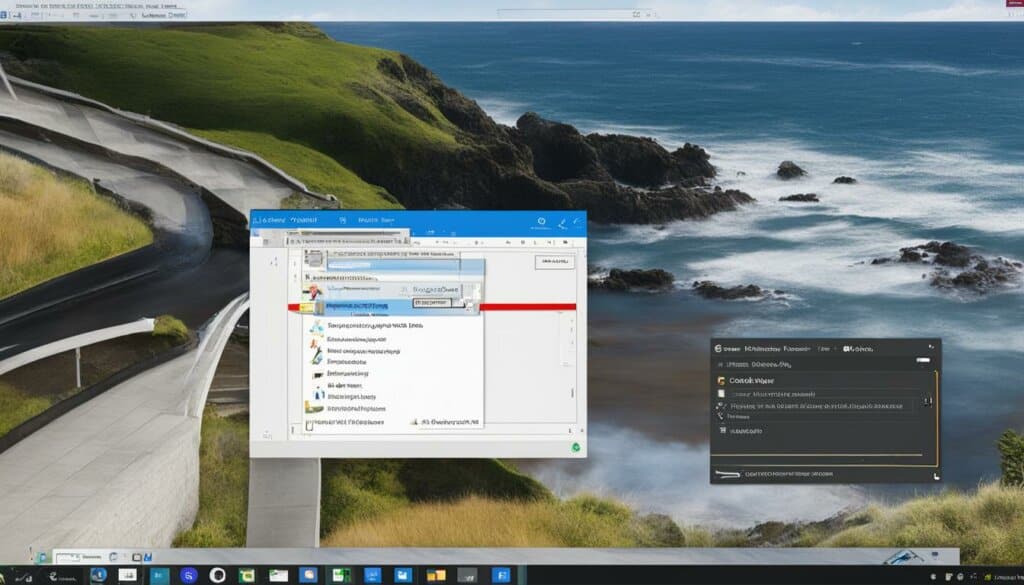
The Snip & Sketch tool is a built-in feature in Windows 10 and Windows 11 that allows you to easily capture and annotate screenshots. With Snip & Sketch, you can quickly capture a screenshot of your screen and make edits or additions before saving or sharing it.
To access the Snip & Sketch tool, simply use the keyboard shortcut Windows key + Shift + S or search for it in the Start menu. This convenient feature ensures that you can access the tool whenever you need to capture something important on your screen.
Once you’ve activated Snip & Sketch, a screenshot of your screen will be saved to your clipboard automatically. From there, you can easily open the Snip & Sketch app to edit, annotate, save, or share your screenshot with others.
Whether you need to highlight specific details, add arrows or text, or crop and resize your screenshot, Snip & Sketch provides you with all the necessary tools for quick and efficient editing. With just a few simple clicks, you can enhance your screenshots and make them more meaningful to your audience.
Additionally, Snip & Sketch offers a user-friendly interface and intuitive features, making it suitable for users of all skill levels. Whether you’re a seasoned professional or a casual user, you’ll find that this tool simplifies the process of capturing and editing screenshots on your Windows 10 or Windows 11 device.
Using Snip & Sketch allows you to effortlessly capture and annotate screenshots on your Windows 10 or Windows 11 device. With its easy accessibility and user-friendly interface, this tool is a valuable asset for anyone who regularly needs to capture and edit screenshots.
Using the Snipping Tool in Windows
The Snipping Tool is a versatile feature in Windows that provides an alternative method for capturing screenshots. It has been available since Windows Vista and continues to be included in Windows 11. With its easy accessibility, you can quickly capture and save screenshots for various purposes.
To access the Snipping Tool, you can simply search for it in the Start menu or open it through the search bar. Once launched, the Snipping Tool offers different modes for capturing screenshots:
- Rectangular Snip: This mode allows you to select a specific rectangular area on your screen to capture.
- Free-Form Snip: With this mode, you can capture screenshots in a free-form shape, ideal for irregular areas.
- Full-Screen Snip: Capture the entire screen with this mode to capture everything visible on your display.
- Window Snip: This mode enables you to capture a specific window or application, even if it’s overlapping other windows.
After capturing a screenshot using the Snipping Tool, make sure to manually save it within the tool before exiting. This ensures that your screenshot is stored and ready for use. The Snipping Tool offers basic editing options such as highlighting, drawing, and adding text to your screenshots.
As an alternative to the default Snip & Sketch tool, the Snipping Tool provides a straightforward and efficient way to capture screenshots on Windows laptops. It is particularly useful for users who prefer a simplified interface and basic editing features.

With the Snipping Tool, taking screenshots on Windows laptops has never been easier. Whether you need to capture a rectangular area, a free-form shape, the entire screen, or a specific window, the Snipping Tool has you covered. Explore the capabilities of this built-in feature and start capturing your screen effortlessly.
Taking Screenshots on Macs
When it comes to capturing screenshots on Macs, there are a few simple and convenient methods you can use. Whether you want to capture the entire screen or just a specific area, Macs offer built-in features that make the process quick and hassle-free.
To capture the entire screen on your Mac, simply press the hotkey combination of Command + Shift + 3. This will instantly capture a screenshot of your entire desktop, including all open windows and applications. The screenshot will be automatically saved as an image file on your desktop.
If you only need to capture a selected area of your screen, you can use the Command + Shift + 4 hotkey combination. This will turn your cursor into a crosshair, allowing you to click and drag to select the desired area. Once you release the mouse button, the screenshot will be saved as an image file on your desktop.
Unlike Windows, Macs do not require any additional software or the need to paste the screenshot into another application to save it. The captured screenshots are automatically saved as image files, making it easy to access and share them whenever needed.
In addition to these basic screenshot options, Macs also offer a more advanced tool called Grab. With Grab, you can take timed captures, capture a specific window, and even take screenshots using keyboard shortcuts. To access Grab, simply open the Applications folder, go to Utilities, and select Grab. This tool provides even more flexibility and control over your screenshots, allowing you to capture exactly what you need.
Capturing Screenshots on Macs: A Comparison
| Mac | Windows | |
|---|---|---|
| Capture Entire Screen | Command + Shift + 3 | Print Screen |
| Capture Selected Area | Command + Shift + 4 | Print Screen + Editing Software |
| Save Location | Desktop | Clipboard |
| Advanced Options | Grab Tool | Snip & Sketch, Snipping Tool |
As you can see, Macs offer a straightforward and efficient way to capture screenshots. With just a few simple keystrokes, you can save and share your screen captures without any additional steps or software. Whether you’re using a MacBook or a Mac with macOS, taking screenshots has never been easier.
Conclusion
Capturing screenshots on a laptop is essential for various purposes. Whether you need to share information, document issues for tech support, or simply save something for later reference, knowing how to capture your screen is a valuable skill. Luckily, there are different methods and shortcuts available for both Windows and Mac laptops.
To capture screenshots on Windows laptops, you can use the print screen key or the Fn + Insert keys. These shortcuts allow you to quickly capture the entire screen, active windows, or a selected area. Once captured, you can paste the screenshot into an image editor or save it as a file for further use.
On the other hand, Mac laptops offer their own set of handy shortcuts. By using Command + Shift + 3, you can instantly capture the entire screen, while Command + Shift + 4 allows you to select a specific area to capture. The captured screenshots are automatically saved on your desktop, eliminating the need for additional steps.
If you’re looking for more advanced screenshot features, Windows laptops have tools like Snip & Sketch and the Snipping Tool, which allow for annotation and editing options. Macs also offer the Grab tool, providing timed captures and window-specific captures.
When it comes to capturing screenshots on your laptop, choose the method that suits your needs and start capturing your laptop screen effortlessly. Whether you’re a Windows or Mac user, mastering these screen capture methods and shortcuts will greatly enhance your productivity and enable you to capture and share information in no time.
FAQ
How can I capture the screen on my laptop?
To capture the screen on your laptop, you can use different methods depending on your operating system. In Windows 11, Windows 10, and Windows 8/8.1, you can use the print screen key or the Fn + Insert keys together. On Macs, you can use the hotkey combinations of Command + Shift + 3 or Command + Shift + 4.
How do I use the Snip & Sketch tool in Windows?
The Snip & Sketch tool is a built-in feature in Windows 10 and Windows 11. You can access it by using the keyboard shortcut Windows key + Shift + S or by searching for it in the Start menu. Once you take a screenshot using Snip & Sketch, it will be saved to your clipboard and you can open it in the Snip & Sketch app to edit, save, or share it.
How do I use the Snipping Tool in Windows?
The Snipping Tool is another option for taking screenshots in Windows. It is available in Windows 11 as well. You can search for it in the Start menu or access it through the search bar. The Snipping Tool allows you to capture screenshots in different modes like rectangular, free-form, full-screen, or window snips. After capturing a screenshot, you will need to manually save it in the tool before exiting.
How do I take screenshots on Macs?
On Macs, you can take screenshots using the hotkey combinations of Command + Shift + 3 to capture the entire screen or Command + Shift + 4 to capture a selected area. The captured screenshots are automatically saved as image files on your desktop. Additionally, Macs offer the Grab tool, which provides more advanced screenshot options, including timed captures and window-specific captures.
What are the benefits of capturing screenshots on a laptop?
Capturing screenshots on a laptop is essential for various purposes. Whether you need to share information, document issues for tech support, or simply save something for later reference, capturing screenshots allows you to easily save and share visual information from your laptop screen.


