Table of Contents
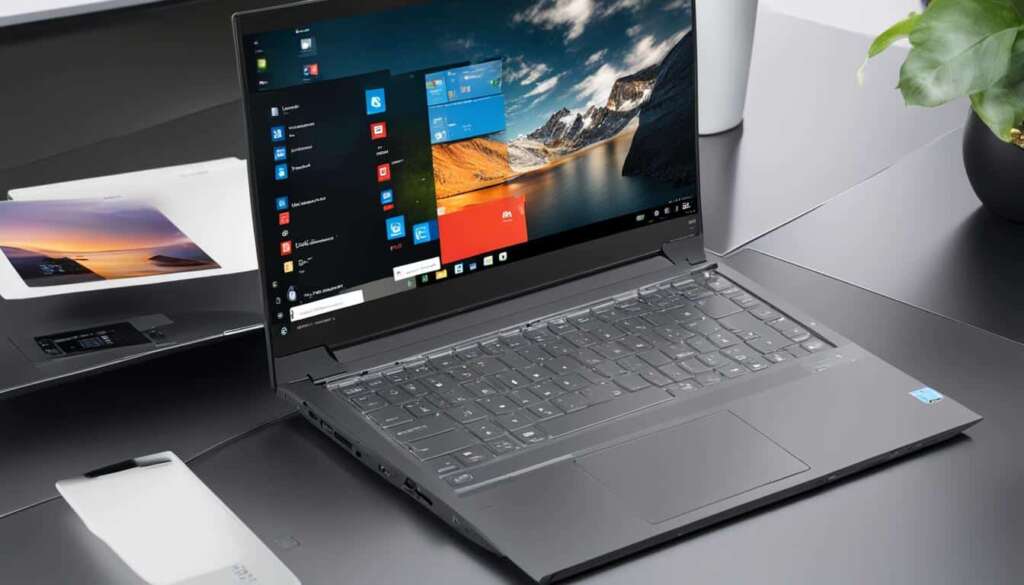
Taking screenshots on a Lenovo laptop is a valuable skill that allows you to capture and share information, images, and moments from your screen. Whether you have a Lenovo laptop running Windows 10 or an older version, there are multiple methods you can use to take screenshots. Let’s explore these methods and learn how to capture moments effortlessly.
Whether you need to save important data, share interesting facts, or create visual tutorials, screenshots can enhance your productivity and communication. By mastering the techniques of taking screenshots, you can effectively convey information in personal and professional scenarios. So, let’s dive into the step-by-step instructions to capture moments on your Lenovo laptop.
How to Screenshot on a Lenovo Laptop Running Windows 10
If you have a Lenovo laptop running Windows 10, capturing screenshots is a breeze. There are two simple methods you can use to take screenshots and save those precious moments from your screen.
Method 1: Windows Key + PrtSc Key
The first method involves using the combination of the Windows key and the PrtSc (Print Screen) key on your keyboard. To take a screenshot, simply press and hold the Windows key and simultaneously press the PrtSc key. This will instantly capture the screenshot and save it in the “Screenshots” folder within your files.
Remember, the Screenshots folder is located in the “Pictures” directory on your Lenovo laptop.
Method 2: Windows Key + W Key
If you prefer a more interactive method, you can use the Windows key and the W key on your keyboard to capture the screenshot. Press and hold the Windows key and then press the W key to open the sidebar menu. From the menu, select “ScreenSketch” to launch the screenshot tool.
With ScreenSketch, you can capture screen regions, draw, and make annotations to your screenshots. Once you’ve captured the desired screenshot, simply click “Save” to store it in your chosen location.
How to Screenshot on a Lenovo Laptop Not Running Windows 10
If your Lenovo laptop is not running on the Windows 10 operating system, you can still easily capture screenshots. Here’s a simple method to help you:
- Press the PrtSc key on your keyboard to capture the screenshot.
- Next, open the “Paint” application.
- Select “Paste” to insert the screenshot into the Paint application.
- You can now utilize the editing tools in Paint to annotate or markup the screenshot as needed.
- Finally, click on “File” and save the file as desired.
By following these straightforward steps, you can easily capture and save screenshots on your Lenovo laptop, even if it’s not running Windows 10. Using the Paint application, you have the flexibility to edit and customize your screenshots before saving them.
Capturing screenshots on your Lenovo laptop is a valuable skill that allows you to preserve important information or share valuable moments. With the simple method outlined above, you can easily capture and save screenshots regardless of your Lenovo laptop’s operating system.
Tips for Taking Screenshots on HP Laptops
If you are using an HP laptop, you’ll be pleased to know that capturing screenshots is a straightforward process. Whether you want to capture the full screen or just a specific area, here are some tips to help you take screenshots effortlessly.
Capturing Full-Screen Screenshots
To capture a full-screen screenshot on your HP laptop, you need to locate the “Print Screen” key. This key is often labeled as PrtScn or Prt SC and can be found on the top row of your keyboard.
Once you have located the “Print Screen” key, simultaneously press the Windows and Print Screen keys. This action will copy the screenshot to your clipboard, ready for further use.
Next, open an image editing program like “Paint” or any other program of your choice. Press CTRL + V to paste the screenshot into the program.
Finally, save the file in your preferred format, such as JPEG or PNG, and choose a suitable location on your laptop to store the screenshot.
Capturing Partial Screenshots
If you only need to capture a specific area of your screen, the Windows + Shift + S shortcut will come in handy. Press and hold the Windows key, then press and hold the Shift key. While holding both keys, press the S key.
This shortcut will activate the snipping tool, allowing you to select the desired area by clicking and dragging your mouse. Release the mouse button to capture the selected area.
Once you have captured the partial screenshot, it will be automatically saved to your clipboard. Open an image editing program, like “Paint,” and paste the screenshot using CTRL + V. Save the file in your preferred format and store it in a location of your choice on your HP laptop.
The Importance of Taking Screenshots on Laptops
Taking screenshots on laptops, whether Lenovo or HP, is a valuable skill that can enhance your productivity and communication. Screenshots allow you to capture and share information, images, and moments from your laptop screen. They can be used for various purposes, such as documenting important data, sharing interesting facts, or creating visual tutorials. By mastering the techniques of taking screenshots, you can effectively convey information in personal and professional scenarios.
When you come across vital information or find a visually appealing image on your laptop, capturing a screenshot enables you to preserve that moment instantly. Whether you need to share an error message with technical support or save a funny meme for later, screenshots provide a convenient way to record and remember information. Additionally, screenshots can be useful in presentations, reports, and instructional materials, where visual aids play a crucial role.
With the right tools and techniques, taking screenshots on a Dell laptop running Windows is simple. You can use the built-in Windows screenshot shortcut by pressing the “Print Screen” (PrtSc) key, which copies the entire screen to the clipboard. From there, you can paste the screenshot into an image editing tool, such as Paint, to save it as a file. Alternatively, you can use third-party screenshot software that offers additional functionalities and customization options.
Knowing how to take a screenshot on your Dell laptop empowers you to capture and share important visual information effortlessly. Whether you want to capture a specific window, a portion of the screen, or the entire desktop, being familiar with the Dell laptop screenshot key combinations and tools will streamline your workflow and communication.
Keep in mind that the process may vary slightly depending on the model and operating system of your Dell laptop. However, by exploring the available options and experimenting with different tools, you can find the best method that suits your needs.
| Key Combination | Screenshot Function |
|---|---|
| Print Screen (PrtSc) | Captures the entire screen and copies it to the clipboard |
| Alt + Print Screen (Alt + PrtSc) | Captures the active window and copies it to the clipboard |
| Windows Key + Print Screen (Win + PrtSc) | Captures the entire screen and automatically saves it as a file |
By mastering the art of screenshotting on your Dell laptop, you can significantly improve your productivity, collaboration, and creativity. Whether you need to capture important information, share interesting content, or enhance your visual communication, screenshots offer a powerful and versatile tool at your disposal.
Conclusion
Capturing moments on your Lenovo or HP laptop through screenshots is an essential skill that can greatly enhance your productivity and communication. Whether you are running Windows 10 or an older version, there are multiple methods available to take screenshots. By following the step-by-step instructions outlined in this article, you can easily capture and save screenshots on your Lenovo or HP laptop. Remember to utilize the appropriate key combinations and follow the steps to suit your specific requirements. Start capturing moments effortlessly with the power of screenshots on your laptop.
FAQ
How do I take a screenshot on a Lenovo laptop running Windows 10?
There are two main options. You can press and hold the Windows key and simultaneously press the PrtSc (Print Screen) key. This will save the screenshot in the “Screenshots” folder within your files. Alternatively, you can hold down the Windows key and press the W key to open the sidebar menu, then select “ScreenSketch” to capture the screenshot. Edit the image if desired and click “Save.”
How do I take a screenshot on a Lenovo laptop not running Windows 10?
Press the PrtSc key on your keyboard to capture the screenshot. Then, open the “Paint” application and select “Paste” to insert the screenshot. Use the editing tools in Paint for annotations or markups. Finally, click “File” and save the file as desired.
How do I capture a full-screen screenshot on an HP laptop?
Locate the “Print Screen” key, often labeled as PrtScn or Prt SC. Simultaneously press the Windows and Print Screen keys, and the screenshot will be copied to the clipboard. Open an image editing program like “Paint” and paste the screenshot using CTRL + V. Save the file in your preferred format. For partial screenshots, use the Windows + Shift + S keys to capture the desired area.
What are the benefits of taking screenshots on laptops?
Taking screenshots on laptops allows you to capture and share information, images, and moments from your screen. Screenshots can be used for various purposes, such as documenting important data, sharing interesting facts, or creating visual tutorials. Mastering the techniques of taking screenshots can enhance your productivity and communication in personal and professional scenarios.
Why is capturing screenshots on a Lenovo or HP laptop valuable?
Capturing moments on your Lenovo or HP laptop through screenshots is an essential skill that can greatly enhance your productivity and communication. Whether you are running Windows 10 or an older version, there are multiple methods available to take screenshots. By following the step-by-step instructions outlined in this article, you can easily capture and save screenshots on your Lenovo or HP laptop. Remember to utilize the appropriate key combinations and follow the steps to suit your specific requirements. Start capturing moments effortlessly with the power of screenshots on your laptop.

