Table of Contents
Taking a screenshot on a Windows PC is a simple process that allows you to capture your screen and save it for various purposes. Whether you want to share an interesting article, report a technical issue, or create a tutorial, knowing how to screenshot is essential. In this guide, we will explore different methods to capture your screen on a Windows PC, including built-in tools and shortcuts.
Windows PCs provide several options for capturing screenshots. You can use built-in tools like Snip & Sketch and the Snipping Tool, or explore alternative methods like keyboard shortcuts and third-party apps. Let’s dive into each method to understand how to screenshot effectively on your Windows PC.
Before we begin, let’s take a brief look at the different options available:
- Snip & Sketch: A built-in screenshot tool available in both Windows 10 and Windows 11.
- Snipping Tool: Another built-in screenshot tool primarily available in Windows 10.
- Keyboard shortcuts: Quick shortcuts using the keyboard to capture your screen.
- Third-party apps: Additional options beyond the built-in tools for more customization.
With these options in mind, let’s explore each method in detail to help you master the art of capturing your screen on a Windows PC.
Snip & Sketch: The Easy Way to Capture Screenshots
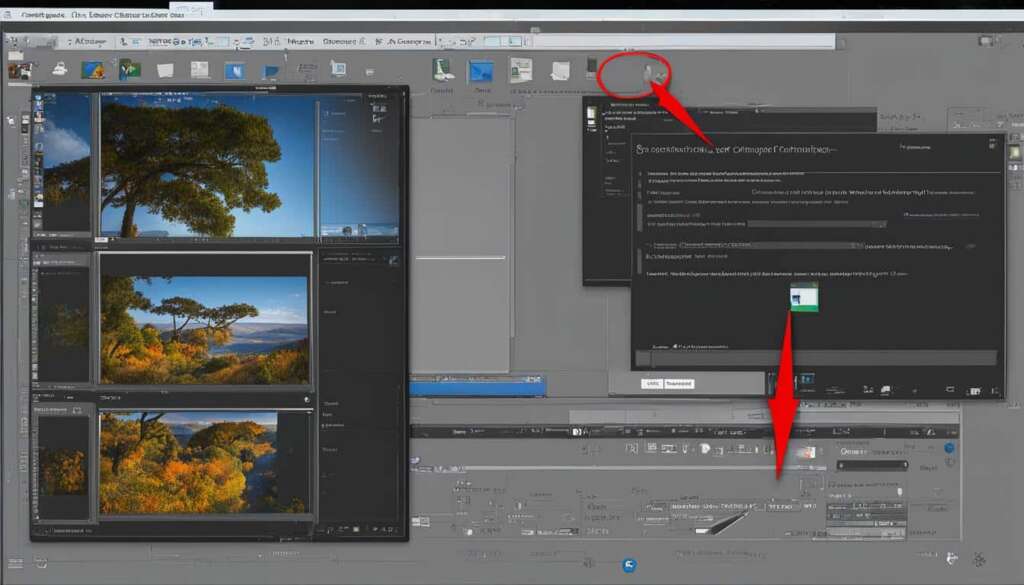
Snip & Sketch is a built-in screenshot tool available in both Windows 10 and Windows 11. It offers an improved user interface compared to the older Snipping Tool. You can access Snip & Sketch by pressing the keyboard shortcut Windows key + Shift + S, or by searching for it in the Start menu.
The tool allows you to choose from different types of screenshots, such as rectangular, freeform, window, or full-screen captures. Once you take a screenshot, it is saved to your clipboard and can be opened in the Snip & Sketch app for annotation, saving, or sharing.
Snip & Sketch Features:
- Improved user interface
- Various screenshot options
- Easy access through keyboard shortcuts or Start menu search
- Saves screenshots to clipboard
- Annotation, saving, and sharing capabilities
With Snip & Sketch, capturing screenshots on your Windows PC has never been easier. Whether you need to capture a specific window, a portion of your screen, or the entire screen, Snip & Sketch offers the flexibility and functionality you need for effortless screen capture.
Snipping Tool: An Alternative for Windows 10 and Windows 11
If you’re using Windows 10 or Windows 11 and looking for an alternative screenshot tool, the Snipping Tool is here to help. While it may have been delisted from the Start menu in Windows 11, you can still access it easily through the search bar.
The Snipping Tool offers a range of options to capture your screen, including rectangular, freeform, full-screen, and window snips. Simply select the desired snip type, and the tool will capture the designated area.
Unlike Snip & Sketch, the Snipping Tool doesn’t automatically save your screenshots. You will need to manually save them before exiting. However, it does conveniently copy your captures to the clipboard, allowing for easy pasting into other applications.
Whether you prefer the simplicity of the Snipping Tool or the enhanced features of Snip & Sketch, both tools provide efficient ways to capture screenshots on your Windows 10 or Windows 11 PC.
Explore the Snipping Tool as an alternative option for capturing your screen on Windows 10 and Windows 11.
Other Methods for Screenshotting on Windows PC
In addition to the built-in screenshot tools, there are other methods you can use to capture screenshots on a Windows PC. One of the simplest and most widely used methods is the Print Screen button, or PrtScn. By pressing this button, you can capture the entire screen and copy it to the clipboard. To save the screenshot, simply open an image editing tool like Paint or Photoshop and paste it.
If you’re a gamer or frequently use applications in full-screen mode, the Game Bar is a convenient option. You can enable the Game Bar in the settings and use it to take screenshots while playing games or using other applications. To open the Game Bar, press the Windows key + G. From there, you can click the screenshot button or use the default shortcut Windows key + Alt + PrtScn to capture and save your screen.
For Microsoft Surface devices, there’s a unique shortcut using the Windows Logo touch button and the physical volume-down button. Simply press both buttons simultaneously to capture a screenshot. This method is quick and convenient, especially for Surface users.
If you’re looking for more advanced features and customization options, you can also explore third-party screenshot apps. These apps offer additional tools and functionalities beyond the built-in options provided by Windows. Some popular third-party screenshot apps include Snagit, Greenshot, and Lightshot. These apps allow you to capture specific areas of your screen, annotate screenshots, and easily share them with others.
FAQ
How do I capture a screenshot on a Windows PC?
There are multiple ways to capture a screenshot on a Windows PC. You can use built-in tools like Snip & Sketch or the Snipping Tool, or use keyboard shortcuts like Print Screen, Windows key + Print Screen, or Alt + Print Screen. You can also use the Game Bar or the Windows Logo + Volume Down buttons on Microsoft Surface devices for alternative options.
What is Snip & Sketch and how do I use it?
Snip & Sketch is a built-in screenshot tool available in both Windows 10 and Windows 11. It offers an improved user interface compared to the older Snipping Tool. You can access Snip & Sketch by pressing the keyboard shortcut Windows key + Shift + S, or by searching for it in the Start menu. The tool allows you to choose from different types of screenshots, such as rectangular, freeform, window, or full-screen captures. Once you take a screenshot, it is saved to your clipboard and can be opened in the Snip & Sketch app for annotation, saving, or sharing.
What is the Snipping Tool and how do I access it?
The Snipping Tool is another built-in screenshot tool available in Windows 10 and Windows 11. Although it has been delisted from the Start menu in Windows 11, you can still access it through the search bar. The Snipping Tool offers options for rectangular, freeform, full-screen, and window snips. Unlike Snip & Sketch, the Snipping Tool does not automatically save your screenshots, and you need to manually save them before exiting the tool. However, it does automatically copy your captures to the clipboard.
Are there any other methods to capture screenshots on a Windows PC?
Yes, besides the built-in screenshot tools, you can also use the Print Screen button (PrtScn) to capture your entire screen and copy it to the clipboard. You can then paste the screenshot into an image editing tool to save it. The Game Bar, which can be enabled in the settings, allows you to take screenshots while playing games or using other applications. The keyboard shortcut Windows key + G opens the Game Bar, where you can click the screenshot button or use the default shortcut Windows key + Alt + PrtScn. Microsoft Surface devices have their own unique shortcut, using the Windows Logo touch button and the physical volume-down button to capture a screenshot. Additionally, there are third-party screenshot apps available that offer additional features and customization options.

