Table of Contents
Whether you’re using Windows 10 or Windows 11, there are multiple ways to take screenshots of your PC screen. Microsoft supports Windows 10 until October 2025, so you don’t have to switch to Windows 11 yet. The built-in Snip & Sketch tool is recommended for capturing screenshots in Windows 10 and 11. You can access Snip & Sketch through the keyboard shortcut Windows key + Shift + S or find it listed in the alphabetical list of apps accessed from the Start button. Another option is the Snipping Tool, which is still available in Windows 11 and can be accessed by clicking the New button. Additionally, you can use the Print Screen key to capture the entire screen or the Alt + Print Screen shortcut to capture the active window. If your computer doesn’t have the Print Screen key, you can use the Fn + Windows logo key + Space Bar shortcut. The Game bar and Windows Logo + volume down keys are also alternative methods for capturing screenshots. With these options, you can easily capture and save important information from your PC screen.
Key Takeaways:
- Utilize the built-in Snip & Sketch tool on Windows 10 and 11 for efficient screenshot capturing.
- If using Windows 11, the Snipping Tool is still available and provides another option.
- Learn the keyboard shortcuts, such as Print Screen, Alt + Print Screen, Fn + Windows logo key + Space Bar, Game bar, and Windows Logo + volume down keys for quick screenshot capturing.
- Explore third-party tools like Snagit for more advanced features and flexibility in capturing, editing, and sharing screenshots.
- Consider your specific needs and workflow to choose the most suitable method for capturing and managing screenshots on your PC.
How to Take a Screenshot on a Computer
When it comes to capturing screenshots on your computer, there are several easy methods to choose from. Whether you’re using Windows or Mac, you can take advantage of built-in tools and keyboard shortcuts to quickly capture and save screenshots.
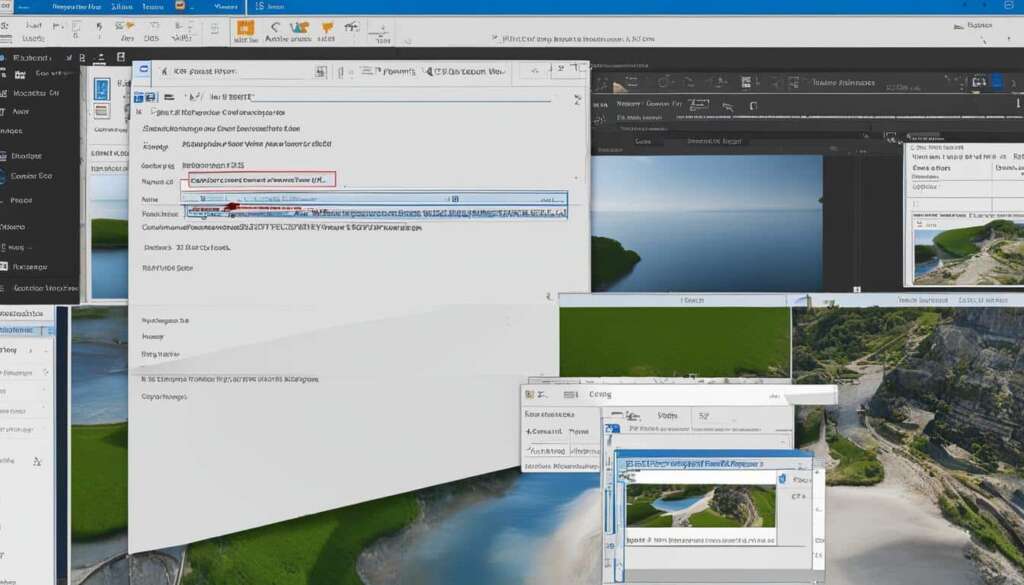
For Windows users, the Snip & Sketch tool is highly recommended. You can access it by pressing the Windows key + Shift + S or finding it in the Start menu or notification panel. Snip & Sketch not only allows you to capture screenshots but also provides handy annotation features to mark up your captures.
Mac users have their own set of keyboard shortcuts for taking screenshots. Pressing Command + Shift + 3 will capture the entire screen, while Command + Shift + 4 lets you select a specific area to capture. If you prefer a more visual approach, you can use the Grab tool, which is available on Mac.
In addition to these built-in options, there are also third-party tools available that offer even more advanced screenshot features. One such tool is Snagit from TechSmith. With Snagit, you can capture screenshots, annotate them, and even record videos of your screen. It’s a versatile tool that provides flexibility and customization options to suit your needs.
By familiarizing yourself with these different methods, you can easily take screenshots on your computer and save important information from your screen.
How to Take a Screenshot on a Smartphone/Tablet
Taking a screenshot on a smartphone or tablet is a useful skill for capturing important information or sharing content with others. The process may vary depending on the operating system of your device. Generally, you can capture a screenshot by simultaneously pressing the power key and home button (for Android) or the side button (for iOS). Once captured, the screenshot will be saved to your device’s gallery for easy access.
If you’re using an Android device, the specific steps may differ based on the manufacturer and version of Android. It’s recommended to search online for instructions tailored to your device model to ensure accurate information. For iOS users, the process is relatively consistent across all devices, with the side button replacing the home button on newer iPhones and iPads.
It’s worth noting that some smartphones and tablets also offer screen recording capabilities, allowing you to capture videos of your screen activities. This feature can be handy for creating tutorials or demonstrating app functionality. To access screen recording, you may need to swipe down from the top of your screen to open the quick settings panel and access the screen recording option. Again, the exact steps may vary depending on your device.
Tips for Taking PC Screenshots
Here are a few additional tips for taking screenshots on your smartphone or tablet:
- Make sure to press the required buttons simultaneously and hold them until you see a visual indication (such as a brief animation or screen flash) that the screenshot has been captured.
- If you’re having trouble with the power button and home button combination, try pressing the home button slightly earlier or later than the power button to achieve the desired result.
- Consider enabling the screenshot sound effect or visual feedback settings on your device to receive confirmation that a screenshot has been successfully captured.
- If you frequently take screenshots, explore the settings on your device to customize screenshot behavior or assign shortcut gestures for quicker access.
By following these tips and understanding the screenshot process for your specific device, you can efficiently capture and manage screenshots on your smartphone or tablet.
| Operating System | Screenshot Method |
|---|---|
| Android | Simultaneously press the power key and home button |
| iOS | Simultaneously press the side button |
With the ability to take screenshots on your smartphone or tablet, you can easily capture important information, share content with others, or document visual content for future reference. Experiment with the screenshot methods and explore additional features on your device for an enhanced screenshot experience.
Third-Party Tools for Advanced Screenshots
While the built-in tools on your computer or mobile device provide basic screen capture functions, third-party apps and programs offer more advanced features for enhanced screenshot capabilities. One such tool is Snagit, a software developed by TechSmith.
With Snagit, you can take screenshots with ease and efficiency. The software offers smart and intuitive screen capture features, allowing you to capture your entire screen, record videos, capture web pages, and create GIFs. Snagit also provides options for custom shortcuts, adding text, shapes, effects, and watermarks to your captures, and easily sharing them through a dedicated link or saving them in different formats.
By using Snagit or similar third-party tools, you can elevate your screenshot capabilities and improve visual communication. These advanced tools give you the flexibility to annotate, edit, and share screenshots and video screen recordings, making them ideal for individuals who frequently capture screenshots and require more flexible options.
Benefits of Third-Party Tools for Screen Capture
- Advanced screen capture features
- Annotation and editing capabilities
- Flexible options for customization
- Efficient sharing and saving options
With third-party tools like Snagit, you can take your screenshot capabilities to the next level, ensuring your communication is clear, impactful, and visually engaging.
Comparing Built-In Tools and Third-Party Options
| Built-In Tools | Third-Party Tools (Snagit) | |
|---|---|---|
| Screen Capture Functions | Basic | Advanced |
| Annotation and Editing | Limited | Extensive |
| Customization Options | Minimal | Flexible |
| Sharing and Saving | Basic | Efficient |
Choosing the Right Screenshot Method for You
When it comes to capturing screenshots on your PC, it’s important to choose the method that suits your needs and preferences. There are various options available, from built-in tools to third-party software, each offering unique features and capabilities.
If you prefer simplicity and accessibility, the built-in tools provided by Windows and Mac can be a great choice. For Windows users, Snip & Sketch and Snipping Tool offer easy access and basic annotation features. Mac users can rely on keyboard shortcuts or the Grab tool for quick screen captures.
However, if you require more advanced features and greater flexibility in your screenshot workflow, third-party tools like Snagit can be an excellent solution. Snagit offers a range of advanced screen capture capabilities, including editing, annotating, and sharing options. With Snagit, you can easily capture your entire screen, record videos, capture web pages, and create GIFs. The software also provides customizable shortcuts, text and shape overlays, effects, and watermarks, allowing you to enhance your capture with professional touches.
Consider your objectives, workflow, and desired functionality when choosing the right method for capturing screenshots on your PC. Whether you opt for the simplicity of built-in tools or the advanced features of third-party software, the ability to efficiently capture and manage screenshots can greatly enhance your productivity and communication.
Table: Comparison of Screenshot Methods
| Method | Key Features | Accessibility | Annotation Tools | Advanced Features |
|---|---|---|---|---|
| Built-in Tools (Windows) | Snip & Sketch, Snipping Tool | Accessible via shortcuts or Start menu | Basic annotation features | N/A |
| Built-in Tools (Mac) | Keyboard shortcuts, Grab tool | Accessible via shortcuts or Applications folder | Basic annotation features | N/A |
| Third-Party Tools | Snagit | Accessible via software interface or shortcuts | Advanced annotation tools | Screen recording, GIF creation, customizable shortcuts |
By understanding the strengths and limitations of each method, you can make an informed decision and choose the screenshot method that best suits your needs. Whether you prioritize simplicity, advanced features, or a combination of both, the right screenshot method can significantly improve your workflow and help you capture and communicate information more effectively.
Conclusion
Taking screenshots on a PC is a valuable skill that can greatly enhance your productivity and communication. By familiarizing yourself with the built-in tools and third-party software available, you can easily capture, edit, and save screenshots on your computer or mobile device. Whether you prefer the simplicity of the built-in tools or the advanced features of third-party software like Snagit, there are efficient methods to suit your needs.
Experiment with different techniques and find the one that works best for you. If you’re looking for a step-by-step guide, the built-in tools such as Snip & Sketch for Windows users or the Grab tool for Mac users provide a straightforward approach. However, if you require more advanced features and flexibility, third-party options like Snagit offer a range of capabilities, including editing, annotating, and sharing options.
Remember, the ability to take screenshots efficiently can save you time and effort when capturing and sharing important information. Whether you’re a student, professional, or casual user, having the skills to take screenshots effectively can be highly beneficial. So, start exploring the different methods available and incorporate this valuable skill into your everyday workflow.
FAQ
What are the built-in tools for capturing screenshots on a PC?
The built-in tools for capturing screenshots on a PC include Snip & Sketch and Snipping Tool for Windows users, and keyboard shortcuts or the Grab tool for Mac users.
What are the keyboard shortcuts for capturing screenshots on a PC?
Windows users can use the keyboard shortcut Windows key + Shift + S to access Snip & Sketch, or the Print Screen key to capture the entire screen. Mac users can use the Command + Shift + 3 keys to capture the entire screen or Command + Shift + 4 keys to capture a selected area.
Are there third-party tools available for capturing screenshots on a PC?
Yes, third-party tools like Snagit offer more advanced features for capturing, editing, and sharing screenshots on a PC.
How can I enhance my screenshot capabilities?
By using third-party tools like Snagit, you can add annotations, effects, and watermarks to your screenshots, as well as easily share them in different formats.
How do I choose the right screenshot method for me?
Consider your objectives, workflow, and desired functionality to select the method that best suits your needs for capturing and managing screenshots on your PC.
Why is capturing screenshots on a PC important?
Capturing screenshots on a PC allows you to capture and share important information, enhancing productivity and communication.


