Table of Contents
Are you wondering how to send a screenshot on your PC? Look no further! In this quick guide, we will walk you through some simple methods for capturing and sharing screenshots. Whether you need to capture the entire screen or specific areas, we’ve got you covered.
One of the easiest ways to capture a screenshot on your PC is by using the Print Screen key. Simply press the Windows key + Print Screen key simultaneously to capture the entire screen. The image will be saved as a PNG file in the Screenshots folder. You can then share the saved screenshot with others or use it for your reference.
If you need more flexibility in capturing specific areas, we recommend using the built-in Snipping Tool. To access the Snipping Tool, press the Windows key + Shift + S. This tool allows you to capture individual windows, rectangular areas, or even free-form shapes. Once you capture the desired area, you can edit and save the screenshot.
These are just a couple of simple methods for sending screenshots on your PC. Stay tuned for more tips and tricks on how to make the most out of your computer’s features!
Method 1: Using the Print Screen Key
One of the simplest methods to send a screenshot on your PC is by using the Print Screen key. This key allows you to capture the entire screen with just a few keystrokes. Follow these steps:
- Locate the Print Screen key on your keyboard. It is usually labeled as “PrtSc” or “PrtScn”.
- Press the Windows key and the Print Screen key simultaneously.
- A notification will appear on your screen confirming that the screenshot has been captured. The image is automatically saved as a PNG file in the Screenshots folder.
- To access the Screenshots folder, navigate to your Pictures directory. You will find the Screenshots folder there.
Alternatively, you can use the Print Screen key to copy the screenshot to your clipboard. Once it’s copied, you can paste it into a document, email message, or any other application using Ctrl + V or right-clicking and selecting “Paste”. This method is useful if you want to quickly share the screenshot without saving it as a file.
Here’s an example of what the Print Screen key looks like on a standard keyboard:
Method 2: Using the Snipping Tool
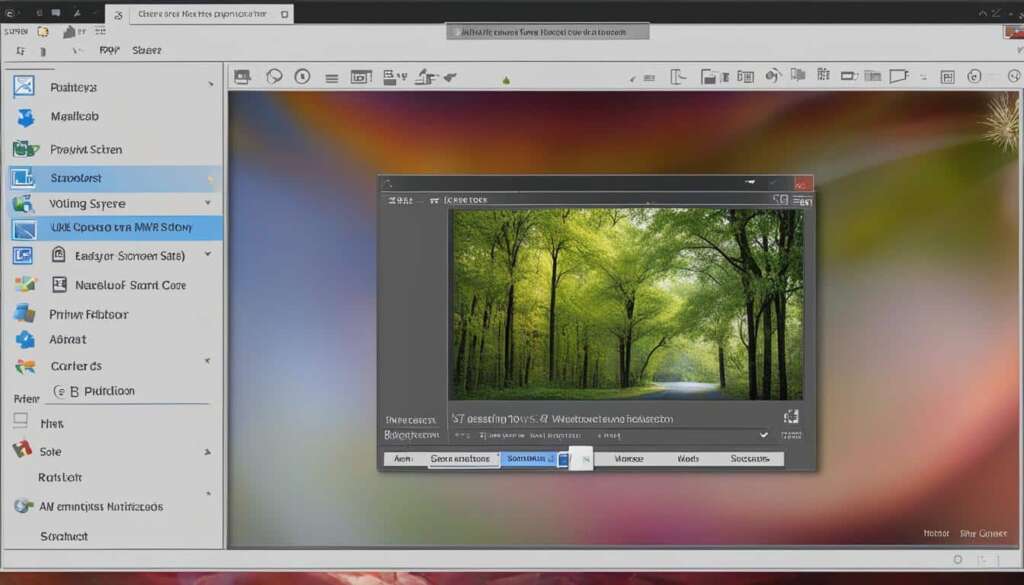
If you need to capture specific areas of your screen, the Snipping Tool is the perfect solution. Access this handy tool by pressing the Windows Key + Shift + S. It offers you the flexibility to select a rectangle, individual windows, or even free-form shapes for your screenshot.
Once you’ve captured the desired area, the Snipping Tool allows you to edit the screenshot using its built-in tools. You can easily crop, highlight, draw, or add text to enhance your screenshot. Once you’re satisfied with the result, simply save it to your desired location.
Compared to the Print Screen key method, the Snipping Tool provides greater precision and customization options. It’s ideal for capturing specific portions of your screen, whether it’s a small section of a webpage, a particular image, or a specific area of a document.
FAQ
How can I send a screenshot on my PC?
There are several simple methods you can use to send a screenshot on your PC. One method is to press the Windows key + Print Screen key to capture the entire screen and save the image to the Screenshots folder. Another method is to use the Snipping Tool by pressing Windows Key + Shift + S, which allows you to capture the whole screen, individual windows, or specific areas.
How do I capture the entire screen using the Print Screen key?
To capture the entire screen, simply press the Windows key + Print Screen key simultaneously. The image will be saved as a PNG file in the Screenshots folder located in your Pictures directory. Alternatively, you can press the Print Screen key alone to copy the screen to your clipboard and then paste it into a document or email message using Ctrl + V or right-clicking and selecting “Paste.”
How do I use the Snipping Tool to capture specific areas on my screen?
To access the Snipping Tool, press the Windows key + Shift + S. This tool allows you to capture specific areas of your screen by selecting a rectangle, individual windows, or even free-form shapes. Once you capture the desired area, you can edit the screenshot using the built-in tools and save it. The Snipping Tool provides more flexibility compared to the Print Screen key method, as it allows you to capture specific portions of your screen with precision.


