Table of Contents
If you’re wondering how to transfer photos from your Android phone to your computer, you’ve come to the right place. There are several methods you can use to accomplish this task, and we’ll be taking you through each one step by step. Whether you prefer a wired connection, cloud storage services, or third-party apps, we’ve got you covered.
Before we dive into the different methods, it’s important to note that backing up your photos is always a good practice. This ensures that your precious memories are safely stored on your computer.
Key Takeaways
- To transfer photos from Android to computer, you can use a USB cable, cloud storage services, or third-party apps.
- Backing up your photos before transferring them is crucial to ensure their safety.
- Choose the method that best suits your preferences and needs.
- Keep your photos organized on your computer for easy accessibility.
- Make sure to follow the step-by-step guides for each method to successfully transfer your photos.
Method 1: USB Transfer
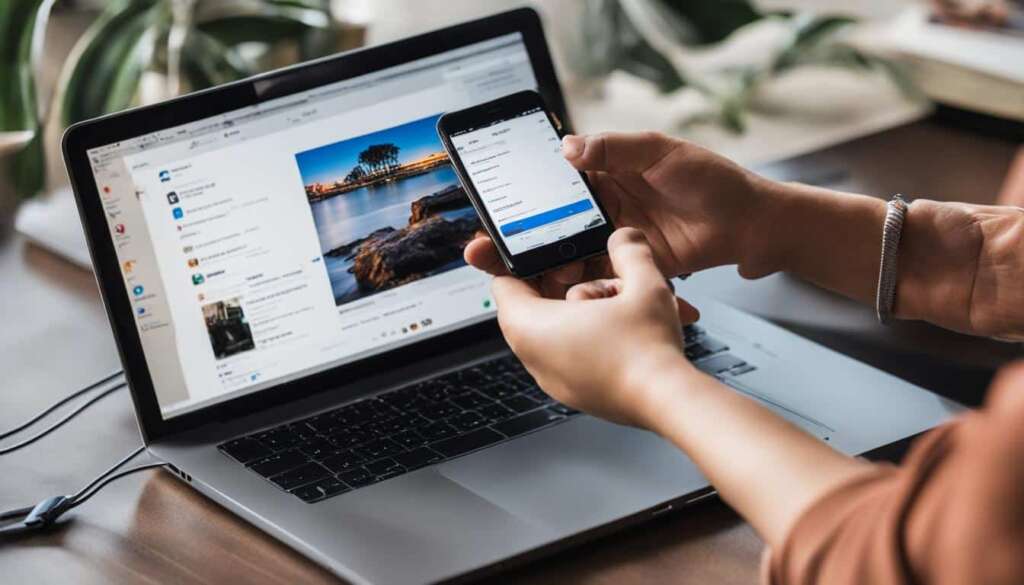
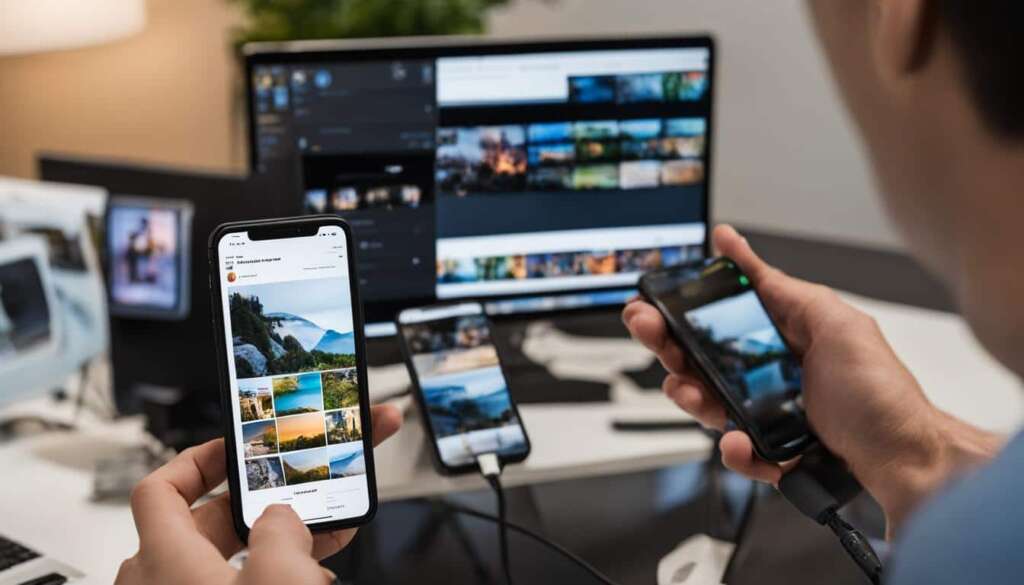
To transfer pictures from your Android phone to your computer, you can use the USB transfer method. Follow the steps below to successfully move photos from your Android device to your computer:
- Connect your Android phone to your computer using a USB cable.
- On your Android phone, swipe down from the top of the screen to access the notification panel. Tap on “USB options” or “Charging this device via USB.”
- Select “Transfer files” or “File transfer” from the USB options.
- On your computer, open the File Explorer or Finder to access the file system.
- Navigate to the folder where you want to transfer the photos on your computer.
- In the File Explorer or Finder, you should see your Android phone listed as a connected device. Click on it to open the internal storage or SD card.
- Locate the folder or directory where your photos are stored on your Android phone.
- Select the photos you want to transfer and drag them to the destination folder on your computer.
- Wait for the transfer to complete. Once finished, you can access the transferred photos on your computer.
By following these steps, you can easily move your photos from your Android phone to your computer using a USB cable.
Benefits of USB Transfer
There are several benefits to using the USB transfer method to move photos from your Android phone to your computer:
- Fast and direct transfer: USB transfer allows for a quick and direct transfer of photos without the need for an internet connection.
- No additional apps or services required: Unlike cloud storage or third-party apps, USB transfer does not require you to install any additional apps or sign up for any services.
- Secure and private: USB transfer ensures that your photos remain secure and private as the transfer is done directly between your Android phone and computer.
Overall, the USB transfer method is a reliable and convenient way to move photos from your Android phone to your computer.
Method 2: Cloud Storage
Transferring photos from your Android phone to your computer using cloud storage services like Google Drive or Dropbox is a convenient and efficient method. Follow these steps to transfer your photos:
- Create a Google Drive or Dropbox account if you don’t already have one.
- Install the respective app on your Android phone from the Google Play Store.
- Open the app and sign in to your account.
- On your Android phone, select the photos you want to transfer to your computer.
- Tap the share button or options menu and choose the option to upload or save to cloud storage.
- Wait for the upload process to complete. This may take some time depending on the size of the photos and your internet connection speed.
- Once the files are uploaded, open your computer’s web browser and sign in to your Google Drive or Dropbox account.
- Navigate to the folder where you uploaded the photos.
- Select the photos you want to download to your computer.
- Click the download button or options menu and choose the option to download the files.
- Choose the destination folder on your computer where you want to save the photos.
- Wait for the download to complete.
Transferring photos through cloud storage offers the advantage of being able to access your files from any device with an internet connection. It also provides an additional backup for your photos, ensuring they are not lost in case of device damage or loss.
Using cloud storage services for transferring photos from Android to computer is a convenient solution for individuals who value accessibility and backup options. With just a few simple steps, you can easily upload your photos to the cloud and download them onto your computer whenever you need them.
Keep in mind that cloud storage services may have limitations on the amount of storage available for free accounts, so you may need to upgrade to a paid plan if you have a large number of photos to transfer. Additionally, ensure that you have a stable internet connection during the upload and download process to avoid any interruptions.
| Pros | Cons |
|---|---|
| Convenient and easy to use | Dependent on internet connection |
| Accessible from any device with internet | Limited storage capacity for free accounts |
| Provides an additional backup | May require upgrading to a paid plan for more storage |
Method 3: Third-Party Apps
To transfer photos from your Android phone to your computer wirelessly, you can make use of third-party apps. These apps offer convenient and efficient solutions for android to computer photo transfer. Two popular apps in this category are AirDroid and Pushbullet.
AirDroid is a powerful app that allows you to manage and transfer files between your Android device and computer over a wireless connection. With AirDroid, you can easily transfer photos, videos, documents, and more. Simply install the app on your phone, create an account, and follow the on-screen instructions to get started. Once connected, you can access your phone’s files through a web browser on your computer and transfer photos with just a few clicks.
Pushbullet is another handy app that simplifies the process of transferring photos from your Android phone to your computer. It offers seamless integration between devices, allowing you to send files, links, and messages effortlessly. To transfer photos, install Pushbullet on both your phone and computer, log in with the same account, and grant the necessary permissions. You can then select the photos you want to transfer on your phone and choose the option to push them to your computer. The photos will instantly appear on your computer, ready for you to access and save.
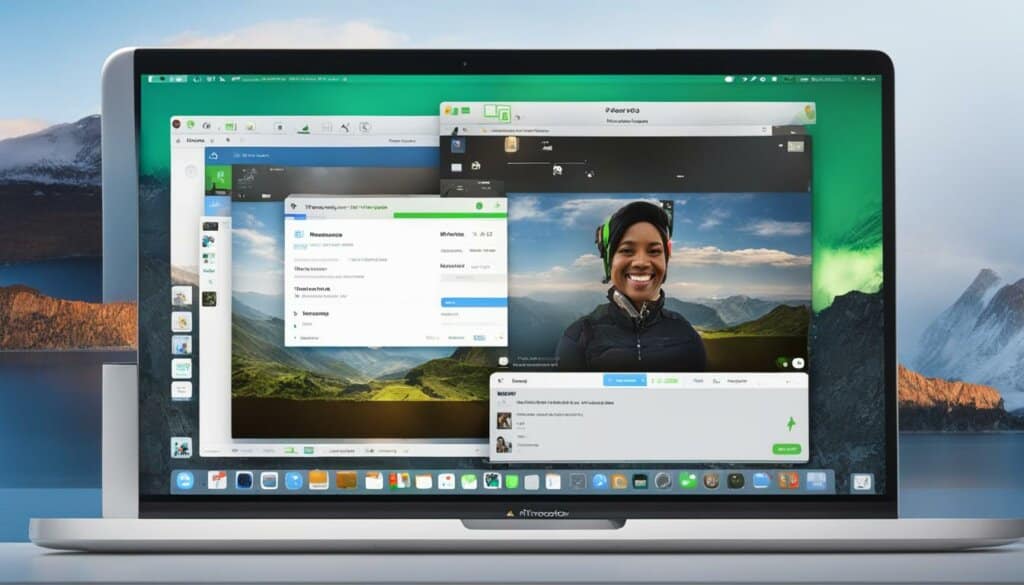
Screenshots of AirDroid and Pushbullet:
| AirDroid | Pushbullet |
|---|---|
 |
Conclusion
Transferring photos from your Android phone to your computer can be easily accomplished using various methods. Whether you prefer a direct connection or wireless transfer, there are options available to suit your needs.
One way to transfer photos is by using a USB cable. Simply connect your Android phone to your computer and manually transfer the files. This method provides a secure and straightforward way of transferring your photos.
Another option is to utilize cloud storage services such as Google Drive or Dropbox. By uploading your photos to these platforms from your Android phone, you can then download them onto your computer. This method offers the convenience of accessing your photos from multiple devices.
If you prefer a wireless transfer, you can rely on third-party apps like AirDroid or Pushbullet. These apps allow you to transfer photos from your Android phone to your computer without the need for cables. Simply install the app on both devices and follow the instructions to establish a connection.
Remember, regardless of the method you choose, it’s always important to back up your photos before transferring them. By doing so, you can ensure that your precious memories are safely stored on your computer. With these transfer methods at your disposal, you can easily organize and access your photos whenever you need them.
FAQ
How can I transfer photos from my Android phone to my computer?
There are several methods you can use to transfer photos from your Android phone to your computer. You can connect your phone to your computer using a USB cable and manually transfer the files. Another option is to use cloud storage services like Google Drive or Dropbox to upload the photos and then download them onto your computer. Additionally, you can use third-party apps like AirDroid or Pushbullet to transfer photos wirelessly from your Android phone to your computer.
How do I transfer photos using a USB cable?
To transfer photos from your Android phone to your computer using a USB cable, follow these steps:
– Connect your phone to your computer using a USB cable.
– On your phone, swipe down from the top of the screen to open the notification panel.
– Tap the USB connection option and select “Transfer files” or “File transfer.”
– On your computer, open “My Computer” or “This PC” and double-click on your phone’s icon.
– Open the “DCIM” folder and select the photos you want to transfer.
– Copy the selected photos and paste them into a folder on your computer.
How can I transfer photos using cloud storage services?
Another way to transfer photos from your Android phone to your computer is by using cloud storage services like Google Drive or Dropbox. Follow these steps:
– Install the Google Drive or Dropbox app on your Android phone.
– Open the app and sign in with your account.
– Tap the “Upload” or “Add” button and select the photos you want to upload.
– Wait for the photos to upload to your cloud storage account.
– On your computer, sign in to the same cloud storage account.
– Locate the uploaded photos and download them onto your computer.
Which third-party apps can I use to transfer photos wirelessly?
There are several third-party apps available that allow you to transfer photos from your Android phone to your computer wirelessly. Some popular apps include AirDroid and Pushbullet. Follow these steps to transfer photos using a third-party app:
– Install the app on both your Android phone and your computer.
– Open the app on your phone and sign in with your account.
– Follow the on-screen instructions to connect your phone to your computer.
– Once connected, you can select and transfer photos from your phone to your computer wirelessly.
What should I remember when transferring photos from my Android phone to my computer?
Transferring photos from your Android phone to your computer can be done using a USB cable, cloud storage services, or third-party apps. Choose the method that suits your preferences and needs. Remember to always back up your photos before transferring them to ensure they are safely stored on your computer. With these methods, you can easily transfer and organize your photos, making them accessible and secure on your computer.


