Table of Contents
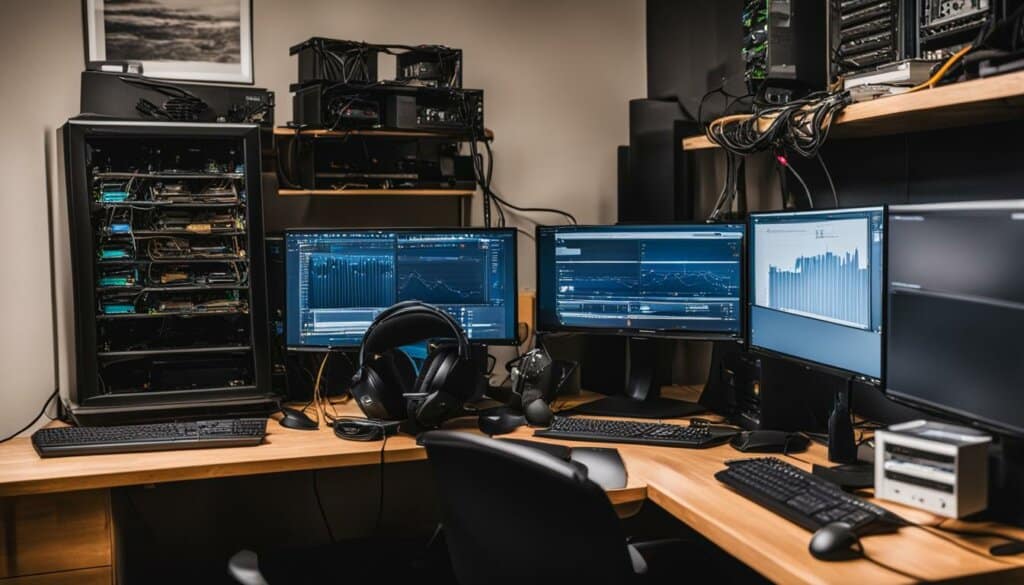
Creating a NAS home server is a practical solution for those seeking affordable storage options. By repurposing an old PC, you can save money while still enjoying the benefits of a network attached storage system. In this article, we will explore the cost-effectiveness of building a DIY NAS with an old PC and delve into the advantages it offers. Let’s see if repurposing your old PC as a NAS home server is the right choice for you.
Advantages of Using an Old PC as a NAS Server
Repurposing an old PC as a NAS server offers several advantages over purchasing a pre-built NAS solution. Firstly, it provides a more affordable option for those on a budget. By utilizing existing hardware, you can save money on purchasing a dedicated NAS system. This cost-effectiveness is particularly beneficial for home users looking to set up a reliable and efficient NAS solution without breaking the bank.
Using an old PC also allows for greater flexibility in terms of hardware and software choices. Unlike pre-built NAS systems, which often come with limited upgrade options, repurposing an old PC enables you to customize your setup as needed. You can easily upgrade components such as storage drives, RAM, and even the CPU to meet your specific requirements.
Moreover, an old PC can often provide more powerful performance compared to entry-level pre-built NAS systems. This is especially advantageous when it comes to resource-intensive tasks such as media transcoding and running multiple applications simultaneously. With a DIY NAS setup, you have the freedom to optimize your hardware configuration to achieve the best possible performance for your specific use case.
Overall, using an old PC as a NAS server offers affordability, flexibility, and enhanced performance compared to pre-built NAS solutions. It empowers users to create a tailored home server setup that meets their unique storage and networking needs.

Table: Comparison of Using an Old PC vs. Pre-built NAS Systems
| Advantages | Using an Old PC | Pre-built NAS Systems |
|---|---|---|
| Cost | More affordable | Higher price tag |
| Flexibility | Customizable hardware and software choices | Limited upgrade options |
| Performance | Potentially more powerful | Entry-level capabilities |
| Scalability | Ability to easily upgrade and expand | Restricted expansion options |
Please note: The table above provides a general comparison and may vary depending on specific hardware configurations and brands.
Selecting the Right Hardware for a DIY NAS
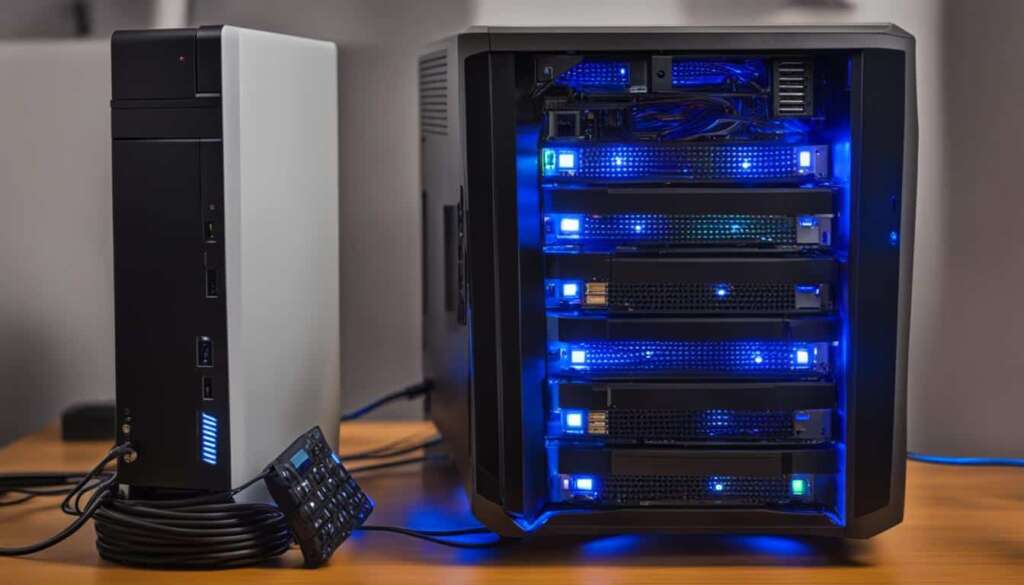
When building a DIY NAS, the selection of hardware is a critical step in ensuring optimal performance and functionality. There are two main options to consider: repurposing an old PC or investing in a mini-PC with Direct-Attached Storage (DAS). Let’s explore the pros and cons of each:
Repurposing an Old PC
Repurposing an old PC as a NAS can be a cost-effective solution, especially if you have a spare machine lying around. By utilizing the existing hardware, such as the case, power supply, and storage drives, you can significantly reduce costs. However, it’s essential to consider the limitations of older hardware, such as power consumption, limited expansion options, and potentially slower data transfer speeds.
Mini-PC with DAS
If you’re starting from scratch or prefer a more streamlined setup, a mini-PC with DAS is a viable option. These compact systems often come with built-in storage bays and efficient power consumption. They also offer the advantage of future upgrade paths, allowing you to easily add more storage or upgrade the CPU as needed. However, it’s important to carefully consider your storage needs and select a mini-PC with enough drive bays and compatible hardware for your desired NAS setup.
| Criteria | Old PC | Mini-PC with DAS |
|---|---|---|
| Cost | Lower cost if repurposing an existing PC | Higher initial cost but more scalable |
| Power Consumption | Potentially higher | More energy-efficient |
| Expandability | May have limited expansion options | Offers future upgrade paths |
| Performance | Dependent on existing hardware | Optimized for efficient performance |
In summary, selecting the right hardware for your DIY NAS depends on your budget, storage needs, and future expansion plans. Repurposing an old PC can be a cost-effective choice, while a mini-PC with DAS offers simplicity and scalability. Consider your specific requirements and weigh the advantages and limitations of each option before making a decision.
Setting Up the NAS Software
After selecting the right hardware for your DIY NAS, the next step is to set up the NAS software. Choosing the appropriate operating system is crucial for a smooth and efficient NAS setup. There are several options available, each with its own features and compatibility.
One popular choice is OpenMediaVault (OMV), known for its user-friendly interface and compatibility with both Arm and x86 CPUs. OMV provides a hassle-free installation process and can be easily configured to meet your specific needs. Not only does it offer a wide range of features, but it also supports Docker, allowing you to install and manage additional applications on your NAS.
During the installation process, you may need to configure network settings, such as setting up a static IP address. This ensures that your NAS has a consistent network connection and can be accessed within your local network. It’s also important to familiarize yourself with the command line interface, as it may be necessary for advanced configurations or troubleshooting.
Advantages of OpenMediaVault (OMV)
– Easy installation and setup process
– User-friendly web interface for configuration
– Compatibility with Arm and x86 CPUs
– Support for Docker, allowing for easy installation of additional applications
Configuring Network Settings
When setting up your NAS software, make sure to configure the network settings correctly. This includes assigning a static IP address to your NAS to ensure it has a consistent connection within your local network. By assigning a static IP, you can easily access your NAS using its IP address or hostname, rather than relying on DHCP assigned addresses that may change over time.
In addition to the IP address, you may also need to configure other network settings, such as DNS servers and gateway addresses. These settings ensure that your NAS can communicate with other devices on the network, access the internet, and resolve domain names.
| Network Setting | Description |
|---|---|
| IP Address | Assign a static IP address to your NAS for consistent network accessibility. |
| DNS Servers | Specify the DNS servers your NAS should use for domain name resolution. |
| Gateway Address | Set the gateway address to enable your NAS to access the internet and communicate with other devices on the network. |
Once the network settings are configured, you can proceed with the installation of the NAS software. This typically involves downloading the appropriate installation image for your chosen operating system, creating a bootable USB drive, and following the installation wizard. Be sure to follow the instructions provided by the operating system’s documentation or official website to ensure a successful installation.
Adding Apps and Services to Your DIY NAS
One of the key advantages of setting up a DIY NAS with an old PC is the ability to add various applications and services to enhance its functionality. By leveraging the power of Docker containers, you can easily install and manage a wide range of apps on your NAS. The OpenMediaVault (OMV) operating system provides a user-friendly interface for this purpose, making the process seamless and intuitive.
With Docker, you can install popular applications such as Plex, Deluge, Pihole, and more, directly onto your NAS. Docker containers offer the advantage of isolation, ensuring that each app runs independently without affecting the stability or performance of the overall system. This allows you to utilize your DIY NAS for media streaming, file syncing, torrenting, and even running self-hosted services like a personal cloud or VPN server.
Setting up apps with Docker on OMV is a straightforward process. By utilizing Docker-compose files, you can easily define the desired configuration for each app. These files contain all the necessary parameters, dependencies, and settings required to deploy the app. Once the Docker-compose file is created, you can use OMV’s web interface to import and deploy the application.
Adding apps and services to your DIY NAS not only expands its capabilities but also allows you to tailor the system to your specific needs. Whether you’re a media enthusiast, a data hoarder, or a cybersecurity-conscious individual, the flexibility of Docker and OMV empowers you to create a customized NAS solution that suits your requirements.

Key Benefits of Adding Apps with Docker:
- Flexibility: Docker enables easy installation and management of a wide range of applications on your DIY NAS.
- Isolation: Each app runs in its own container, ensuring that they remain separate and do not interfere with each other.
- Scalability: Docker allows you to quickly scale up or down the number of instances for each app, depending on your needs.
- Portability: Docker containers can be easily moved between different NAS setups or even to other systems, providing flexibility and ease of migration.
With Docker and the OpenMediaVault operating system, you can unlock the full potential of your DIY NAS by seamlessly adding and managing a variety of apps and services. Whether you want to stream media, download torrents, or host your own self-hosted applications, the combination of Docker and OMV makes it all possible.
Cost-Effectiveness of DIY NAS vs. Pre-Built Solutions
When it comes to setting up a network attached storage (NAS) system, many people are faced with the decision of whether to build their own DIY NAS or purchase a pre-built solution. Cost is often a key factor in this decision, as individuals look for a cost-effective option that meets their storage needs. Let’s take a closer look at the cost comparison between a DIY NAS and an off-the-shelf NAS.
The DIY NAS Advantage
Building your own NAS using an old PC or a cost-effective mini-PC and DAS setup can provide significant cost savings. With a DIY NAS, you have the flexibility to choose your own hardware components, allowing you to optimize your system based on your specific needs and budget. This can result in a more affordable solution compared to purchasing a pre-built NAS system with similar hardware capabilities.
Furthermore, repurposing an old PC as a NAS not only saves you money on purchasing new hardware, but it also allows you to make use of existing resources. This can further contribute to the cost-effectiveness of a DIY NAS, as you can repurpose a device that might otherwise be considered obsolete.
Off-the-Shelf NAS Considerations
While pre-built NAS systems offer convenience and ease of use, they often come with a higher price tag. The cost of hardware components in pre-built NAS systems is typically higher compared to building your own DIY NAS. Additionally, you may have limited options for hardware customization, as pre-built systems are designed to cater to a wide range of users.
However, it’s important to consider that pre-built NAS systems come with the advantage of pre-configured software and support, which can save you time and effort in the setup process. The decision between a DIY NAS and an off-the-shelf NAS ultimately depends on your budget, technical expertise, and specific requirements.
Cost Comparison Table
| Factor | DIY NAS | Off-the-Shelf NAS |
|---|---|---|
| Hardware Cost | Lower | Higher |
| Hardware Customization | Flexible | Limited |
| Software Configuration | DIY | Pre-configured |
| Technical Support | DIY or Community-based | Vendor-provided |
| Price Range | Varies based on components | Higher |
As seen in the cost comparison table above, building a DIY NAS can offer a more cost-effective solution compared to purchasing an off-the-shelf NAS system. The lower hardware cost and increased customization options make DIY NAS an attractive choice for those who are willing to invest time and effort into the setup process. However, it’s important to weigh the cost savings against the convenience and support offered by pre-built NAS systems, especially if you have limited technical expertise.
Tips for Installing Your DIY NAS Software
Installing the software for your DIY NAS requires careful consideration of the operating system (OS) that matches your hardware and requirements. One popular choice is OpenMediaVault (OMV), a user-friendly and versatile NAS operating system. OMV offers compatibility with both Arm and x86 CPUs, making it suitable for a wide range of hardware configurations. Additionally, OMV supports Docker, which allows you to easily add and manage applications on your NAS.
When installing OMV, ensure that you have a compatible hardware setup, including a supported CPU and sufficient RAM. The installation process typically involves creating a bootable USB drive with the OMV image and then installing it on your system. During the installation, you may need to configure network settings and access the command line interface if necessary. OMV provides a web-based interface for managing your NAS, making it accessible and easy to use.
Once you have installed OMV, familiarize yourself with the use of Docker-compose files. Docker-compose is a powerful tool that enables you to define and manage multi-container applications. By utilizing Docker-compose files, you can easily add and deploy applications such as Plex for media streaming, Deluge for torrenting, and Pihole for network-wide ad blocking. This flexibility allows you to customize your NAS according to your specific needs.
“The installation of NAS software is a critical step in setting up your DIY NAS. Choosing the right operating system, such as OpenMediaVault, ensures compatibility and ease of use. With OMV’s support for Docker, you can easily add and manage applications to enhance your NAS functionality.”
Benefits of OpenMediaVault (OMV) for NAS Installation
- User-friendly web-based interface for easy setup and management
- Supports Docker for effortless installation and management of applications
- Compatible with both Arm and x86 CPUs, providing hardware flexibility
- Active community support and regular updates for ongoing development
By following these tips and utilizing the capabilities of OpenMediaVault, you can ensure a smooth and efficient installation of your DIY NAS software. With the right software setup, your DIY NAS will be ready to serve as a reliable and customizable storage solution for your home or small office.
Conclusion
One of the creative uses for an old PC is creating an affordable home NAS server. This approach involves repurposing an old PC as a low-cost option, providing a budget-friendly solution for a reliable and customizable storage system. By carefully selecting the right hardware and software, you can achieve a performance comparable to pre-built NAS solutions, but at a fraction of the cost.
Whether you need personal file storage, media streaming capabilities, or the ability to run various applications, a DIY NAS server offers affordability and flexibility. Repurposing an old PC as the foundation for your home server allows you to save money while still achieving the storage and performance capabilities you require.
With the right hardware components and a suitable operating system like OpenMediaVault, you can easily set up your DIY NAS server. By adding applications and services using Docker containers, you can further enhance the functionality of your home server. The low-cost NAS home server option allows you to customize your setup based on your specific needs and upgrade as necessary.
In conclusion, if you’re looking for an affordable and versatile home server, consider building your own low-cost NAS server. By repurposing an old PC and utilizing the right hardware and software, you can create a reliable storage system that meets your needs without breaking the bank.
FAQ
Is creating a NAS home server with an old PC cost-effective?
Yes, repurposing an old PC for a NAS server can save money compared to purchasing a dedicated NAS solution.
What are the advantages of using an old PC as a NAS server?
Repurposing an old PC allows for flexibility in hardware and software choices, customization, and powerful performance for tasks such as media transcoding.
How should I select the right hardware for a DIY NAS?
You have two options: repurposing an old PC or using a mini-PC with Direct-Attached Storage (DAS) for simplicity, affordability, and upgrade paths.
What operating system should I choose for my DIY NAS setup?
Options such as Windows, OpenMediaVault, UnRAID, and TrueNAS offer different features and compatibility. OpenMediaVault (OMV) is a popular choice for its ease of use and compatibility with both Arm and x86 CPUs.
How can I add apps and services to my DIY NAS?
You can enhance the functionality of your DIY NAS by using Docker containers. OpenMediaVault (OMV) supports Docker and provides a user-friendly interface for installing and managing apps.
Is building a DIY NAS more cost-effective than purchasing a pre-built solution?
Yes, building a DIY NAS can offer significant cost savings while providing similar or higher performance compared to off-the-shelf NAS systems.
What tips should I follow when installing my DIY NAS software?
It’s essential to choose a suitable operating system that matches your hardware and requirements. OpenMediaVault (OMV) is a recommended option. Familiarize yourself with docker-compose files to easily add and manage applications on your NAS.
Source Links
- https://www.gamecrate.com/how-to-turn-an-old-pc-into-nas
- https://www.reddit.com/r/HomeServer/comments/tn7i84/cheap_system_for_nashome_server_is_buying_old_pc/
- https://www.androidauthority.com/cheap-diy-nas-server-3348392/


