Table of Contents
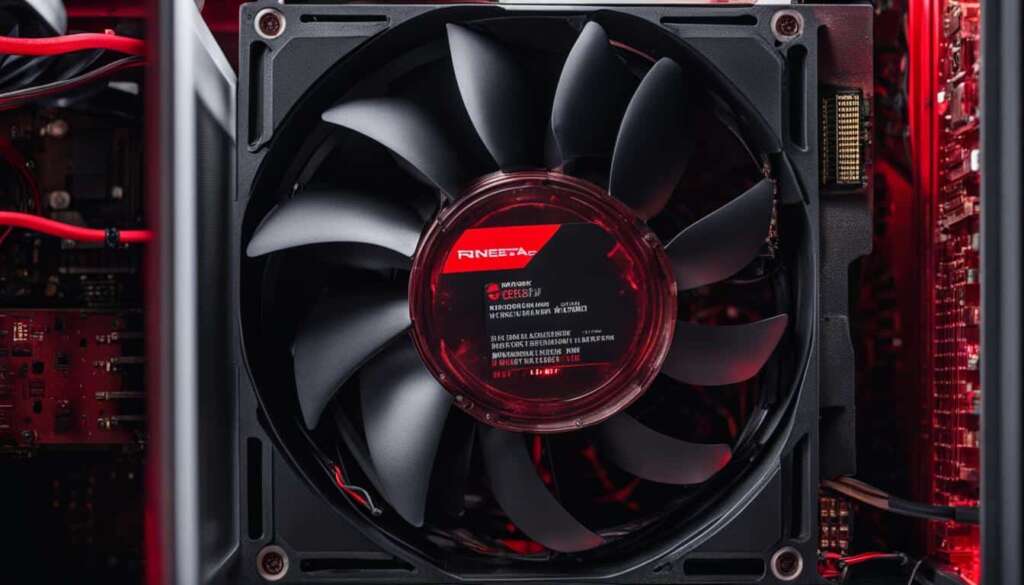
The CPU fan error is a common error message that can occur during the startup of a Windows computer. It is usually triggered when the fan fails to cool the CPU, leading to overheating and system shutdown. This error message is an indication that the computer’s safeguards are working correctly, as continued overheating can permanently damage hardware components.
There are various causes for CPU fan errors, including physical damage to the fan, incorrect settings, and external factors obstructing airflow. To fix the CPU fan error, you can try moving your computer to a cooler location, stop overclocking, clean the air vents and CPU fans, check the fan connections, and adjust the fan settings in the BIOS. If none of these solutions work, it may be necessary to replace the CPU fan.
Key Takeaways:
- CPU fan error can occur when the fan fails to cool the CPU, leading to overheating and system shutdown.
- Common causes of CPU fan errors include physical damage to the fan, incorrect settings, and obstructed airflow.
- To fix CPU fan errors, try moving the computer to a cooler location, stop overclocking, and clean the air vents and CPU fans.
- Checking fan connections and adjusting fan settings in the BIOS can also resolve the error.
- If all else fails, consider replacing the CPU fan to ensure proper cooling.
Common Causes of CPU Fan Errors
CPU fan errors can arise from various factors, including physical damage to the fan, incorrect settings, and obstructed airflow. Identifying the specific cause of the error is key to implementing an appropriate solution.
1. Physical Damage to the Fan:
Physical damage can hinder the fan’s ability to function properly. Damaged fan blades or cables may prevent the fan from spinning effectively, leading to inadequate cooling. Addressing any physical damage is crucial to resolving CPU fan errors.
2. Incorrect Settings:
Improper settings can also trigger CPU fan errors. For instance, if the fan is not plugged into the correct CPU_FAN header or if the wrong CPU fan header on the motherboard is used, the fan may not receive power or function as intended. Adjusting these settings is essential for the fan to operate correctly.
3. Obstructed Airflow:
Dust and debris can accumulate in the air vents, obstructing the airflow and impeding the fan’s ability to cool the CPU effectively. Regular cleaning and maintenance of the air vents is necessary to prevent such obstructions and ensure optimal cooling.
4. Overclocking:
Overclocking, the process of pushing a CPU beyond its default clock speed, can generate excessive heat. This increased heat load can strain the CPU fan, potentially leading to errors. Ceasing or minimizing overclocking can help alleviate CPU fan errors and prevent excessive heat buildup.
In summary, CPU fan errors can be caused by physical damage to the fan, incorrect settings, obstructed airflow, and overclocking. By understanding these common causes, users can troubleshoot the error effectively and implement appropriate solutions.
| Causes of CPU Fan Errors | Solutions |
|---|---|
| Physical damage to the fan | Address any physical damage. |
| Incorrect settings | Ensure the fan is plugged into the correct CPU_FAN header. |
| Obstructed airflow | Clean the air vents to remove dust and debris. |
| Overclocking | Stop or minimize overclocking to reduce heat generation. |
Solutions for CPU Fan Errors
Experiencing CPU fan errors can be worrisome, but there are several solutions that can help you resolve the issue and ensure proper cooling for your computer. By taking the following steps, you can address common causes of CPU fan errors and restore optimal performance to your system.
1. Change the Location of Your Computer
One solution is to change the location of your computer to improve airflow and prevent overheating. Ensure that your computer is placed in a well-ventilated area, away from walls or objects that may obstruct airflow. This simple adjustment can have a significant impact on your computer’s cooling efficiency.
2. Check and Adjust BIOS Settings
Accessing and adjusting the BIOS settings related to CPU fan speed and control can also help resolve CPU fan errors. Start by entering the BIOS menu during startup (usually by pressing the ‘Del’ or ‘F2’ key). Look for options related to fan control or monitoring and make any necessary adjustments. Remember to save the changes before exiting the BIOS.
3. Clean Dust and Debris
Dust and debris accumulation within the air vents and CPU fans can hinder proper cooling and trigger fan errors. Regularly clean these components using compressed air or a soft brush to remove any built-up dust. This simple maintenance task can significantly improve cooling efficiency and help prevent future errors.
4. Check the CPU Cooler
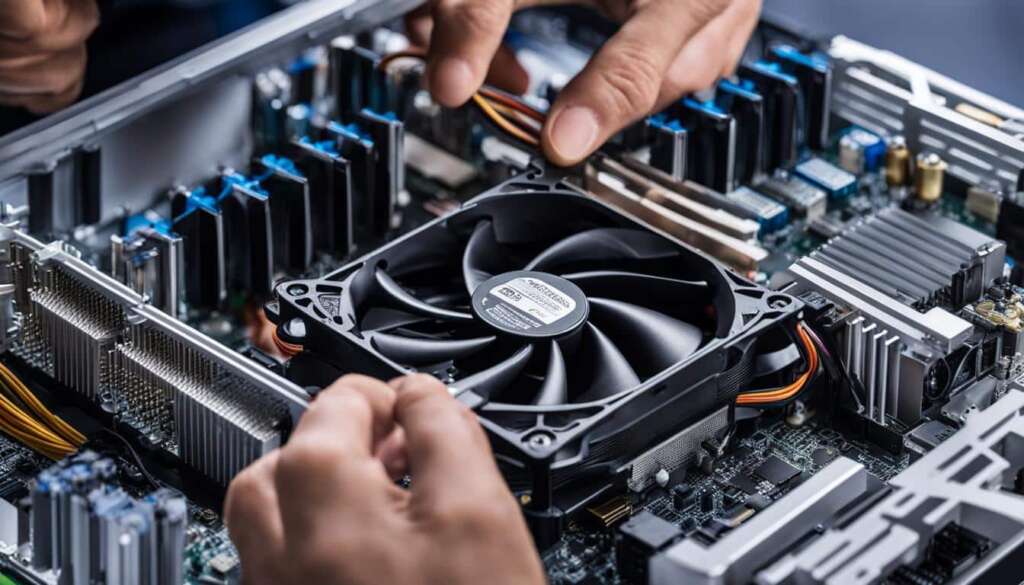
It’s essential to inspect the CPU cooler to ensure it is properly installed and functioning correctly. Check the fan direction to ensure it is blowing air towards the heatsink or exhaust vent. Make sure the cooler is securely attached to the CPU socket and there are no loose screws or clips. Additionally, check for any issues with the thermal paste between the CPU and cooler, ensuring it is applied correctly and not dried out.
By implementing these solutions, you can effectively troubleshoot and resolve common CPU fan errors. Remember to follow the manufacturer’s instructions and consult professional assistance if needed.
Checking and Adjusting BIOS Settings
The BIOS settings are essential for controlling and monitoring the performance of your CPU fan. By accessing the BIOS, you can check and adjust various settings related to CPU fan speed and control. These settings enable the motherboard to effectively detect and manage the CPU fan, ensuring optimal cooling and preventing CPU fan errors.
When accessing and adjusting the BIOS settings, it is important to follow the specific instructions provided by your motherboard manufacturer. Here are some key settings to consider:
- Enable Active Heat Sink and Fan Duct Options: Activating these options allows the motherboard to effectively utilize the active cooling mechanisms to maintain optimal CPU temperature.
- Disable Passive Heat Sink and Fan Duct Without Fan: Disabling these options ensures that the motherboard does not rely on passive cooling mechanisms, which may not provide sufficient cooling for the CPU.
- Adjust the Low Limit RPM: Setting a suitable low limit RPM ensures that the CPU fan maintains a minimum speed even during idle or low-load conditions, preventing the CPU from overheating.
By fine-tuning these BIOS settings, you can optimize the CPU fan’s performance to effectively control the system temperature and prevent CPU fan errors. Remember to save your changes before exiting the BIOS.
Example of BIOS Settings
| Setting | Description | Recommended Value |
|---|---|---|
| Active Heat Sink and Fan Duct | Enables the use of active cooling mechanisms for optimal CPU temperature control | Enabled |
| Passive Heat Sink and Fan Duct Without Fan | Disables the use of passive cooling mechanisms, preventing insufficient cooling | Disabled |
| Low Limit RPM | Sets the minimum fan speed to maintain proper cooling even during idle or low-load conditions | 1000 RPM |
Remember to refer to your motherboard’s documentation for the specific BIOS settings and recommended values for your system. Adjusting these settings can significantly contribute to maintaining optimal CPU temperatures and preventing CPU fan errors.
Cleaning Dust and Checking CPU Cooler
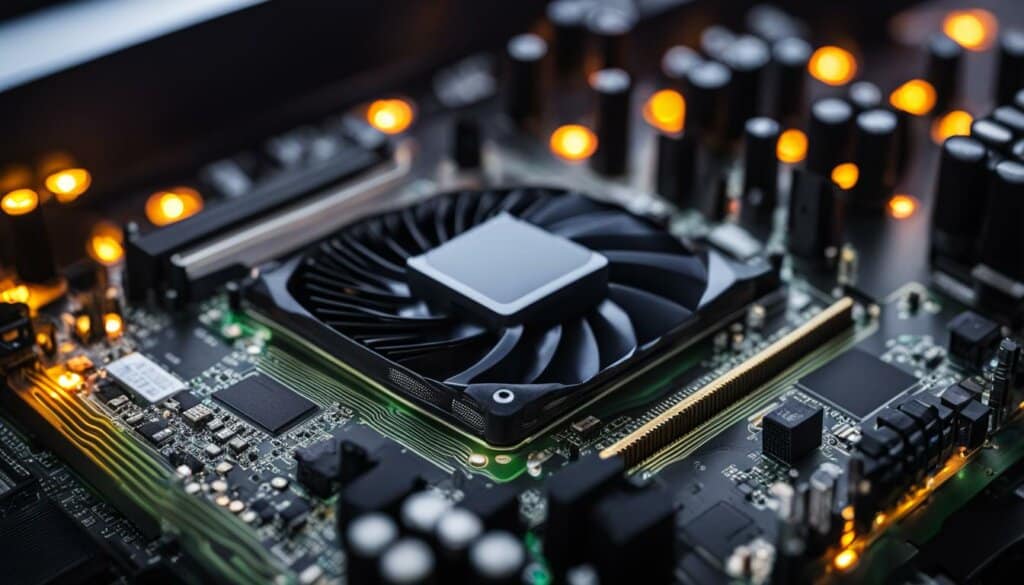
Cleaning the dust and debris from the air vents and CPU cooler is crucial for maintaining optimal cooling performance. A buildup of dust can restrict airflow and cause the CPU to overheat, leading to fan errors and potential damage to the system. Additionally, checking the CPU cooler ensures that it is functioning properly and effectively dissipating heat.
To clean the dust from the air vents and fan blades, use a vacuum cleaner or air blower. Take caution not to damage any delicate components while cleaning. Removing the dust will improve the airflow and prevent the fan from working harder than necessary.
When checking the CPU cooler, ensure that it is properly installed and positioned. The fan should be facing the correct direction to push the hot air out of the cabinet. Inspect the fan for any physical damage or blockage, as these can impede its performance. A damaged or blocked fan may result in inadequate cooling and increased CPU temperatures.
It is also essential to examine the thermal paste between the CPU and the cooler. The thermal paste helps in conducting heat away from the CPU and into the cooler. Over time, the thermal paste may dry out or degrade, resulting in reduced heat transfer efficiency. Check that the thermal paste is applied correctly and consider replacing it if necessary.
Regularly cleaning the dust and checking the CPU cooler should be part of your computer maintenance routine. By doing so, you can improve airflow, ensure proper cooling, and minimize the risk of CPU fan errors.
Remember: Dust and debris can accumulate in your computer over time, impacting its performance and causing CPU fan errors. By keeping your system clean and checking the CPU cooler regularly, you can maintain optimal cooling efficiency and prolong the lifespan of your computer.
Conclusion
CPU fan errors can be frustrating, but with the right solutions, you can resolve the issue and ensure proper cooling for your computer. Understanding the common causes of CPU fan errors, such as physical damage, incorrect settings, and obstructed airflow, is crucial in finding the appropriate solutions.
Implementing solutions like changing the computer’s location to ensure optimal airflow, adjusting BIOS settings to control CPU fan speed, and regularly cleaning dust and debris from air vents and CPU coolers can help maintain optimal performance and longevity of your computer.
If all else fails, replacing the CPU fan may be necessary. It is essential to follow manufacturer instructions and consult professional assistance when needed. By taking proactive measures and addressing CPU fan errors promptly, you can prevent damage to hardware components and ensure the smooth operation of your computer.
FAQ
What is a CPU fan error?
A CPU fan error is a common error message that occurs when the fan fails to cool the CPU, leading to overheating and system shutdown.
What causes CPU fan errors?
CPU fan errors can be caused by physical damage to the fan, incorrect settings, and external factors obstructing airflow.
How can I fix a CPU fan error?
To fix a CPU fan error, you can try moving your computer to a cooler location, stop overclocking, clean the air vents and CPU fans, check the fan connections, and adjust the fan settings in the BIOS. If none of these solutions work, it may be necessary to replace the CPU fan.
What role do BIOS settings play in CPU fan errors?
BIOS settings control and monitor the CPU fan speed and performance. By accessing the BIOS, you can check settings related to CPU fan speed and control.
How do I clean dust and check the CPU cooler?
Cleaning dust and debris from the air vents and CPU cooler is crucial for maintaining optimal cooling performance. Use a vacuum cleaner or air blower to remove the dust from the vents and fan blades. Check the CPU cooler for any issues, including physical damage and proper installation.
What should I do if none of the solutions work?
If none of the solutions work, it may be necessary to replace the CPU fan. Always consult professional assistance if needed.

