Table of Contents
Cloud Services on PC, PC Cloud Services, PC Cloud Solutions
Cloud storage has become an essential part of our lives, allowing us to securely store and access important files from anywhere. However, relying on external providers for cloud services can be costly and limit our flexibility. That’s why building your own DIY cloud storage solution using a converted PC is an inspiring option.
By repurposing an old PC or investing in a dedicated NAS device, you can create a personal cloud storage system tailored to your needs. With the right hardware and software setup, you will have the power to secure your files and enjoy the benefits of cloud services on your PC.
Building Your Own Cloud Storage Solution
Are you tired of relying on third-party cloud storage providers to secure and access your important files? Building your own cloud storage solution on a PC can give you greater control, flexibility, and security. By repurposing a PC or Raspberry Pi and leveraging software like Nextcloud, you can create a customizable and cost-effective cloud storage system tailored to your needs.
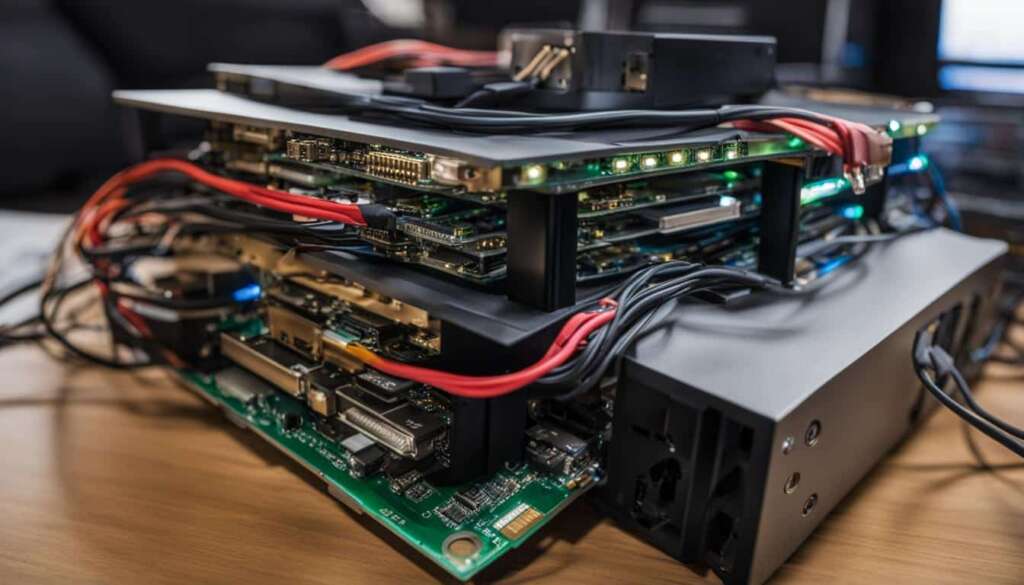
To build your DIY cloud storage solution, you’ll need a few key components. Start with a PC or Raspberry Pi as the base hardware, ensuring it meets the minimum requirements for running the chosen software. You’ll also need an SD card to install the operating system and external storage, such as an SSD or hard drive, for storing your files.
Once you have the hardware ready, you can proceed with the software setup. Nextcloud is a popular open-source cloud storage platform that provides features such as file syncing, sharing, and collaboration. By installing and configuring Nextcloud on your PC, you can create your own secure cloud storage system. Nextcloud allows you to access your files remotely from any device, ensuring convenient and seamless file management.
Benefits of Building Your Own Cloud Storage Solution
- Enhanced data security: With your own cloud storage solution, you have full control over the security measures implemented, including encryption and access control.
- Cost savings: Building your own cloud storage solution can be more cost-effective in the long run compared to monthly subscription fees for third-party providers.
- Flexibility and customization: By building your own solution, you have the freedom to customize and tailor the storage capacity, software, and features to meet your specific requirements.
- Increased privacy: By hosting your files on your own cloud storage system, you can minimize the risk of your data being accessed or monitored by third parties.
By taking the DIY approach to cloud storage, you can transform a PC or Raspberry Pi into a powerful cloud storage system that offers convenience, security, and peace of mind. With the right hardware and software configuration, you can enjoy the benefits of cloud services on your own terms.
Setting Up Nextcloud Server
Nextcloud is a powerful open-source software that allows you to create your own cloud storage system on a converted PC. Setting up Nextcloud server requires a few steps, but with the right guidance, it can be a straightforward process. By following the instructions below, you’ll be able to set up Nextcloud server and enjoy the benefits of DIY cloud storage.
First, you’ll need to flash the Raspberry Pi Lite OS onto the SD card. This can be done using software like Raspberry Pi Imager. Once the SD card is ready, insert it into your PC. Make sure your PC has the necessary software packages installed, such as Apache2, PHP, and MySQL. These packages can be installed using the terminal or package manager of your operating system.
Next, download the Nextcloud package from the official website. Extract the downloaded file and move it to the desired directory on your PC. Create a data directory where your Nextcloud files will be stored. Set the appropriate permissions for this directory to ensure proper access. Configure Apache to use Nextcloud by creating a virtual host configuration file. This file should point to the location of your Nextcloud directory.
Finally, you can access your Nextcloud server through a web browser. Type in the IP address or domain name of your PC and you’ll be greeted with the Nextcloud setup wizard. Follow the on-screen instructions to complete the initial setup, including creating an administrator account and setting up the database. Once the setup is complete, you can start uploading and sharing files through your Nextcloud server.
Table: Summary of Nextcloud Server Setup
| Steps | Description |
|---|---|
| Flash Raspberry Pi Lite OS | Install Raspberry Pi Lite OS on the SD card. |
| Install Required Software Packages | Install Apache2, PHP, and MySQL packages on your PC. |
| Download and Extract Nextcloud | Download Nextcloud package, extract it, and move it to the desired directory. |
| Create Data Directory | Create a directory for Nextcloud data and set appropriate permissions. |
| Configure Apache | Create a virtual host configuration file to point to the Nextcloud directory. |
| Access Nextcloud Server | Access the Nextcloud setup wizard through a web browser and complete the initial setup. |
Securing Remote Access with Cloudflare Tunnel
Accessing your DIY cloud storage system from anywhere securely is essential for maximizing its usefulness. One effective way to accomplish this is by utilizing Cloudflare Tunnel, a tool that facilitates secure remote access to your personal cloud storage.
Cloudflare Tunnel works by establishing an encrypted connection between your DIY cloud storage system and Cloudflare’s network. This ensures that all data transmitted between your device and your storage system remains secure and protected from potential eavesdropping or unauthorized access.
To set up Cloudflare Tunnel, you will need to follow a series of steps. First, you need to add your domain to Cloudflare, which involves updating your DNS settings and pointing your domain to Cloudflare’s nameservers. Once your domain is added and verified, you can proceed to install the Cloudflared service on your PC.
After installing Cloudflared, you need to configure the Cloudflare Tunnel by creating a configuration file that specifies the appropriate settings for your DIY cloud storage system. This includes defining the local endpoint, which is the address of your storage system, and the remote endpoint, which is the address where Cloudflare will route incoming requests.
Finally, you must update your DNS records to ensure that incoming requests are directed to your Cloudflare Tunnel. By doing so, you can securely access your DIY cloud storage system from anywhere using your domain name. With Cloudflare Tunnel, you can enjoy the convenience of remote access without compromising on security.

Table: Steps to Set Up Cloudflare Tunnel for Remote Access
| Step | Description |
|---|---|
| Step 1 | Add your domain to Cloudflare |
| Step 2 | Install the Cloudflared service on your PC |
| Step 3 | Create a configuration file for Cloudflare Tunnel |
| Step 4 | Update DNS records to route incoming requests to Cloudflare Tunnel |
Advantages of Using an Old PC as a NAS Server
Repurposing an old PC as a NAS server offers several advantages. It provides an opportunity to transform an outdated piece of technology into a powerful storage solution that can meet your specific needs. Here are some key advantages of using an old PC as a NAS server:
1. Cost Savings
One of the primary advantages of using an old PC as a NAS server is the cost savings. Instead of investing in a dedicated NAS device, repurposing an old PC allows you to utilize existing hardware and save money. You can breathe new life into an outdated machine and turn it into a powerful storage solution without breaking the bank.
2. Hardware and Software Customization
By repurposing an old PC as a NAS server, you have complete control over the hardware and software customization. You can choose the operating system that best fits your needs, whether it’s Windows, OpenMediaVault, UnRAID, or TrueNAS. Additionally, you have the flexibility to upgrade or replace individual components to enhance performance and storage capacity.
3. Enhanced Performance
Older PCs often have more powerful hardware compared to dedicated NAS devices. This means that you can leverage the processing power of your old PC for tasks like media transcoding, providing a smoother and more efficient experience when streaming or accessing your files remotely. Using an old PC as a NAS server allows you to take advantage of the superior performance that it offers.
Overall, repurposing an old PC as a NAS server offers cost savings, hardware and software customization, and enhanced performance. It allows you to create a DIY NAS that meets your specific needs and provides a more budget-friendly alternative to dedicated NAS devices.
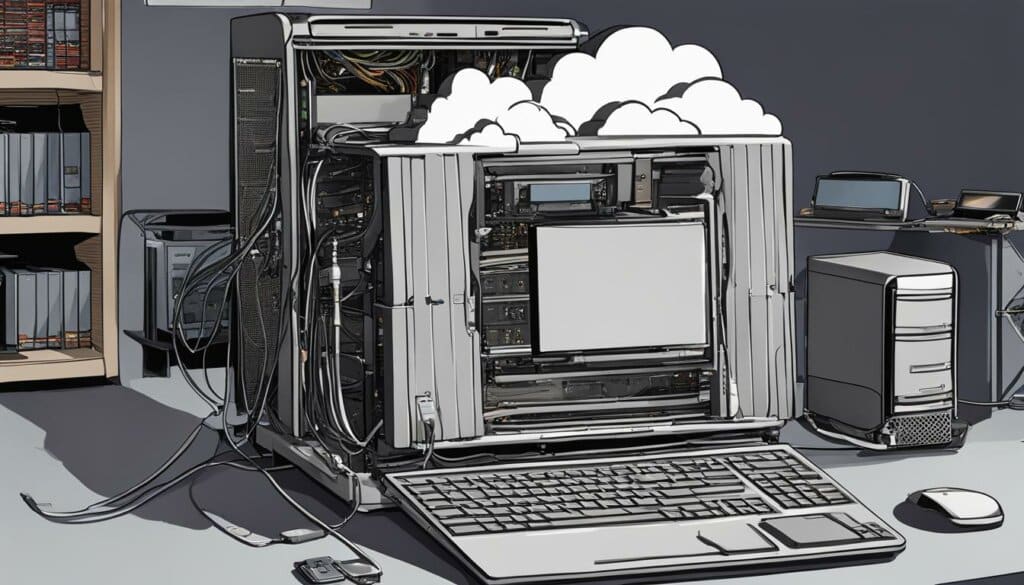
Turning an Old PC into a NAS Server
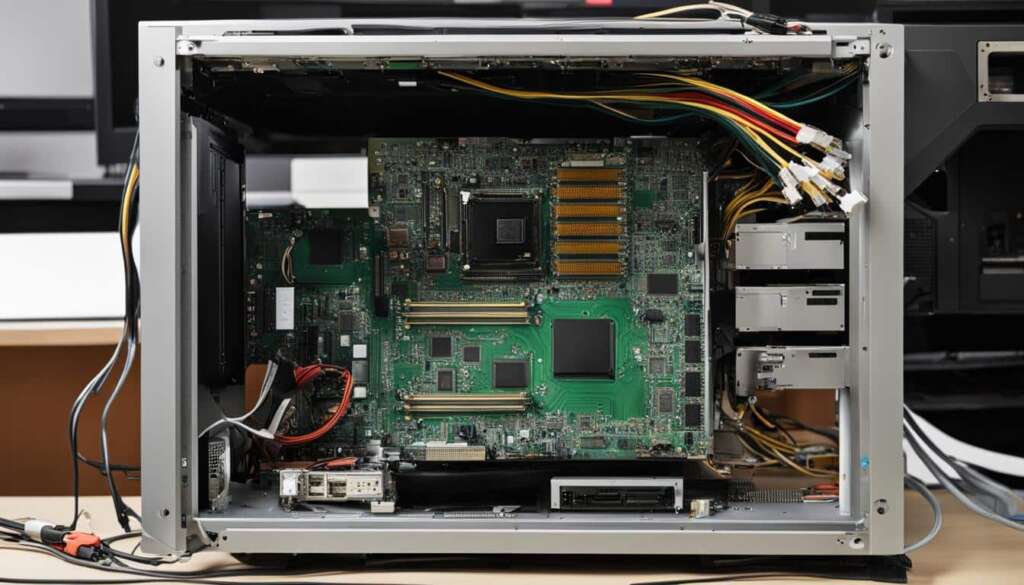
Repurposing an old PC as a NAS server is a cost-effective and versatile solution to create your own cloud storage system. With the right operating system and optional hardware add-ons, you can transform your old PC into a powerful NAS server capable of fulfilling your storage needs.
Choosing the Operating System
When turning your old PC into a NAS server, one of the first decisions you’ll need to make is choosing the right operating system. There are several options to consider, each with its own strengths and weaknesses.
- Windows: If you’re familiar with Windows operating systems, using Windows as your NAS server OS can be a convenient choice. It offers a user-friendly interface and compatibility with a wide range of software and applications.
- OpenMediaVault: OpenMediaVault is a free and open-source NAS server software based on Debian Linux. It provides a web-based administration interface and supports various file systems and protocols.
- UnRAID: UnRAID is a paid NAS server operating system known for its flexibility and data protection features. It supports a wide range of hardware configurations and allows for easy expansion of storage capacity.
- TrueNAS: If data security is your top priority, TrueNAS (formerly known as FreeNAS) is a robust NAS server OS that offers advanced features like data scrubbing, snapshots, and encryption.
Enhancing Your NAS Server with Optional Hardware Add-ons
In addition to choosing the right operating system, you can enhance the capabilities of your NAS server by adding optional hardware add-ons. These add-ons can expand your storage capacity, improve network performance, and provide additional functionality.
| Add-on | Description |
|---|---|
| PCIe Network Card | Adding a PCIe network card can improve network connectivity and increase data transfer speeds, allowing for faster access to your NAS server. |
| SATA Controller | If your old PC has limited SATA ports for hard drives, a SATA controller card can provide additional ports, enabling you to connect more storage devices. |
| ECC RAM | ECC (Error-Correcting Code) RAM can provide better data integrity and stability for your NAS server, reducing the risk of data corruption and improving overall system reliability. |
By carefully choosing the right operating system and considering optional hardware add-ons, you can effectively transform your old PC into a reliable and feature-rich NAS server. This DIY approach allows you to have complete control over your cloud storage solution, ensuring that it meets your specific needs and requirements.
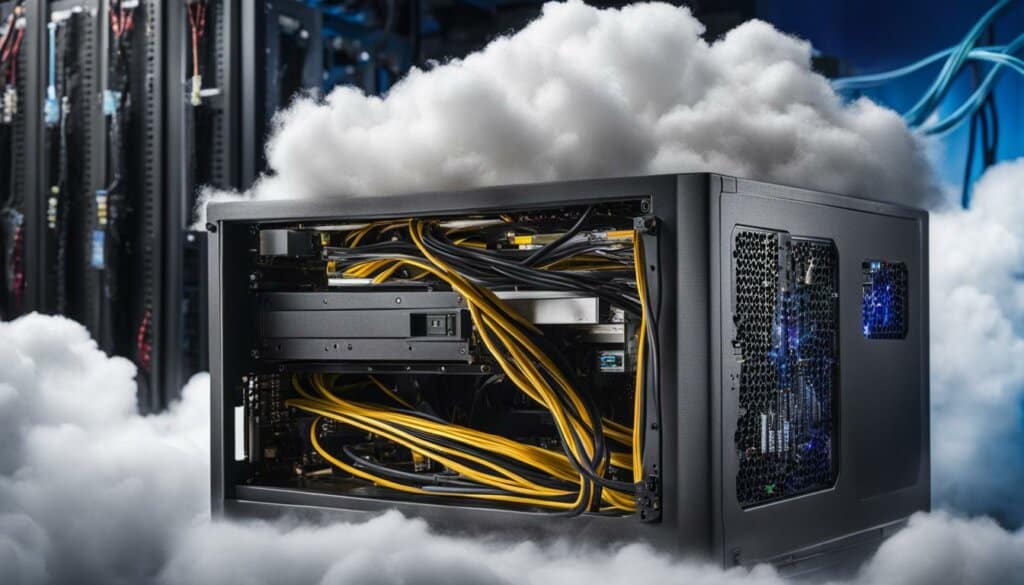
Understanding Network Hard Drives
Network hard drives and Network Attached Storage (NAS) devices offer different solutions for storing and accessing data. While both provide network connectivity, there are key distinctions to consider when deciding which option best suits your needs.
A network hard drive, as the name suggests, is a single drive that connects to your network. It allows for simple file sharing and remote access but lacks the advanced features and scalability of a NAS device.
NAS devices, on the other hand, are specifically designed for network storage. They consist of multiple hard drives configured in RAID arrays for enhanced data protection and increased storage capacity. NAS devices offer a range of features such as automated backups, media streaming, and hosting services, making them ideal for home or small business environments.
Key Differences Between Network Hard Drives and NAS Devices
To help you understand the distinctions between network hard drives and NAS devices, let’s compare their key features:
| Feature | Network Hard Drive | NAS Device |
|---|---|---|
| Storage Capacity | Single drive capacity | Multiple drives with RAID support |
| Data Protection | No built-in redundancy | RAID configurations for data protection |
| Scalability | Limited to the capacity of a single drive | Add or replace drives for increased capacity |
| Features | Basic file sharing and remote access | Automated backups, media streaming, hosting services, and more |
| Price Range | Lower cost | Varies depending on the model and features |
By understanding the differences between network hard drives and NAS devices, you can make an informed decision based on your storage needs, budget, and desired features. Whether you choose a network hard drive for simple file sharing or opt for a NAS device with advanced functionality, both solutions provide convenient and reliable network storage options.
Other Benefits of a NAS
While personal cloud storage is one of the main advantages of a NAS (Network Attached Storage) device, it offers so much more than just that. NAS devices provide a wide range of features and functionalities that can enhance your storage and networking capabilities.
One of the key benefits of a NAS is the ability to stream videos locally and remotely. With a NAS, you can easily access and stream your media files, such as movies or music, on various devices like smart TVs, tablets, or smartphones. This allows for convenient entertainment options without the need for physical media or relying on third-party services.
NAS devices also excel in video surveillance and recording. By connecting IP cameras to your NAS, you can create your own home security system. NAS software often includes features for motion detection, scheduled recording, and remote access to live video feeds. This gives you the peace of mind of knowing you can monitor your property from anywhere at any time.
| Benefits of a NAS: | Description: |
|---|---|
| Video Streaming | Stream videos locally and remotely |
| Video Surveillance | Create your own home security system |
| Computer Backup | Efficiently backup important files and documents |
| Server Hosting | Host FTP, web, and mail servers |
| File and Folder Sharing | Easily share files and collaborate with others |
In addition, a NAS device can serve as a reliable backup solution for your computers. With automated backup options and redundancy features, you can ensure that your important files and documents are protected from loss or corruption. This provides valuable peace of mind, knowing that your data is safe and easily recoverable.
Furthermore, a NAS can act as a versatile server for hosting various services. Whether you need to host a personal website, FTP server, or mail server, a NAS has the capability to handle these tasks efficiently. It eliminates the need for relying on external hosting providers and gives you full control over your own server.
“A NAS device is not just a personal cloud storage solution, it’s a powerful tool that can transform your home network and provide you with a wide range of functionalities.”
Lastly, a NAS enables easy file and folder sharing within your network. Whether you want to share files with family members or collaborate with colleagues on a specific project, a NAS makes it simple and convenient. You can create user accounts, set permissions, and control access to specific files or folders, ensuring secure and efficient collaboration.
In summary, a NAS device goes beyond personal cloud storage, offering features like video streaming, video surveillance, computer backup, server hosting, and easy file sharing. It provides a comprehensive solution for managing and accessing your data, while also enhancing your home network capabilities.
Personal Cloud Storage Solutions
In today’s digital age, having personal cloud storage is becoming increasingly important. Whether you want to securely store your important files, access them remotely, or share them with others, a personal cloud storage solution can provide the convenience and flexibility you need. When it comes to personal cloud storage for your computer, there are a few recommended options that stand out. Let’s explore the top choices for personal cloud storage solutions:
Synology NAS Devices
One of the leading brands in the personal cloud storage market is Synology. Synology offers a wide range of NAS devices with excellent software and features. With Synology, you can easily set up and manage your personal cloud storage system, enjoying seamless file synchronization, remote access, and data protection. Whether you’re a home user or a small business owner, Synology NAS devices have models that cater to different storage capacities and performance requirements.
WD My Cloud Products
If you’re looking for a more budget-friendly option, WD My Cloud products are worth considering. Although they may offer fewer features compared to Synology, WD My Cloud provides a simple and affordable solution for personal cloud storage. With WD My Cloud, you can easily create your own personal cloud and access your files from anywhere using your computer or mobile device. While their features may be more basic, they still offer reliable storage and backup options for your personal data.
Seagate Personal Cloud Storage
Seagate also offers personal cloud storage solutions that are worth exploring. However, before making a purchase decision, it’s important to do thorough research and consider user reviews. Seagate NAS devices have received mixed feedback, with some users praising their performance and ease of use, while others have experienced technical issues. Take the time to evaluate the specific features and capabilities of Seagate NAS devices to ensure they meet your personal cloud storage needs.
When it comes to personal cloud storage for your computer, it’s important to choose the right solution that meets your specific needs. Whether you opt for the robust features of Synology, the affordability of WD My Cloud, or the potential benefits of Seagate, personal cloud storage solutions offer a convenient and secure way to store, access, and share your files. Take the time to evaluate your requirements, compare the options available, and make an informed decision to create your own personal cloud storage system.
Choosing the Right NAS for Your Needs
When it comes to finding the perfect network attached storage (NAS) device for your personal cloud storage needs, there are several factors to consider. You want to ensure that the NAS you choose has the right features, software support, and hardware capabilities to meet your specific requirements. To help you make an informed decision, let’s compare three popular NAS options: Synology, WD My Cloud, and Seagate.
Synology
Synology is known for its robust software and constant updates, making it a top choice for many users. They offer a wide range of NAS models, from entry-level to high-performance options, allowing you to find the perfect fit for your budget and storage needs. With Synology, you can enjoy features like easy file sharing, media streaming, and data backup. Their user-friendly interface and extensive app library make it easy to customize and expand your NAS capabilities.
WD My Cloud
If you’re looking for a more affordable NAS solution, WD My Cloud is worth considering. WD My Cloud devices offer a simple and straightforward setup process, making them accessible to users of all skill levels. While they may have fewer features compared to Synology, WD My Cloud devices still provide reliable personal cloud storage. Whether you need a basic NAS for file sharing or a device with remote access capabilities, WD My Cloud offers affordable options to meet your needs.
Seagate
Seagate also offers NAS devices for personal cloud storage, but they may have mixed reviews and feedback from users. It’s important to thoroughly research the specific Seagate NAS model you are considering to ensure it meets your requirements and provides reliable performance. While Seagate devices may come at a lower price point, it’s essential to weigh the pros and cons before making a purchase decision.
| Feature | Synology | WD My Cloud | Seagate |
|---|---|---|---|
| Software Support | Excellent | Good | Varies |
| Model Range | Wide variety | Limited | Varies |
| User-Friendly Interface | Yes | Yes | Varies |
| App Library | Extensive | Basic | Varies |
| Price Range | Mid to high | Low to mid | Varies |
Choosing the right NAS ultimately depends on your specific needs and budget. Evaluate the features, software support, hardware capabilities, and price range of each NAS brand before making a decision. Whether you opt for the robust software of Synology, the affordability of WD My Cloud, or the potential benefits of Seagate, a carefully chosen NAS device will provide you with the personal cloud storage solution you desire.
Conclusion
In today’s digital world, having your own personal cloud storage is crucial for securing important files and enjoying remote access. By building a DIY cloud storage solution with a converted PC, you can leverage the benefits of cloud services on PC while maintaining the security and flexibility of local storage.
Throughout this guide, we have discussed the steps to create your own cloud storage system. By repurposing an old PC or investing in a dedicated NAS, you can tailor the setup to meet your specific needs. Whether you choose to use Nextcloud or other software, the process involves installing the necessary components, configuring the server, and securing remote access.
By embracing cloud computing on PC, you eliminate the need to rely on external providers for your cloud storage needs. You have full control over your data, ensuring its privacy and security. With the right hardware and software, you can enjoy the convenience of cloud services on your personal computer.
So why wait? Take the leap and empower yourself with a DIY cloud storage solution. Explore the world of PC cloud services and experience the freedom and flexibility it brings to your digital life.
FAQ
What is a DIY cloud storage solution?
A DIY cloud storage solution is the process of building your own personal cloud storage system using a converted PC or Raspberry Pi.
Why should I build my own cloud storage?
Building your own cloud storage allows you to have secure access to your important files from anywhere and gives you control over your data.
What do I need to build a DIY cloud storage solution?
You will need a PC or Raspberry Pi, an SD card, external storage like an SSD or hard drive, and software like Nextcloud or other cloud storage solutions.
How do I set up Nextcloud server on my PC?
To set up Nextcloud server on your PC, you need to flash the Raspberry Pi Lite OS onto the SD card, install necessary software packages, download and extract Nextcloud, configure Apache, and start uploading and sharing files.
How can I securely access my DIY cloud storage from anywhere?
You can install and set up a Cloudflare Tunnel to expose your DIY cloud storage to the internet for remote access with security.
Why should I repurpose an old PC as a NAS server?
Repurposing an old PC as a NAS server is affordable, flexible, and allows for hardware and software customization.
How do I turn an old PC into a NAS server?
Choose an operating system like Windows, OpenMediaVault, UnRAID, or TrueNAS, and install it on the computer. Consider optional hardware add-ons to enhance the capabilities of your NAS server.
What is the difference between network hard drives and NAS devices?
Network hard drives are single drives that connect to the network, while NAS devices have multiple hard drives configured in RAID arrays for data protection.
What are the benefits of using a NAS device?
NAS devices offer more than just personal cloud storage. They provide features like video streaming, computer backup functionality, and the ability to host servers.
Which personal cloud storage solutions are recommended?
Synology and WD My Cloud series are recommended options, each with its own advantages and price range. It is important to research before making a purchase decision.
How do I choose the right NAS for my needs?
Consider the features, software, hardware support, and price range when choosing a NAS. It depends on your specific needs and budget.

