Table of Contents
Whether you need to create a how-to video, record your screen for a presentation, or make a YouTube video, knowing how to capture a screen recording on your laptop is essential. In this article, we will guide you through the process of taking a screenshot on your laptop. We will cover both built-in tools and third-party software options like Snagit and Camtasia to give you a comprehensive understanding of how to capture your screen effortlessly.
Using Built-In Tools: Snipping Tool and Xbox Game Bar
Windows laptops offer convenient built-in tools for capturing and recording your screen effortlessly. Whether you need to capture specific areas of the screen or record screen activity, these tools can meet your needs effectively.
Snipping Tool
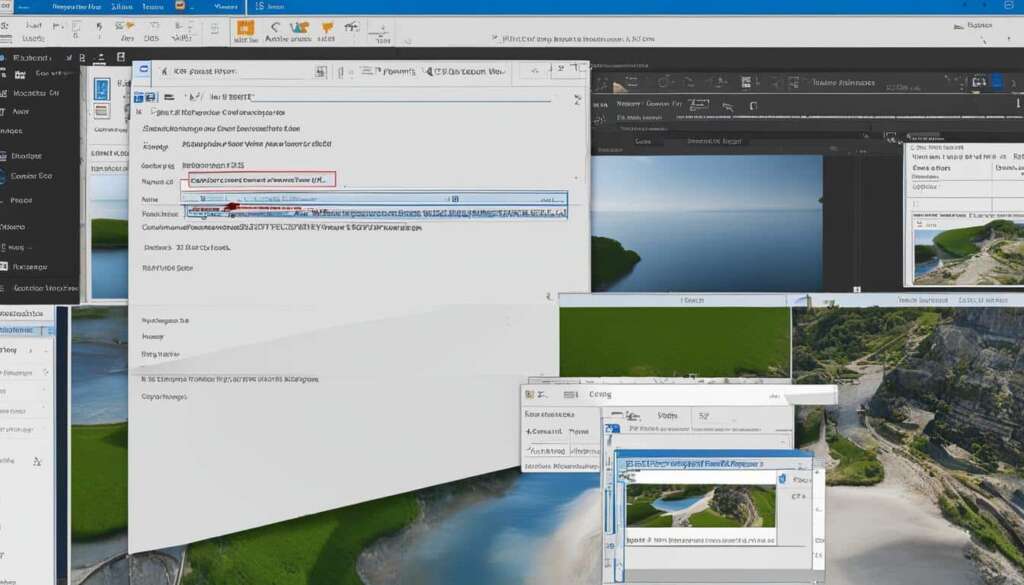
The Snipping Tool is a powerful screen capturing tool available on Windows 7 and later versions. With the Snipping Tool, you can easily capture specific parts of your screen and save them as images. This tool is perfect for quickly capturing screenshots, making it ideal for a range of purposes, from creating instructional materials to sharing information with colleagues.
Xbox Game Bar
The Xbox Game Bar, originally designed for gaming purposes, can also be utilized for capturing screen activity from non-gaming applications. This versatile tool allows you to record your screen effortlessly, making it an excellent option for various recording needs. Whether you want to record a presentation or demonstrate software functionality, the Xbox Game Bar provides a simple and straightforward solution.
While these built-in tools offer basic screen recording capabilities, they may not provide advanced editing options or sound recording features. However, they serve as a convenient starting point for those who require quick and simple screen captures.
Now that you are familiar with the built-in tools for capturing and recording your laptop screen, let’s explore third-party software options for more advanced screen recording.
Using Snagit for Advanced Screen Recording
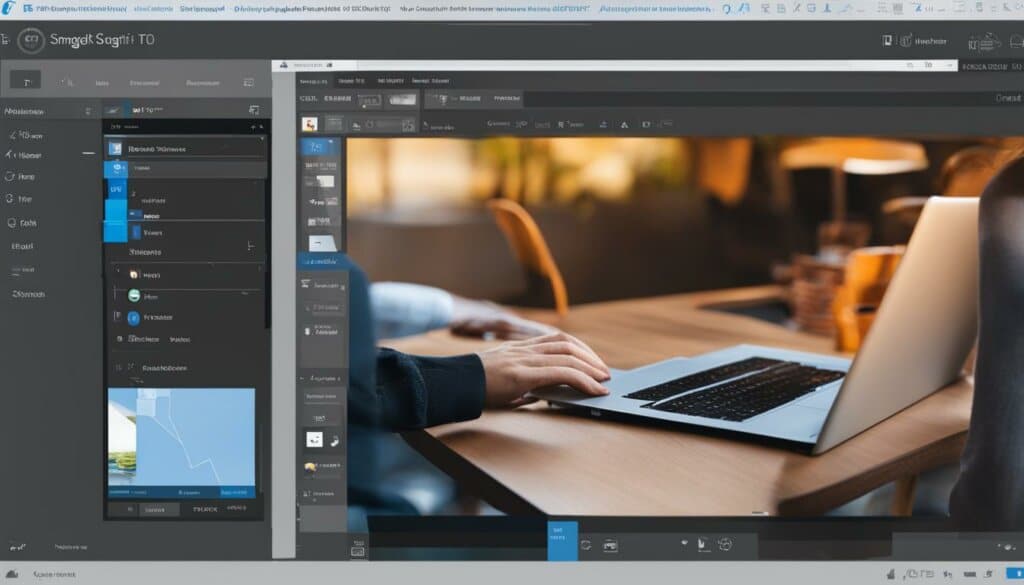
When it comes to capturing and editing screenshots and screen recordings, Snagit is a powerful third-party software that offers advanced features. Whether you need to record your entire screen or specific parts of it, Snagit provides a comprehensive solution for professionals and casual users alike.
With Snagit, you can easily capture your laptop screen and add annotations and effects to enhance your recordings. Whether you’re creating training videos or sharing information with colleagues, Snagit allows you to customize your screen recordings to meet your specific needs.
One of the standout features of Snagit is its ability to record audio from both your microphone and system. This means that you can add voice-over narration and capture system sounds, making your screen recordings more engaging and informative.
Snagit’s user-friendly interface and intuitive editing tools make it a top choice for those looking for a reliable screen recording software. Capture your laptop screen effortlessly and unleash your creativity with Snagit’s advanced features.
Supercharge Your Screen Recordings
Snagit offers a range of features to take your screen recordings to the next level:
- Capture the entire screen or specific areas: Snagit gives you the flexibility to capture your entire screen or specific parts of it, allowing you to focus on what matters most.
- Add annotations and effects: Enhance your recordings with annotations, arrows, text, and various effects to highlight important points and provide clarity.
- Record audio from multiple sources: Capture audio from your microphone and system simultaneously, ensuring that your viewers get a complete and immersive experience.
Snagit’s advanced screen recording capabilities make it an invaluable tool for professionals, content creators, and anyone who wants to make their screen recordings stand out. Take advantage of Snagit’s features to capture, edit, and share your laptop screen effortlessly and unlock your full potential.
Using Camtasia for Polished Screen Recordings
Camtasia is a premier third-party software that caters to individuals seeking to create polished and high-quality screen recordings. It offers a wide range of advanced editing tools, enabling users to zoom in on specific areas, modify the cursor’s size and path, and add text or call-outs effortlessly. With its intuitive interface and powerful features, Camtasia is the ultimate choice for professionals and content creators, allowing them to produce visually stunning training videos, engaging product demos, and impactful marketing content.
If you prioritize extensive editing capabilities and aspire to craft top-notch screen recordings, Camtasia is the perfect solution. Its user-friendly interface empowers users to create immersive and interactive recordings, capturing every detail with precision. Whether you’re a trainer aiming to deliver comprehensive tutorials or a marketer seeking to showcase your product’s features, Camtasia equips you with the tools to bring your vision to life.
Key Features of Camtasia:
- Advanced editing capabilities for professional-quality recordings
- Zooming in on specific areas to highlight critical details
- Customizing cursor size and path to enhance viewer experience
- Adding text and call-outs for clear explanations and visual emphasis
With its versatile features, Camtasia ensures that your screen recordings are visually appealing, engaging, and convey your message concisely. By harnessing the power of Camtasia, you can elevate your content creation to new heights and captivate your audience with captivating visual narratives.
Sample Table: Comparison of Screen Recording Software
| Software | Advanced Editing Tools | Zooming Capability | Customizable Cursor | Text and Call-out Features |
|---|---|---|---|---|
| Camtasia | ✔️ | ✔️ | ✔️ | ✔️ |
| Snagit | ❌ | ❌ | ❌ | ❌ |
As the table illustrates, Camtasia stands out with its comprehensive array of features, offering unparalleled editing options, zooming capabilities, customizable cursors, and text and call-out features. While other software may provide basic screen recording functionalities, Camtasia truly shines when it comes to creating polished and professional-grade screen recordings.
Recording Your Screen with Sound
Including audio with your screen recordings can enhance the viewer’s experience and make it easier to convey information. When it comes to capturing your laptop screen with sound, Snagit is the perfect tool for the job.
With Snagit, you have the ability to record audio from your microphone and system, providing viewers with a better understanding of what’s happening on the screen. This feature is especially useful for creating how-to videos and tutorials, where voice-over narration and system sounds play a crucial role in delivering clear instructions and demonstrations.
By using Snagit, you can easily add compelling context to your screen recordings. Whether you’re showcasing a step-by-step process, demonstrating software functionality, or sharing educational content, the inclusion of audio enhances the overall viewer experience, keeping them engaged and ensuring they grasp the full extent of your message.
Snagit’s user-friendly interface and intuitive controls make it easy for even beginners to record their laptop screens with sound. With just a few simple clicks, you can start capturing your screen and simultaneously record audio to create informative and engaging content.
To summarize, Snagit allows you to:
- Record audio from your microphone and system
- Enhance the viewer’s understanding of on-screen actions
- Create engaging and informative how-to videos
- Deliver clear and concise instructions with voice-over narration
So, the next time you’re looking to capture your laptop screen with sound, look no further than Snagit. It’s the go-to solution for producing professional and impactful screen recordings.
Choosing the Right Screen Recording Software
When it comes to selecting the perfect screen recording software, it’s crucial to consider your specific needs. Two popular options to consider are Snagit and Camtasia.
Snagit is an excellent choice if you’re looking for a quick and straightforward solution for screen recordings. It offers basic editing capabilities and is ideal for capturing screenshots effortlessly. With Snagit, you can easily record your laptop screen, making it an excellent option for beginners.
On the other hand, if you require more advanced features and professional-quality videos, Camtasia is the right choice for you. It provides extensive editing tools, such as zooming, cursor customization, and adding text or call-outs. Camtasia is perfect for creating polished training videos, product demos, and marketing content.
When making your decision, consider factors such as the complexity of your recordings, the level of editing required, and your budget. Snagit is a cost-effective option, while Camtasia offers a more comprehensive editing suite. To ensure you choose the best fit for your needs, take advantage of free trials available for both software solutions.
With the right screen recording software, you can unleash your creativity and capture your laptop screen with ease. Whether you’re a beginner or a seasoned professional, Snagit and Camtasia have got you covered.
<!–
| Software | Features | Price |
|---|---|---|
| Snagit | Basic editing capabilities, simple user interface | £49.95 |
| Camtasia | Advanced editing tools, professional-quality videos | £249.00 |
–>
Tips and Tricks for Screen Recording
To optimize your screen recording experience and make the most out of using your laptop as a monitor, follow these tips and tricks:
- Choose the right software: Select a screen recording software that suits your needs. Consider factors such as the level of editing required, the complexity of your recordings, and your budget. Explore options like Snagit and Camtasia for different levels of capabilities.
- Prepare your laptop: Make sure your laptop is properly set up as a monitor. Connect your laptop to the external display using the appropriate cables, such as HDMI or VGA. Adjust the display settings on your laptop and configure it to extend or duplicate the screen to the external display.
- Optimize your laptop’s performance: Before starting your screen recording, close any unnecessary applications and processes running in the background. This will help improve the performance of your laptop and ensure smooth recording.
- Consider your background: Choose a quiet and well-lit environment for screen recording. Minimize background noise and distractions that could affect the quality of your recordings. Additionally, ensure that your face is well-lit and visible if you plan to include a webcam recording.
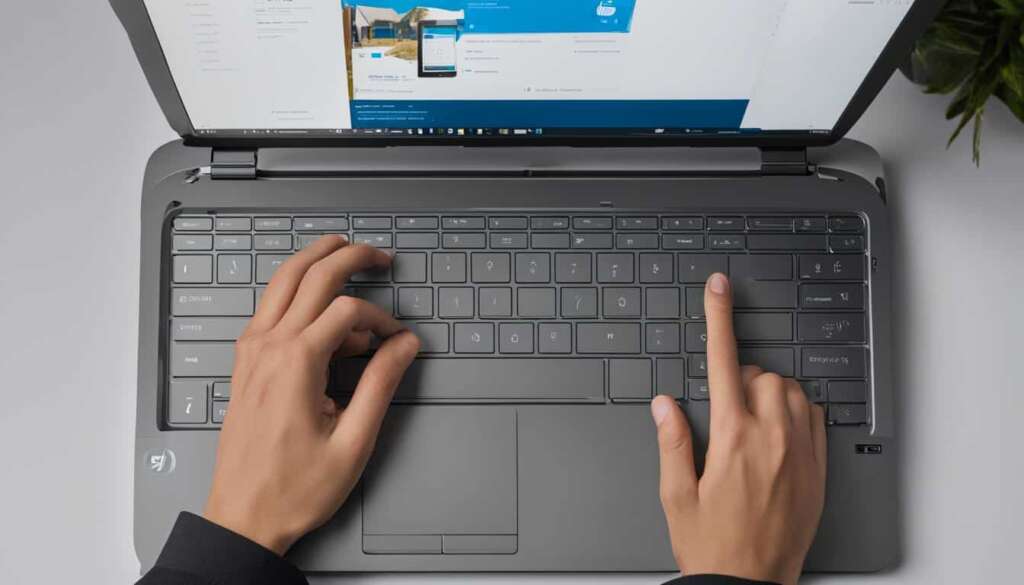
- Use keyboard shortcuts: Familiarize yourself with the keyboard shortcuts provided by your screen recording software. These shortcuts can help you start and stop recordings, capture specific areas of the screen, and perform other useful functions more efficiently.
- Plan your recording: Before you start recording, plan out the content and flow of your recording. Create an outline or script to guide you through the recording process and ensure you cover all the necessary information.
- Highlight important areas: Use visual cues like arrows, circles, and highlighting to draw attention to important areas of your screen. This can help viewers focus on the key elements and instructions you want to emphasize.
- Record in high resolution: If possible, record your screen in high resolution to ensure clarity and readability of text and images. Higher resolution recordings can provide a better viewing experience for your audience.
- Rehearse and review: Practice your screen recording before doing the final take. Rehearse your presentation or demonstration to ensure a smooth delivery. After recording, review the footage to identify any areas that may need improvement or editing.
Implementing these tips and tricks will help you maximize the potential of using your laptop as a monitor for screen recording. By choosing the right software, optimizing your laptop’s performance, and following best practices, you can create high-quality and engaging screen recordings for various purposes.
Conclusion
Capturing your laptop screen is an essential skill in today’s digital world. Whether you choose to use built-in tools like the Snipping Tool and Xbox Game Bar or opt for third-party software like Snagit and Camtasia, there are various options available to meet your screen recording needs.
When choosing the right software, consider the purpose of your recording, the level of editing required, and your budget. Built-in tools provide quick and simple screen captures, while third-party software offers more advanced features for professional-quality videos. It’s recommended to try out free trials of different software to determine which one suits your needs best.
With the right tools and techniques, you can easily take screenshots and capture your screen’s content effortlessly. Whether you’re creating how-to videos, recording presentations, or capturing gaming moments, mastering the art of screen recording will empower you to share your knowledge and experiences in a visually engaging way.
FAQ
How do I take a screenshot on my laptop?
There are several methods to take a screenshot on your laptop. You can use the built-in Snipping Tool or Xbox Game Bar on Windows laptops. Alternatively, you can use third-party software like Snagit or Camtasia for more advanced screen capture options.
Can I use my laptop as a monitor?
Yes, you can use your laptop as a monitor. By connecting your laptop to another device using an HDMI or VGA cable, you can use your laptop as an extended display or secondary monitor.
How do I set up my laptop as a monitor for gaming?
To set up your laptop as a monitor for gaming, you will need to connect your gaming console or desktop computer to your laptop using an HDMI cable. Make sure your laptop is in “HDMI input” or “external display” mode, and you should be able to use your laptop as a monitor for gaming.
How do I connect my laptop as a monitor?
To connect your laptop as a monitor, you will need an HDMI or VGA cable, depending on the devices you are connecting. Connect one end of the cable to the output port of the device you want to display on your laptop, and the other end to the HDMI or VGA port on your laptop. Switch your laptop to “HDMI input” or “external display” mode, and you should see the content from the connected device on your laptop screen.
How do I record my screen with sound on my laptop?
To record your screen with sound on your laptop, you can use software like Snagit or Camtasia. These tools allow you to capture both your screen activity and audio from your microphone and system. This is useful for creating how-to videos, tutorials, and other screen recordings that require narration and sound effects.
How can I use my laptop as a second screen?
To use your laptop as a second screen, you will need to connect it to another device using an HDMI or VGA cable. Once connected, you can configure the display settings on both devices to extend the screen. This will allow you to use your laptop as an additional display for multitasking or extending your workspace.
What is the best screen recording software for my laptop?
The best screen recording software for your laptop depends on your specific needs. If you require basic screen recording capabilities with simple editing options, the built-in tools like the Snipping Tool or Xbox Game Bar may be sufficient. However, if you need more advanced features and professional-quality screen recordings, third-party software like Snagit or Camtasia is recommended.
How can I optimize my screen recording experience?
To optimize your screen recording experience, make sure you have a fast and reliable internet connection. Close any unnecessary applications or browser tabs to free up system resources. Additionally, consider using an external microphone for better audio quality and positioning your laptop in a well-lit area to ensure clear visibility in the recordings.


