Table of Contents
Taking a screenshot on a computer is a simple process that can be done using various methods. Whether you are using a Windows 10 or Windows 11 operating system, there are built-in tools and keyboard shortcuts that allow you to easily capture screenshots.
The Snip & Sketch tool in Windows 10 and 11 provides an easy way to capture screenshots of windows, full-screen, or custom areas. The Snipping Tool, available in both Windows 10 and 11, is another option for taking screenshots. Additionally, the Print Screen key, Windows key + Print Screen, Alt + Print Screen, and the Game bar can be used to capture different types of screenshots.
For Mac users, the Command + Shift + 3 keyboard shortcut captures the entire screen, while Command + Shift + 4 allows for selecting a specific area. The Grab tool is also available for taking screenshots on Mac.
To take a screenshot on a smartphone or tablet, methods may vary depending on the operating system, but generally involve pressing the power key and the home button simultaneously. There is also the option to record a screen capture on a phone using third-party apps or built-in screen recording features.
Key Takeaways:
- Taking a screenshot on a computer can be easily done using built-in tools and shortcuts.
- Windows users can use the Snip & Sketch tool, Snipping Tool, Print Screen key, or Game bar.
- Mac users can use keyboard shortcuts like Command + Shift + 3 or Command + Shift + 4, or the Grab tool.
- Smartphone and tablet users can press the power key and home button simultaneously to take a screenshot.
- Screen recording features are available for both phones and computers, depending on the device and operating system.
How to Take a Screenshot on a Windows Computer
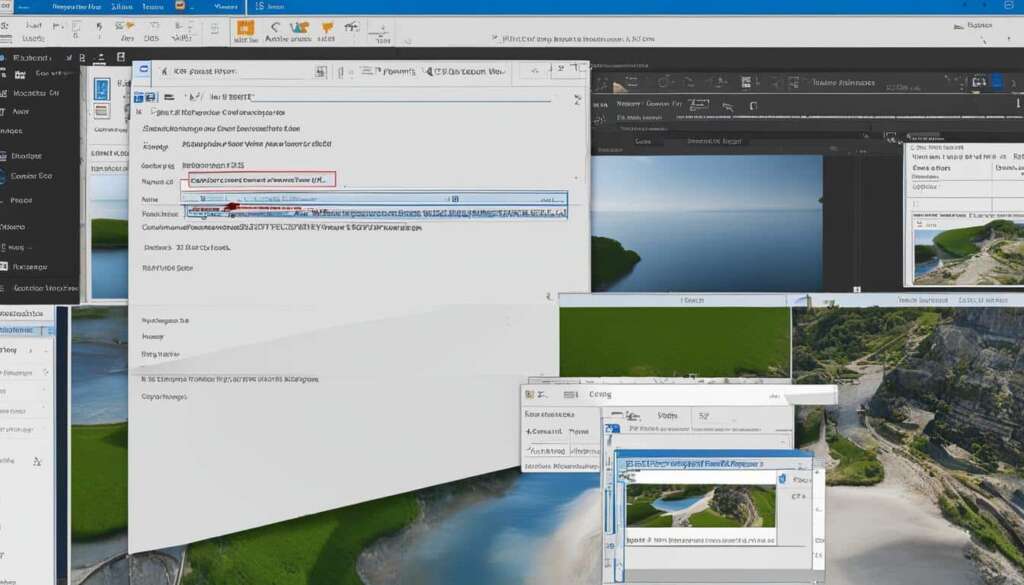
Taking a screenshot on a Windows computer is a simple process that can be done using various built-in tools and keyboard shortcuts. One of the options is the Snip & Sketch tool, which allows you to capture screenshots of windows, full-screen, or custom areas. To launch the Snip & Sketch tool, you can use the keyboard shortcut Windows key + Shift + S or search for it in the Start menu. Another tool available for taking screenshots on Windows is the Snipping Tool, which can be accessed by searching for it in the Start menu or via the search bar.
In addition to the built-in tools, there are keyboard shortcuts that you can use. The Print Screen key captures the entire screen, while Alt + Print Screen captures the active window. If your keyboard does not have a Print Screen key, you can use the Fn + Windows logo key + Space Bar shortcut instead. Furthermore, if you enjoy gaming and want to capture screenshots during gameplay, you can use the Game bar. These options provide flexibility and convenience for capturing screenshots on a Windows computer.
If you prefer using third-party software for capturing screenshots, there are various options available. These software programs offer additional features and customization options for capturing images on your computer. However, it’s important to ensure that you download and install software from trusted sources to avoid any security risks.
Screenshot Tools and Shortcuts for Windows:
| Tool/Shortcut | Description |
|---|---|
| Snip & Sketch | Capture screenshots of windows, full-screen, or custom areas |
| Snipping Tool | Capture screenshots of windows, full-screen, or custom areas |
| Print Screen | Capture the entire screen |
| Alt + Print Screen | Capture the active window |
| Fn + Windows logo key + Space Bar | Alternative shortcut for Print Screen |
| Third-party software | Additional options for capturing screenshots |
How to Take a Screenshot on a Mac Computer
Mac computers offer various methods for taking screenshots. The keyboard shortcut Command + Shift + 3 captures the entire screen and saves it to the desktop, while Command + Shift + 4 allows for selecting a specific area to capture. The Grab tool, which is included with Macs, provides an alternative method for taking screenshots. It can be accessed by clicking Capture and choosing the desired type of screenshot. Additionally, Macs with a Touch Bar can capture the Touch Bar by pressing Command + Shift + 6. There is also the option to capture screenshots using third-party screen capture software.
To take a screenshot on a Mac, you can use keyboard shortcuts or the built-in Grab tool. Command + Shift + 3 captures the entire screen, while Command + Shift + 4 allows you to select a specific area. The Grab tool is another option, offering additional screenshot options such as capturing a window or menu. Macs with a Touch Bar can also capture the Touch Bar itself. For those who prefer third-party software, there are a variety of options available for capturing screenshots on a Mac. Whether you’re a beginner or a seasoned user, taking screenshots on a Mac is a simple and convenient process.
When taking a screenshot on a Mac computer, there are a few different methods you can use. The most common way is to use the keyboard shortcut Command + Shift + 3, which captures the entire screen and saves it as a file on your desktop. If you only want to capture a specific area of the screen, you can use the shortcut Command + Shift + 4 and then select the desired area. Another option is to use the Grab tool, which is a built-in utility that allows you to capture screenshots of windows, menus, or the entire screen. Finally, if you have a Mac with a Touch Bar, you can use the shortcut Command + Shift + 6 to capture a screenshot of the Touch Bar. If none of these methods suit your needs, there are also many third-party apps available for capturing screenshots on a Mac.
To take a screenshot on a Mac computer, you have several options. The easiest method is to use the keyboard shortcuts Command + Shift + 3 to capture the entire screen or Command + Shift + 4 to select a specific area. These screenshots will be saved as image files on your desktop. Another option is to use the Grab tool, which is a built-in application that allows you to capture screenshots of windows, menus, or the entire screen. If you have a Mac with a Touch Bar, you can also capture a screenshot of the Touch Bar by pressing Command + Shift + 6. Additionally, there are third-party software options available for taking screenshots on a Mac. These tools often offer more advanced features and customization options.
Screenshot Methods on a Mac Computer
| Method | Keyboard Shortcut | Description |
|---|---|---|
| Whole Screen | Command + Shift + 3 | Captures the entire screen and saves it as a file on the desktop. |
| Selected Area | Command + Shift + 4 | Allows you to select a specific area of the screen to capture. |
| Grab Tool | Launch Grab from Applications/Utilities or search for it in Spotlight | Provides additional options for capturing screenshots, such as windows and menus. |
| Touch Bar | Command + Shift + 6 | Captures a screenshot of the Touch Bar on Macs that have one. |
How to Take a Screenshot on a Smartphone or Tablet
Taking a screenshot on a smartphone or tablet is a useful way to capture and share information. The method for capturing a screenshot may vary depending on the operating system and device you are using. In general, the process involves pressing a combination of buttons simultaneously.
For iPhones and iPads, you can take a screenshot by pressing the power button and the home button (or the volume up button for newer devices) at the same time. The screen will flash, indicating that the screenshot has been captured. The screenshot will be saved to your device’s camera roll, and you can access it later.
Android devices also have a similar method for capturing screenshots. You can usually take a screenshot by pressing the power button and the volume down button together. Some devices may have a slightly different button combination, so it’s best to refer to your device’s user manual or do a quick online search to find the exact method for your specific device.
| Device | Screenshot Method |
|---|---|
| iPhone/iPad | Press power button + home button (or volume up button) |
| Android | Press power button + volume down button |
“Capturing a screenshot on a smartphone or tablet is a convenient way to save and share information. Whether you need to capture a webpage, a conversation, or an error message, taking a screenshot allows you to quickly and easily capture exactly what you see on your screen.” – Tech Expert
If you want to capture a longer sequence of actions on your device, such as a tutorial or a gameplay session, you can consider using third-party screen recording apps. These apps allow you to record your screen activity and save it as a video file. Again, the availability and functionality of screen recording apps may vary depending on your device and operating system.
Remember, taking a screenshot on a smartphone or tablet is a handy technique that can come in handy in various situations. Whether you need to save important information, share something with others, or troubleshoot an issue, knowing how to capture screenshots on your device can be a valuable skill.
How to Take a Screen Record on a Phone
Aside from taking screenshots, many smartphones offer the convenient feature of screen recording. This allows users to capture and save videos of their screen activities, making it ideal for various purposes like creating tutorials, sharing gameplay moments, or demonstrating app features.
To initiate screen recording on Android phones or older iOS devices, users may need to download third-party apps specifically designed for screen recording. However, Apple devices running iOS 11 or later have a built-in screen recording feature that can be easily accessed.
To enable screen recording on an Apple device, go to Settings, select Control Center, and then Customize Controls. From there, add the Screen Recording option to your Control Center’s menu. Once enabled, you can start a screen recording by swiping up on the home screen to open the Control Center, then tapping the screen recording icon. The recording will begin after a three-second countdown.

Conclusion
Taking screenshots on a computer, whether it be a Windows or Mac operating system, as well as on smartphones and tablets, is an important skill for capturing and sharing information. By using the various built-in tools, keyboard shortcuts, and third-party software available, users can easily capture screenshots of windows, full-screen, or custom areas.
Additionally, the ability to record the screen on a phone provides the option to create videos of screen activities. Whether you are a beginner or an experienced user, knowing how to take screenshots and screen recordings can greatly enhance your ability to document and share information.
To capture screens effectively, make sure to familiarize yourself with the keyboard shortcuts specific to your operating system. These shortcuts can save you time and effort when capturing important information. Don’t forget to explore the options provided by third-party software, as they often offer additional features and customization options for your screenshots and screen recordings.
So, whether you need to capture a screenshot for a tutorial, share an error message with technical support, or document an important piece of information, mastering the art of capturing screens will make your life easier. Start practicing today and unlock the power of capturing screens!
FAQ
How do you take a screenshot on a computer?
Taking a screenshot on a computer can be done using various methods, including built-in tools, keyboard shortcuts, and third-party software. The method may vary depending on the operating system and device used.
How do you take a screenshot on a Windows computer?
There are several methods for taking screenshots on a Windows computer. These include using built-in tools such as the Snip & Sketch tool and the Snipping Tool, as well as keyboard shortcuts like the Print Screen key and the Game bar. Third-party screenshot software is also available for capturing images on a computer.
How do you take a screenshot on a Mac computer?
Mac computers offer various methods for taking screenshots. These include using keyboard shortcuts like Command + Shift + 3 to capture the entire screen or Command + Shift + 4 to select a specific area. The Grab tool, which is included with Macs, provides an alternative method for taking screenshots. Third-party screen capture software is also an option.
How do you take a screenshot on a smartphone or tablet?
Taking a screenshot on a smartphone or tablet can vary depending on the operating system and device used. Generally, the method involves pressing the power key and the home button simultaneously. However, there may be variations, such as using the power and volume down buttons or using specific gestures on certain devices.
How do you take a screen record on a phone?
In addition to taking screenshots, many smartphones now offer the ability to record the screen. For Android phones or older iOS phones, third-party apps may be required to enable screen recording. However, Apple devices running iOS 11 or later have built-in screen recording capabilities that can be accessed through the control center.
What are the benefits of taking screenshots?
Taking screenshots allows users to capture and share information, document activities, or troubleshoot issues. It is a useful skill for both personal and professional purposes, whether you are a beginner or an experienced user.

