Table of Contents
If you’ve ever wondered how to screen print on your PC, you’ve come to the right place. In this step-by-step guide, we’ll walk you through the different methods you can use to capture and save screenshots on your PC. Whether you want to capture the entire screen, a specific window, or just a small section, we’ve got you covered.
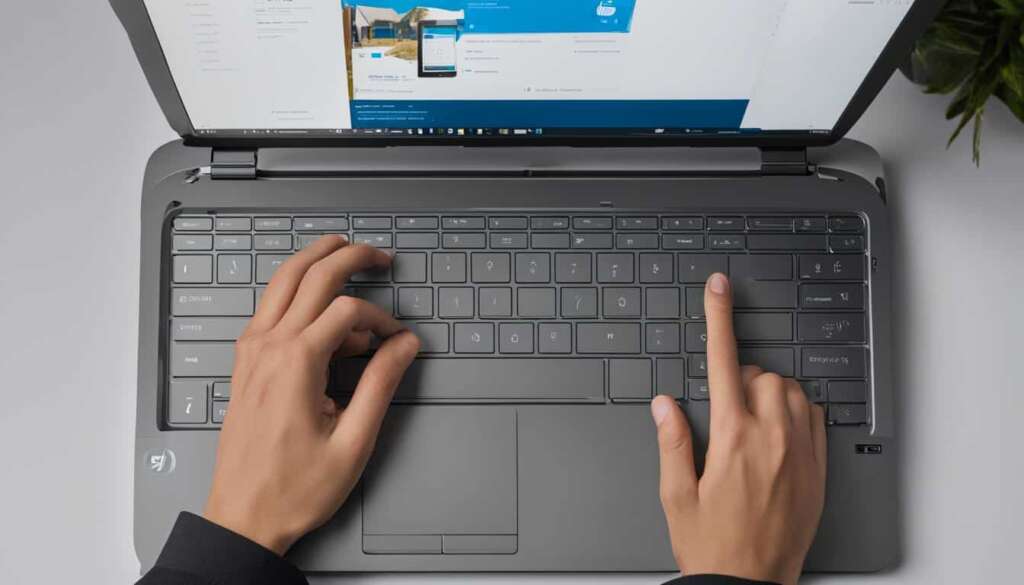
One of the simplest ways to capture your screen is by using the Print Screen key on your keyboard. By pressing the Print Screen (PrtSc) key, you can capture the entire screen and save the screenshot to your clipboard. From there, you can easily paste it into a document, email, or any other location.
If you’re using Windows 10 or Windows 11, you can also use the Windows key + Print Screen key combination to instantly save the screenshot as an image in the Screenshots folder.
Now that you know how to use the Print Screen key, let’s move on to the next method.
Method 1: Using the Print Screen Key
One of the simplest methods to screen print on your PC is by using the Print Screen key. Pressing the Print Screen (PrtSc) key on your keyboard allows you to capture the entire screen and save the screenshot to your clipboard. You can then paste the screenshot into a document, email, or any other location by pressing Ctrl + V or right-clicking and selecting “Paste.” Alternatively, you can use the Windows key + Print Screen key combination to instantly save the screenshot as an image in the Screenshots folder.
If you want to capture a specific window instead of the entire screen, follow these steps:
- Open the window you want to capture.
- Press the Alt + Print Screen keys. This will capture only the active window and save it to your clipboard.
- Paste the screenshot into your desired location by pressing Ctrl + V or right-clicking and selecting “Paste.”
Capturing Screenshots with Print Screen Key: Benefits and Limitations
“Using the Print Screen key is a quick and convenient method to capture screenshots on your PC. It allows you to capture the entire screen or a specific window without the need for any additional software or tools. However, it does have some limitations. You can’t capture a specific area of the screen, and the screenshots are saved as images, making it difficult to edit or annotate them directly.”
To overcome these limitations, you can explore other methods like using the Snipping Tool or third-party screenshot capture software, which offer more advanced features and flexibility in capturing and editing screenshots.
Method 2: Using the Snipping Tool
If you’re looking to capture specific areas of your screen, the Snipping Tool is a handy tool that can help you get the job done. With this tool, you have the flexibility to capture rectangular sections, individual windows, or even free-form shapes with ease.
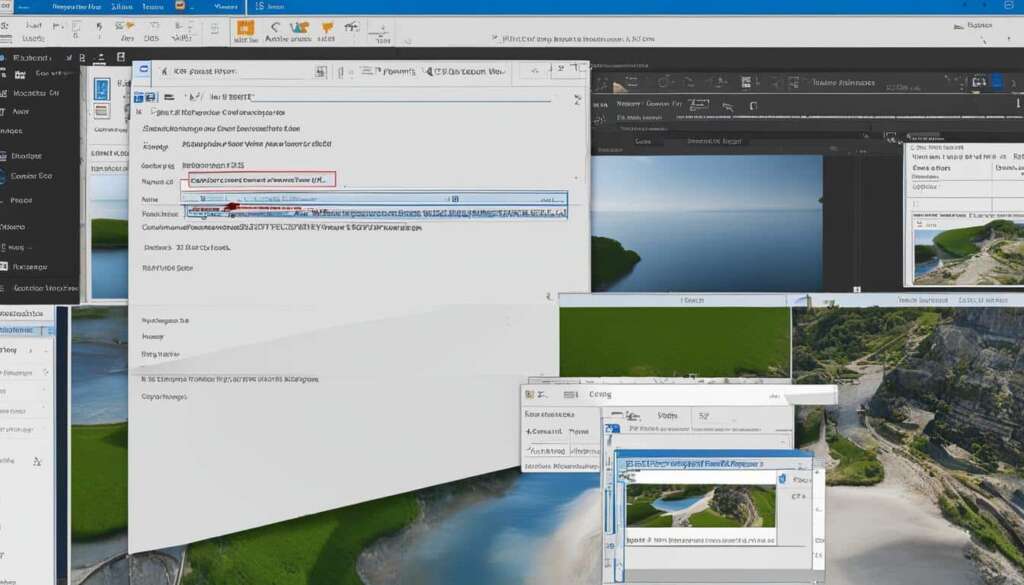
To access the Snipping Tool, simply use the Windows key + Shift + S combination or search for it in the Start menu. Once you’ve captured the desired screenshot, it will be saved to your clipboard and appear as a notification.
From here, you have the freedom to open the Snipping Tool itself, where you can edit, save, or share the screenshot according to your needs. The Snipping Tool offers various annotation and editing tools that allow you to add highlights, callouts, or other explanations to your screenshots. Whether you want to emphasize specific details or provide additional context, the Snipping Tool has you covered.
So, whether you’re capturing a specific chart from a presentation, a particular section of a webpage, or any other content on your screen, the Snipping Tool is a versatile tool that simplifies the process. With the ability to capture, edit, and save screenshots in just a few clicks, the Snipping Tool is an essential tool in your screen printing arsenal.
FAQ
How can I screen print on my PC?
There are several methods you can use to screen print on your PC. The first method is to use the Print Screen key or the Windows key + Print Screen key combination to capture the entire screen or a specific window. Another method is to use the Snipping Tool, which allows you to capture specific areas of your screen. Additionally, you can use the Snip & Sketch tool or the Game bar to take screenshots in Windows 10 and Windows 11. With these various methods, you can easily capture and save screenshots on your PC for editing, sharing, or reference later.
How do I use the Print Screen key to screen print on my PC?
To use the Print Screen key, simply press the PrtSc key on your keyboard. This will capture the entire screen and save the screenshot to your clipboard. You can then paste the screenshot into a document, email, or any other location by pressing Ctrl + V or right-clicking and selecting “Paste.” Alternatively, you can use the Windows key + Print Screen key combination to instantly save the screenshot as an image in the Screenshots folder.
How can I use the Snipping Tool to screen print on my PC?
To use the Snipping Tool, you can use the Windows key + Shift + S combination or search for it in the Start menu. Once you have opened the Snipping Tool, you can select the type of snip you want to capture, such as a rectangular section, an individual window, or a free-form shape. After capturing a screenshot, it will be saved to the clipboard and appear as a notification. From there, you can open the Snipping Tool to edit, save, or share the screenshot. The Snipping Tool provides various annotation and editing tools for further customization of your screenshots.

