Table of Contents
Are you ready to capture those special moments on your laptop screen? Whether you want to save important information, memorable conversations, or creative inspirations, knowing how to take screenshots is essential. In this guide, we will show you simple and effective methods to capture and share your screen effortlessly. So let’s dive in and unlock the power of laptop screenshots!
With just a few simple steps, you can immortalize anything that appears on your laptop screen. Whether it’s an inspiring quote, a funny meme, or an important document, screenshots enable you to preserve and share those fleeting moments that would otherwise be lost in time.
Thanks to built-in screenshot tools and third-party software, taking screenshots on your laptop is easier than ever. Whether you’re using a Windows laptop or a Macbook, we’ve got you covered. Discover the different methods and shortcuts specific to your device to make the process even quicker.
So why should you learn how to screenshot on a laptop? By capturing those precious moments, you can keep a record of important information, share insights with colleagues, or showcase your creativity on social media. Whether you’re a student, a professional, or simply someone who loves to capture and share screen-worthy moments, this guide is for you.
Ready to embark on the journey of capturing moments on your laptop? In the next sections, we will delve into the specific steps for both Windows and Mac laptops, as well as explore recommended tools and software to enhance your screenshot experience. Get ready to unleash your creativity and start capturing those unforgettable moments on your laptop screen!
Taking Screenshots on Windows Laptops
When it comes to capturing screenshots on Windows laptops, there are multiple methods you can use. Whether you want to capture the entire screen or specific areas, Windows provides built-in tools and third-party software options to suit your needs.
Let’s explore some of the most popular methods:
1. Using the PrtScn Button
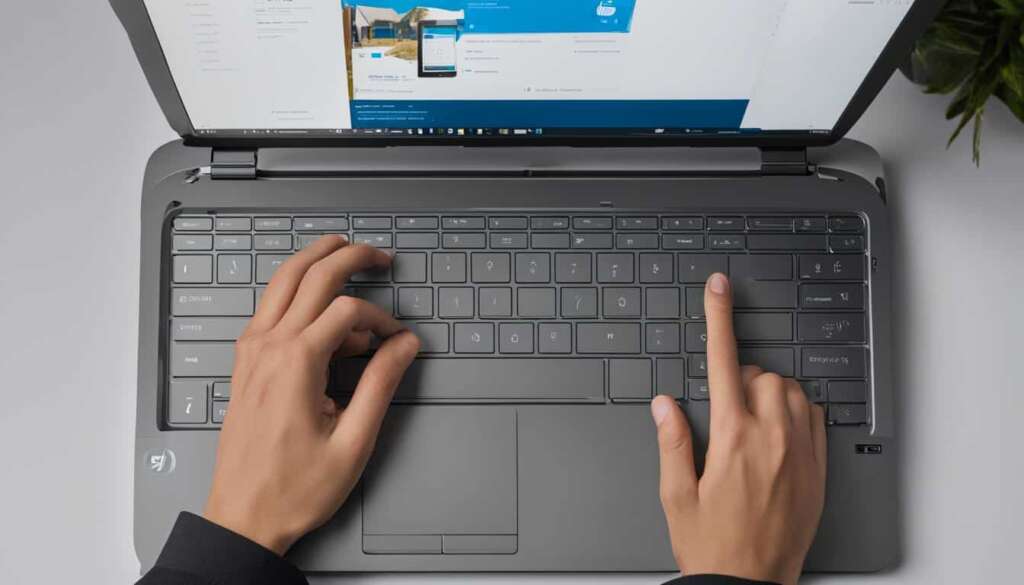
The simplest and most straightforward way to take a screenshot on a Windows laptop is by using the PrtScn button. Pressing this button captures the entire screen and copies it to the clipboard, allowing you to paste and save it in an image editing program or document. It’s perfect for quickly capturing and sharing information.
2. Utilizing the Snipping Tool
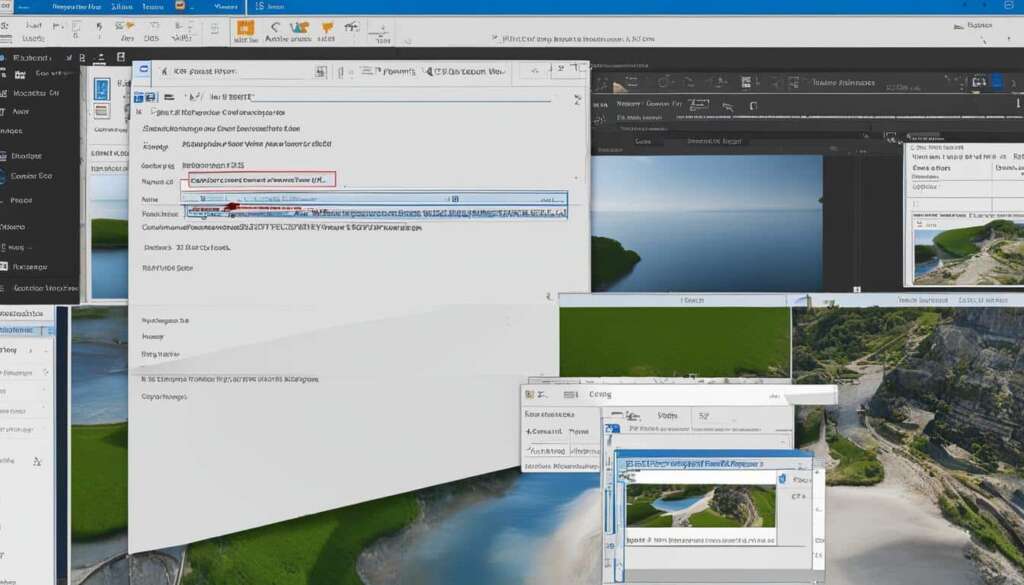
Windows also provides a built-in screenshot utility called the Snipping Tool. This tool allows you to capture specific areas of your screen, whether it’s a window, a portion of the screen, or the entire screen. With the Snipping Tool, you have the flexibility to capture exactly what you need with precision and ease.
3. Using Third-Party Software like Snagit
If you require more advanced features and customization options, you can opt for third-party software such as Snagit. Snagit offers a range of features, including the ability to capture scrolling screenshots, annotate and edit images, and share them seamlessly. With its user-friendly interface and extensive functionality, Snagit is a popular choice among professionals.
No matter which method you choose, capturing screenshots on Windows laptops has never been easier. Whether you’re documenting important information, creating presentations, or simply capturing memorable moments, these tools and software options provide the flexibility and functionality you need.
| Method | Description |
|---|---|
| Using the PrtScn Button | Press the PrtScn button to capture the entire screen and copy it to the clipboard. Paste and save it in an image editing program or document. |
| Utilizing the Snipping Tool | Use the Snipping Tool to capture specific areas of your screen, such as windows, selected portions, or the entire screen. It provides precision and flexibility in capturing screenshots. |
| Using Third-Party Software like Snagit | Snagit offers advanced features like capturing scrolling screenshots, editing images, and seamless sharing. It provides extensive functionality and customization options. |
By using these methods, you can effortlessly capture and share important information, enhance your presentations, and communicate effectively using screenshots on your Windows laptop.
Taking Screenshots on Mac Laptops
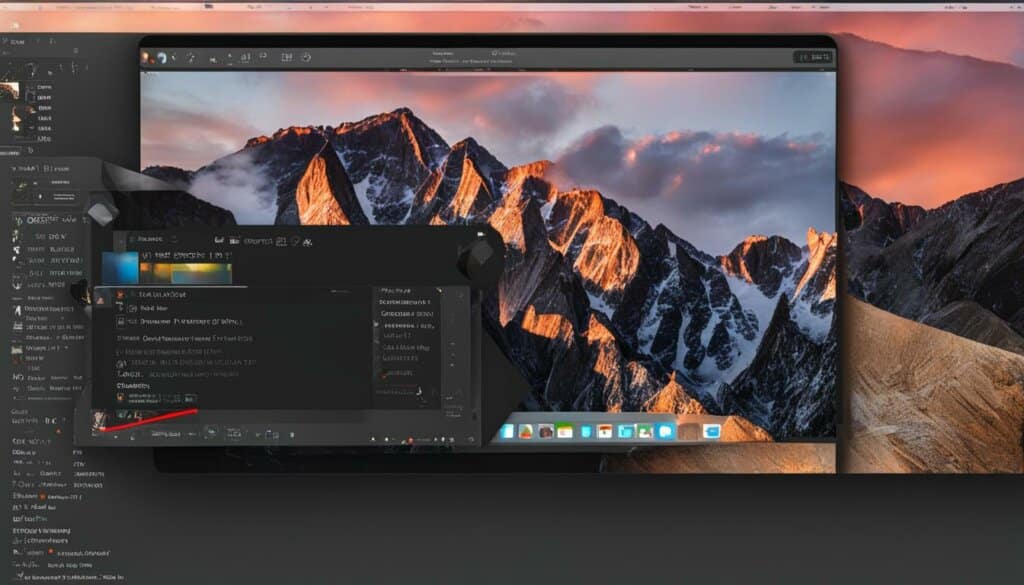
On Mac laptops, taking screenshots is a breeze with a few simple keyboard combinations. Whether you want to capture your entire screen or just a portion of it, Mac offers versatile options that cater to your needs. Here’s a breakdown of the different keyboard shortcuts for capturing screenshots on Mac laptops:
Shift + Command + 3: This keyboard combination captures the entire screen and saves it as a screenshot.
Shift + Command + 4: With this keyboard combination, you can select a specific portion of the screen to capture as a screenshot. Simply drag the crosshair cursor to choose the desired area.
Shift + Command + 5: Starting with MacOS Mojave, this keyboard combination opens a menu with screenshot options. You can choose to capture the entire screen, a selected portion, or even record a video of your screen.
If you have a Mac laptop with a Touch Bar, you can also use the following keyboard combination to capture what’s displayed on the Touch Bar:
Shift + Command + 6: This keyboard combination captures the content on your Touch Bar and saves it as a screenshot.
By default, Mac screenshots are saved on the desktop as .png files. However, you can easily customize the saving location and file format using the screenshot menu options.
Now that you know these handy shortcuts, you can effortlessly capture important moments, share information, or document anything you need on your Mac laptop.
| Keyboard Combination | Capture | Saving Options |
|---|---|---|
| Shift + Command + 3 | Entire screen | Default saving as .png on desktop |
| Shift + Command + 4 | Selected portion | Default saving as .png on desktop |
| Shift + Command + 5 | Screenshot menu options | Customizable saving options |
| Shift + Command + 6 | Touch Bar content | Default saving as .png on desktop |
Recommended Screenshot Tools and Software
While laptops come equipped with built-in screenshot tools, there are third-party software options available that can enhance your screenshot capturing and editing experience. Two highly recommended tools are Snagit and Pixlr.
Snagit:
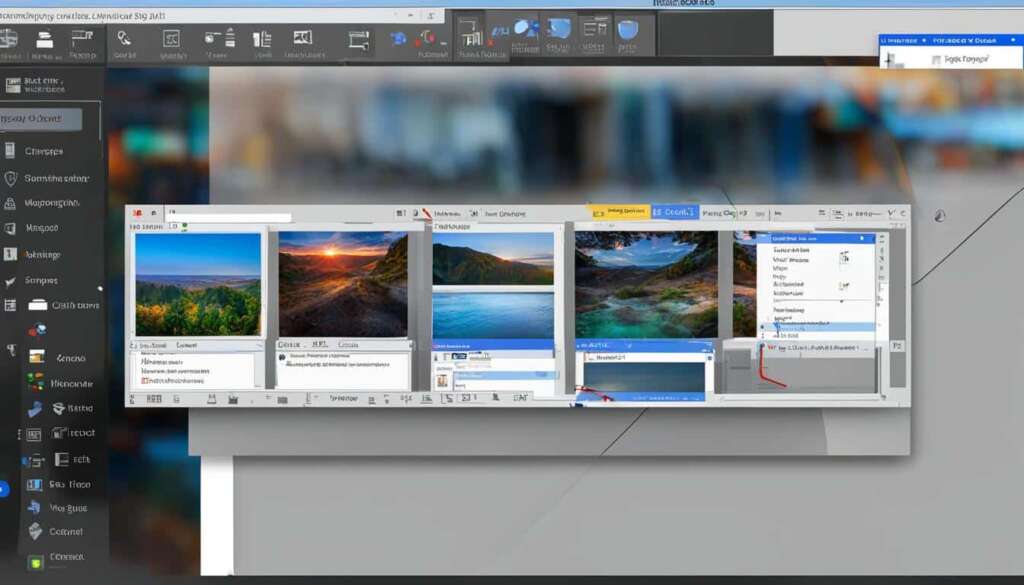
Snagit is a versatile program that offers advanced features for capturing, editing, and sharing screenshots on both Windows and Mac laptops. With Snagit, you can effortlessly capture screenshots of the entire screen or specific areas with precision. The intuitive editing interface allows you to crop, resize, add annotations, and apply effects to your screenshots. Snagit also offers easy sharing options to quickly send your screenshots across various platforms.
Pixlr:
If you’re looking for a free web app to perform basic image editing tasks on your screenshots, Pixlr is an excellent choice. With Pixlr, you can crop, resize, and add text to your screenshots with ease. It provides a user-friendly interface and a wide range of tools for enhancing your screenshots. Pixlr allows you to create professional-looking screenshots without the need for expensive image editing software.
By utilizing these powerful screenshot tools, you can elevate your screenshot capturing and editing capabilities, turning ordinary screenshots into visually appealing and impactful images.
Note: The screenshot tools mentioned above, Snagit and Pixlr, provide the necessary features to capture, edit, and share screenshots effortlessly. Whether you need advanced editing capabilities or basic image adjustments, these tools have you covered.
Conclusion
Taking screenshots on a laptop is a valuable skill that allows you to capture and share important information effortlessly. Whether you’re using a Windows or Mac laptop, there are various built-in tools and third-party software available to make the process easier and more efficient.
By following the methods outlined in this laptop screenshot guide, you can capture, edit, and share screenshots effortlessly, enhancing your ability to communicate and document important moments on your laptop screen. Whether it’s capturing a funny conversation, saving an important document, or sharing a stunning visual, screenshots are a versatile tool for personal and professional use.
Remember, on Windows laptops, you can use the PrtScn button, the Snipping Tool, or third-party software like Snagit. On Mac laptops, try using keyboard combinations like Shift + Command + 3 or Shift + Command + 4, or explore the new options introduced in MacOS Mojave and later versions. Additionally, you can consider using third-party screenshot tools like Snagit or image editing software like Pixlr for more advanced features.
So, why wait? Start capturing those memorable moments on your laptop screen today. Whether it’s for work or play, screenshots are a powerful tool to capture and share your screen, ensuring you never miss a detail and leaving a lasting impression.
FAQ
How do I take a screenshot on a Windows laptop?
There are several methods for taking screenshots on Windows laptops. You can use the PrtScn button to capture the entire screen and then paste it into an image editing program. Another option is to use the Snipping Tool, a built-in screenshot utility that lets you capture specific areas of your screen. Alternatively, you can use third-party software like Snagit, which offers more advanced features and flexibility for capturing, editing, and sharing screenshots on Windows laptops.
How do I take a screenshot on a Mac laptop?
On Mac laptops, you can use different keyboard combinations to take screenshots. The Shift + Command + 3 combination captures the entire screen, while Shift + Command + 4 allows you to select a portion of the screen to capture. If you have a Mac with a Touch Bar, you can use Shift + Command + 6 to capture what’s displayed on the Touch Bar. Additionally, Mojave and later versions of macOS have introduced Shift + Command + 5, which opens a menu with screenshot options. By default, Mac screenshots are saved on the desktop as .png files, but you can choose different saving options using the screenshot menu.
Are there any recommended screenshot tools and software?
Yes, there are some recommended options for screenshot tools and software. Snagit is a versatile program that offers advanced features for capturing, editing, and sharing screenshots on both Windows and Mac laptops. For basic image editing tasks, Pixlr is a free web app that can handle tasks like cropping, resizing, and adding text to screenshots. These tools can enhance your screenshot capturing and editing experience, allowing you to create professional-looking screenshots.
Why is taking screenshots on a laptop important?
Taking screenshots on a laptop is a valuable skill for capturing and sharing information. Whether you’re using a Windows or Mac laptop, there are built-in tools and third-party software available to make the process easier and more efficient. By taking screenshots, you can document important moments, communicate effectively, and easily share visual information with others.


