Table of Contents
The snipping tool is a useful feature available on most Windows computers that allows users to capture screenshots easily. Whether you want to capture a specific area of your screen, a full-screen image, or a particular window, the snipping tool can help you accomplish this task effortlessly. In this guide, we will walk you through the steps of using the snipping tool on your PC, providing you with a comprehensive tutorial on capturing and editing screenshots.
Firstly, to access the snipping tool on your Windows PC, you can simply search for “snipping tool” in the Windows search bar. Click on the scissors and paper icon in the search results, and the snipping tool will open. Alternatively, you can also use keyboard shortcuts to quickly open the snipping tool.
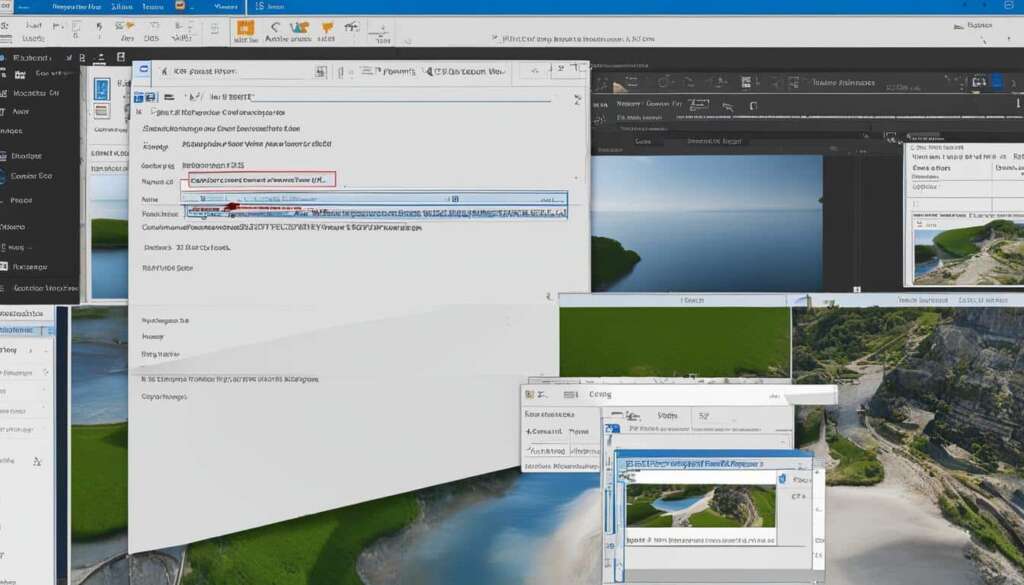
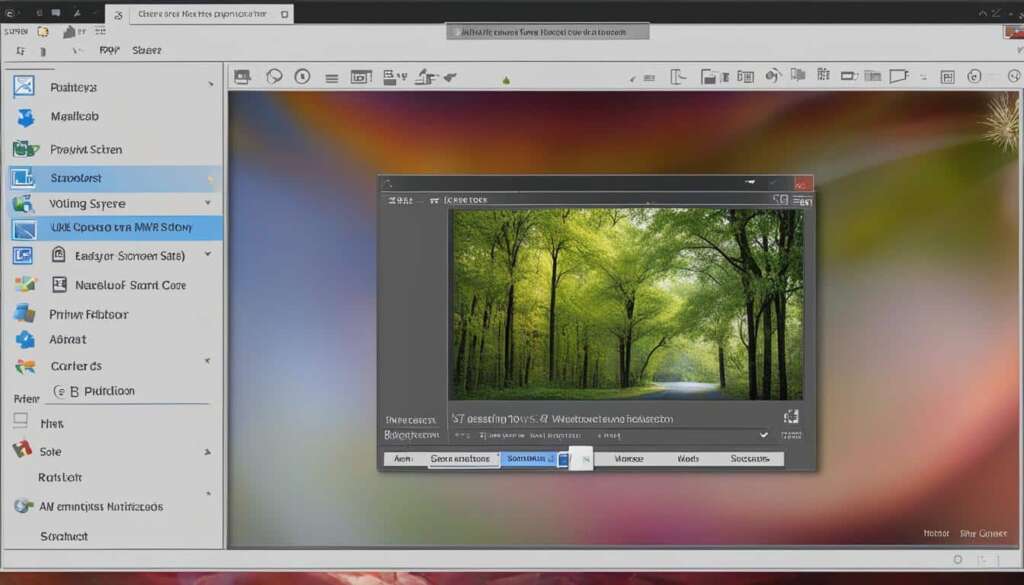
Once the snipping tool is open, you can click on the “New” button to initiate the screenshot capturing process. You can adjust the selection box to capture the desired area, be it a specific portion of the screen or the entire screen. The snips can be saved by clicking on “File” and selecting “Save As.” You also have the option to email your snips or make basic adjustments to the tool’s settings.
In the following sections of this guide, we will provide detailed instructions on how to use the snipping tool on Windows 10 and share some useful tips to enhance your snipping experience. Whether you are a beginner or a seasoned PC user, this guide will help you become proficient in the art of snipping.
How to Use Snipping Tool on Windows 10
When it comes to capturing screenshots on Windows 10, the built-in Snipping Tool is a convenient and user-friendly option. Whether you’re looking to create a snipping tool tutorial or simply want a step-by-step guide, this section will walk you through the process.
To start the snipping tool on Windows 10, there are a couple of methods you can use. One way is to search for “Snipping Tool” in the Windows search bar and press Enter or click on “Open.” Alternatively, you can use the keyboard shortcut by pressing the Windows Key + R to open the Run dialog box, typing “SnippingTool,” and then pressing Enter or clicking on “OK.”
Once the snipping tool is open, you’ll see a window with various options. To capture your screen, click on the “New snip” icon or press Alt + N on your keyboard. This will activate the snipping tool, allowing you to select the desired area of your screen. Simply drag your cursor to draw a box around the area you want to capture and release the mouse button to complete the snip.
After capturing the image, you can save it by clicking on the “Save Snip” icon. This will open a dialog box where you can choose a folder to save your snip in. It’s always a good idea to choose a descriptive name for your snip to make it easy to locate later.
If you want to add a time delay to your snips or edit them before saving, the snipping tool offers those options as well. You can set a timer delay from 1 to 5 seconds by clicking on the “Delay” dropdown menu. This allows you to capture menus or other elements that may require some preparation.
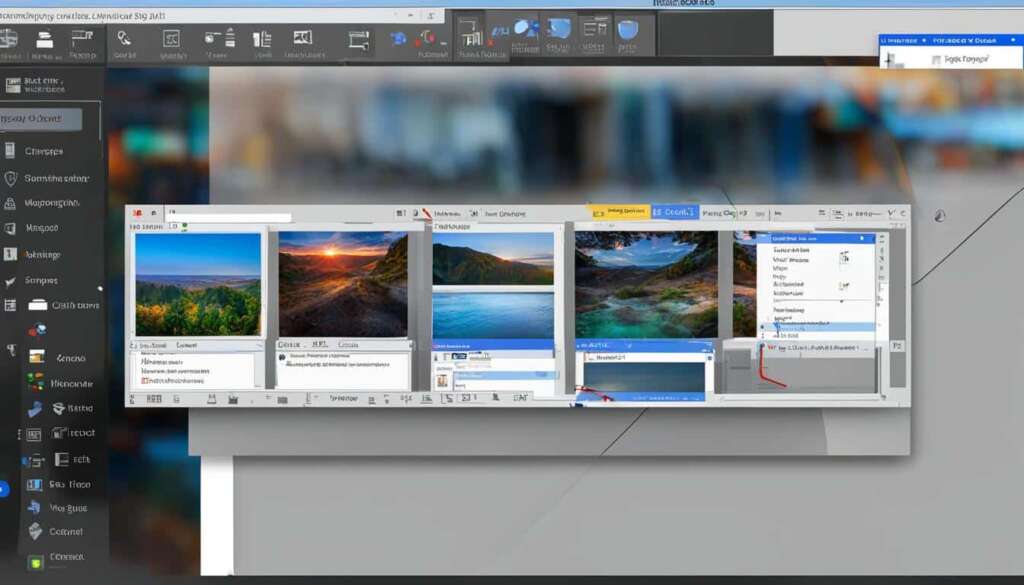
Once you’ve captured your snip, you can use editing tools to enhance it. The snipping tool provides a range of options, such as a pen or highlighter tool for drawing on your snip. You can also use the eraser tool to remove any unwanted markings. These editing features allow you to annotate or emphasize specific areas of your snip.
Now that you know how to use the snipping tool on Windows 10, you can easily capture and save screenshots for various purposes. Whether you’re creating a tutorial, highlighting an important detail, or simply sharing information, the snipping tool is a valuable tool in your Windows arsenal.
| Benefits of using the Snipping Tool on Windows 10 | Drawbacks of using the Snipping Tool on Windows 10 |
|---|---|
| 1. Easy to access and use | 1. Limited editing features |
| 2. Built-in tool, no need for third-party software | 2. Cannot capture screenshots of video playback |
| 3. Allows for precise selection of desired areas | 3. Snips are saved in the .png format, not easily compatible with all platforms |
| 4. Offers basic editing options for annotations | 4. No option for capturing scrolling windows or webpages |
| 5. Enables easy saving and sharing of snips | 5. Cannot capture multiple snips simultaneously |
With these capabilities at your fingertips, you can confidently navigate the Snipping Tool on Windows 10 to capture, edit, and save screenshots efficiently and effectively.
Stay tuned for the next section, where we’ll explore some expert tips and tricks for optimizing your snipping experience!
Tips for Snipping on PC
When using the snipping tool on your PC, there are several tips and tricks that can help you enhance your screenshots and streamline the editing process. First, take advantage of the different snip modes available. Whether you prefer a free-form, rectangular, window, or full-screen snip, choose the option that best suits your needs.
To capture menus or similar elements that require a delay, you can set a timer of 1-5 seconds. This allows you to position your cursor and ensure that the desired content is included in your snip. Once you have captured the screenshot, the snipping tool provides editing features to further enhance your image.
Utilize the pen or highlighter tool to draw on your snip, adding notes or emphasizing important details. If you make any mistakes or want to remove unwanted drawings, the eraser tool can easily correct them. After editing, the snip can be saved and conveniently copied and pasted into other applications like Microsoft Word.
While the snipping tool is a useful built-in option on Windows 10, there are also third-party tools available that offer more advanced features for capturing and editing screenshots. These tools can provide additional functionality and customization options to further enhance your snipping experience.
FAQ
How do I access the snipping tool on my Windows computer?
To access the snipping tool, simply search for “snipping tool” in the Windows search bar and click on the scissors and paper icon in the results.
How do I take a snip using the snipping tool?
To take a snip, open the snipping tool and press the “New” button. Adjust the selection box to capture the desired area of the screen.
How do I save my snips?
After capturing a snip, click on “File” and select “Save As” to save your snip.
Can I email my snips?
Yes, you have the option to email your snips directly from the snipping tool.
Are there alternative methods for accessing the snipping tool?
Yes, you can also use keyboard shortcuts to access the snipping tool.
How do I start the snipping tool on Windows 10?
To start the snipping tool on Windows 10, you can either search for “Snipping Tool” in the Windows search bar and press Enter, or use the keyboard shortcut Windows Key + R and type “SnippingTool” followed by Enter or click on “OK”.
How do I capture my screen using the snipping tool on Windows 10?
After opening the snipping tool, click on the “New snip” icon or press Alt + N. Drag your cursor to select the desired area and release the mouse button to complete the snip.
How do I save the captured snip?
Click on the “Save Snip” icon and select a folder to save the captured image.
Can I set a timer delay for my snips?
Yes, you can set a timer delay of 1-5 seconds to capture menus or similar elements.
Can I edit my snips before saving?
Yes, the snipping tool offers editing features. You can draw on your snips using the pen or highlighter tool, and erase any unwanted drawings using the eraser tool.
Can I copy and paste my snips into other applications?
Yes, once the snip is edited and saved, it can be easily copied and pasted into other applications like Microsoft Word.
Are there other tools available for capturing and editing screenshots?
Yes, besides the basic built-in snipping tool on Windows 10, there are third-party tools available that provide more advanced features for capturing and editing screenshots.


