Table of Contents
Taking screenshots on a PC is an essential skill that many computer users need. Windows operating systems have provided multiple methods for capturing screenshots over the years. In Windows 10, there are several ways to take screenshots, including using the Snip & Sketch utility, pressing the Print Screen key, or using third-party software like Snagit. Windows 11 has introduced new and improved methods for taking screenshots, making it even easier for users to capture their screens.
Key Takeaways:
- Learn how to take a screenshot on a PC using different methods.
- Windows 10 offers built-in tools like Snip & Sketch and the Snipping Tool.
- The Print Screen key is a classic method for capturing screenshots.
- Explore third-party screenshot utilities for more advanced features.
- Discover alternative methods for taking screenshots on PCs.
Now that you’ve learned the basics of taking screenshots on a PC, let’s explore the different methods in more detail.
Using Snip & Sketch
One of the methods to take a screenshot in Windows 10 is by using the Snip & Sketch utility. This can be done by pressing the Windows Key + Shift + S. This shortcut allows you to choose between capturing the full screen, a rectangular selection, a freehand selection, or an individual program window. Snip & Sketch also provides annotation tools to crop and mark up the captured image. This method is convenient for users who want to capture specific areas of their screens and make adjustments before saving the image.
Snip & Sketch Interface
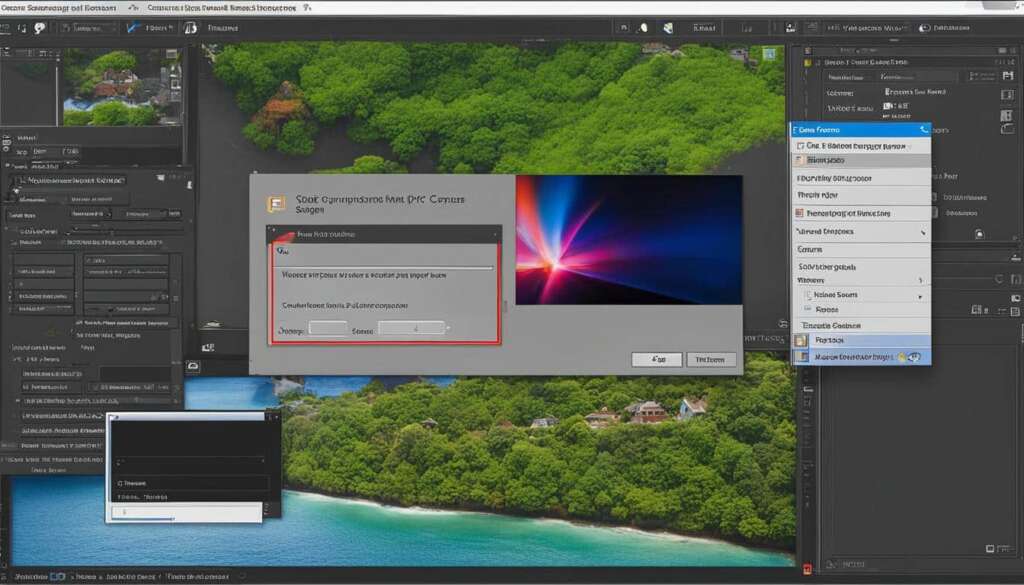
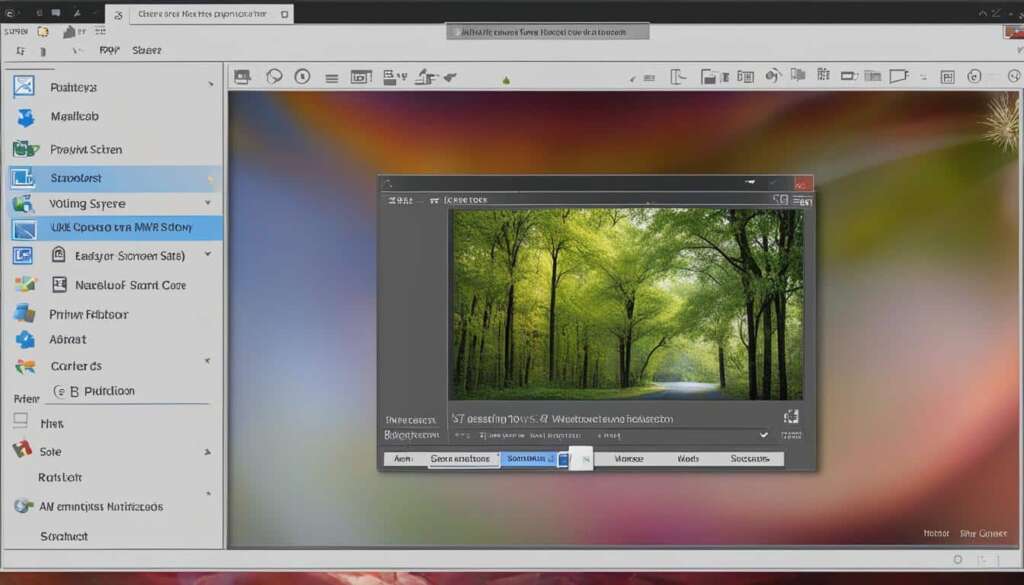
When you activate Snip & Sketch, a small toolbar will appear at the top of your screen. From there, you can select the type of snip you want to capture, such as a rectangular snip or a freeform snip. After selecting the desired snip, you can use your cursor to draw around the area you want to capture. Snip & Sketch will automatically capture the snip and open it in a new window for editing.
Within the editing window, you can use the various tools provided by Snip & Sketch to annotate and enhance your screenshot. These tools include a pen for drawing, a highlighter for emphasizing specific areas, and a text box for adding captions or explanations. Once you’re satisfied with the edits, you can save the screenshot to your desired location.
With Snip & Sketch, taking screenshots on a PC has never been easier. Its intuitive interface and versatile snipping options make it a go-to tool for capturing and editing screenshots. Whether you need to highlight important information or provide visual instructions, Snip & Sketch is a powerful utility that streamlines the screenshot process.
| Pros | Cons |
|---|---|
| Multiple snipping options | May not be as feature-rich as third-party software |
| Annotation and editing tools available | Limited to Windows 10 |
| Intuitive and user-friendly interface | Requires additional steps for saving and sharing |
Using the Print Screen Key
The Print Screen key is a handy and straightforward method for capturing screenshots on a PC. By pressing this key, you can quickly copy the entire screen image to the clipboard. To capture only the active window, you can add the Alt key to the Print Screen key combination. Once the screenshot is copied to the clipboard, you can paste it into applications like Microsoft Paint, Paint 3D, or Photoshop for editing and saving.
This method is particularly useful when you need to capture the entire screen or a specific window without the need for additional software. It’s a convenient and efficient way to take screenshots on your PC.
Pro Tip: Pressing the Windows key + Print Screen key simultaneously automatically saves the screenshot in the Pictures > Screenshots folder in your PC’s file explorer.
Whether you want to capture a funny meme, save an important document, or share an interesting article, using the Print Screen key is a simple yet effective technique to capture screenshots on your PC.
A Comparison of Screenshot Methods
| Method | Pros | Cons |
|---|---|---|
| Print Screen Key | Easy and quick to use | No built-in editing options |
| Snip & Sketch | Allows for annotation and editing | Requires additional steps to save the screenshot |
| Snipping Tool | Offers various capture options | No longer the default screenshot utility in Windows 11 |
| Third-Party Tools | Additional features and customization options | Might require installation and configuration |
Each method has its own advantages and disadvantages. It’s important to consider your specific needs and preferences when choosing the right screenshot method for you.
Expert Tip: If you frequently take screenshots and require advanced editing features, consider using third-party screenshot utilities like Snagit. These tools offer additional functionality and customization options.
Using the Snipping Tool
Windows 10 includes the Snipping Tool, which is a built-in screenshot utility that offers various capture options. This tool allows you to choose between capturing a free-form snip, a rectangular snip, a full window image, or a full-screen image. After capturing a screenshot, the image opens in the Snipping Tool, where you can edit, save, and copy it. Additionally, the Snipping Tool can be configured to automatically copy new screenshots to the clipboard. While Windows 11 introduced a newer tool called Snip & Sketch, the Snipping Tool is still available and offers basic screenshot functionality for users who prefer it.
The Snipping Tool provides a straightforward and convenient way to capture and edit screenshots directly within the Windows operating system. Its versatility allows you to capture specific areas, entire windows, or even your entire screen with ease. With the ability to make annotations and save your screenshots in various formats, the Snipping Tool is a handy tool for quick and efficient screenshot-taking on a PC.
To open the Snipping Tool, simply type “Snipping Tool” in the Start menu search bar or press the Windows key and type “Snipping Tool.” Once the tool is open, you can choose the desired capture mode and begin taking screenshots. Whether you need to capture a specific portion of your screen or the entire display, the Snipping Tool offers flexibility and functionality to meet your screenshot needs.
Snipping Tool Tips and Shortcuts
Here are some useful tips and shortcuts for using the Snipping Tool:
- Pressing Ctrl + PrtScn captures the entire screen and opens the Snipping Tool.
- Pressing Alt + M allows you to choose a capture mode directly from the keyboard.
- Pressing Ctrl + S saves the captured screenshot.
- Pressing Esc cancels the current capture.
By familiarizing yourself with these shortcuts and exploring the various capture options available in the Snipping Tool, you can streamline your screenshot-taking process and enhance your overall productivity on a PC.
Utilizing Third-Party Screenshot Utilities
While Windows provides built-in tools for capturing screenshots, there are also third-party screenshot utilities that offer additional features and customization options. These tools can be useful for users who require more advanced screenshot capabilities or prefer a different user interface.
One popular third-party tool is Snagit. Snagit offers a range of advanced features, including the ability to capture scrolling screenshots and record video screen captures. With Snagit, users can easily capture, edit, and save screenshots within its user-friendly interface. The tool also provides options for adding annotations, highlighting specific areas, and applying effects to enhance the captured image.
Other third-party screenshot utilities worth considering include Ashampoo Snap, Droplr, and Screencast-O-Matic. Each of these tools offers unique features and advantages. For example, Ashampoo Snap provides powerful editing capabilities and allows users to easily create GIFs and videos from screenshots. Droplr offers cloud-based storage and sharing options, making it convenient for collaborating with others. Screencast-O-Matic specializes in video screen recording, making it ideal for users who frequently capture screencasts.
Comparison of Third-Party Screenshot Utilities
| Tool | Features | Price |
|---|---|---|
| Snagit | Advanced editing features, scrolling screenshots, video screen recording | Premium: £49.95 |
| Ashampoo Snap | GIF and video creation, powerful editing capabilities | Basic: Free, Pro: £29.99 |
| Droplr | Cloud-based storage, collaboration options | Personal: £9/month, Business: £25/month |
| Screencast-O-Matic | Video screen recording, basic editing features | Basic: Free, Deluxe: £1.50/month |
When choosing a third-party screenshot utility, it’s important to consider your specific requirements and budget. Evaluate the features offered by each tool and determine which aligns best with your needs. Additionally, consider factors such as pricing plans, user interface, and customer support to make an informed decision.
Additional Methods for Taking Screenshots on PCs
Aside from the methods mentioned in the previous sections, there are alternative techniques for capturing screenshots on PCs. These methods can be handy in specific situations and provide users with additional options to capture their screens effectively. Below are some alternative screenshot methods that you can explore:
- Using the Windows Game Bar: Pressing the Windows Key + G opens the Windows Game Bar, which includes a “Capture” option. This feature allows you to take screenshots in games or any other fullscreen applications.
- Surface tablets: If you’re using a Surface tablet, you can capture screenshots by pressing the Volume Down and Power buttons simultaneously. This method is useful for Surface users who don’t have a keyboard with a dedicated Print Screen key.
- Surface Pen: For Surface tablet users who have the Surface Pen, you can take screenshots by simply double-clicking the eraser button on the pen. This quick gesture enables you to capture your screen effortlessly.
These alternative methods offer flexibility and convenience, catering to specific needs and preferences. Exploring these options can help you find the screenshot technique that suits you best. Whether you’re a gamer, a Surface tablet user, or simply looking for alternative ways to capture screenshots, these methods provide valuable alternatives to the built-in Windows tools.
| Method | Shortcut | Benefits |
|---|---|---|
| Windows Game Bar | Windows Key + G | Enables screenshot capture in fullscreen applications and games |
| Surface Tablets | Volume Down + Power | Ideal for capturing screenshots on Surface devices without a dedicated Print Screen key |
| Surface Pen | Double-click eraser button | Quick and effortless screenshot capture for Surface users with a Surface Pen |
By familiarizing yourself with these alternative methods, you can enhance your screenshot capabilities and tailor your approach to your specific device and requirements. Whether you’re using a gaming setup, a Surface tablet, or other Windows devices, these techniques offer versatility and convenience in capturing screenshots on PCs.
Conclusion
Taking screenshots on a PC is a straightforward process with various methods available. Windows provides built-in tools like Snip & Sketch, the Snipping Tool, and the Print Screen key. These tools offer different ways to capture your screen, whether you need to capture a specific area, the entire screen, or just an active window.
If you prefer more advanced features and customization options, third-party screenshot utilities like Snagit are worth exploring. These tools provide additional functionalities such as video screen recording and scrolling screenshots, allowing you to capture and edit screenshots with ease.
When it comes to choosing the right method for capturing screenshots, it’s important to consider your specific needs and preferences. Experiment with different techniques to find the one that suits you best. By mastering screenshot techniques, you can enhance your productivity and effectively communicate information visually.
So, whether you’re a casual user or a power user, there is a screenshot method for everyone on a PC. Explore the built-in tools or try out third-party utilities to discover the one that fits your requirements. Happy screenshotting!
FAQ
How do I take a screenshot on a PC?
There are several methods for taking screenshots on a PC, including using the Snip & Sketch utility, the Print Screen key, the Snipping Tool, or third-party software like Snagit. Each method offers its own advantages and can be used in different situations.
How does the Snip & Sketch utility work?
To use the Snip & Sketch utility, press the Windows Key + Shift + S. This shortcut allows you to choose between capturing the full screen, a rectangular selection, a freehand selection, or an individual program window. Snip & Sketch also provides annotation tools for editing the captured image.
What is the Print Screen key used for?
The Print Screen key is used to capture the entire screen image. Pressing the Alt key + Print Screen key allows you to capture only the active window. The captured screenshot can then be pasted into applications like Microsoft Paint or Photoshop for editing and saving.
What is the Snipping Tool?
The Snipping Tool is a built-in screenshot utility in Windows. It allows you to capture a free-form snip, a rectangular snip, a full window image, or a full-screen image. After taking a screenshot, the image opens in the Snipping Tool where you can edit, save, and copy it.
Are there any third-party screenshot utilities available?
Yes, there are third-party screenshot utilities like Snagit, Ashampoo Snap, Droplr, and Screencast-O-Matic. These tools offer additional features such as video screen recording and scrolling screenshots, providing more advanced options for capturing and editing screenshots.
Are there alternative methods for taking screenshots on PCs?
Yes, there are alternative methods for taking screenshots on PCs. These include using the Windows Game Bar by pressing Windows Key + G, using the Volume Down and Power buttons on Surface tablets, or double-clicking the Surface Pen eraser button. Each method has its own advantages and can be useful in specific situations.

