Table of Contents
Do you ever come across important information or content on your desktop that you’d like to save or share? Knowing how to take a screenshot on your PC can be a game-changer. Whether you’re a Windows or Mac user, there are various methods available to capture your screen effortlessly.
So, how exactly can you capture your screen on a PC? In this screenshot tutorial, we’ll guide you through the steps to take a screenshot on your desktop, ensuring you never miss out on saving essential content.
Let’s get started with the basics. Windows users have a range of built-in tools and shortcuts to choose from. From the user-friendly Snip & Sketch and Snipping Tool to simple keyboard shortcuts, such as Print Screen or Windows key + Print Screen, there’s a method that suits everyone’s preferences.
Mac users can also join in on the screenshot action with the help of dedicated keyboard shortcuts. Whether you want to capture the entire screen or a specific area, Mac has you covered. Plus, the Grab tool offers advanced options for those seeking more control over their screenshots.
Not to forget our smartphone and tablet users! Taking a screenshot on a mobile device is slightly different than on a desktop, but equally important. Whether you’re using an Android or iOS device, we’ve got you covered with our step-by-step instructions to capture screens on-the-go.
So, why wait? Don’t miss out on capturing important content. Get ready to master the art of taking screenshots on your desktop and other devices today. Whether you’re a PC or Mac user, we’ll walk you through the process and help you become a screenshot pro in no time.
How to Take a Screenshot on Windows
Windows offers various desktop screenshot methods and screen capture techniques to help you efficiently capture and save important content. Whether you need to capture an entire window, a specific area, or the entire screen, there are built-in tools and shortcuts available.
Snip & Sketch: Snip & Sketch is a user-friendly tool that allows you to capture screenshots of windows, full screens, and specific areas. To access it, simply use the Windows key + Shift + S shortcut or search for it in the Start menu. Snip & Sketch provides a convenient interface with annotation options, making it easy to capture and edit screenshots.
Snipping Tool: The Snipping Tool is another built-in option for taking screenshots. It enables you to capture rectangular, free-form, full-screen, and window snips. To use the Snipping Tool, open it from the Start menu, select the desired snip type, and capture the screenshot.
Shortcuts: Windows offers several shortcut keys for taking quick screenshots. The Print Screen key captures the entire screen and saves it to the clipboard. For capturing the active window, use the Alt + Print Screen shortcut. To save screenshots directly as image files, use the Windows key + Print Screen shortcut, which automatically saves the screenshot in the Pictures folder.
To better understand the different methods for taking screenshots on Windows, refer to the table below:
| Method | Description | Shortcut |
|---|---|---|
| Snip & Sketch | User-friendly tool with annotation options | Windows key + Shift + S |
| Snipping Tool | Capture rectangular, free-form, full-screen, and window snips | Access from Start menu |
| Print Screen | Capture the entire screen and save to clipboard | Print Screen key |
| Alt + Print Screen | Capture the active window | Alt + Print Screen |
| Windows key + Print Screen | Save screenshot as image file in Pictures folder | Windows key + Print Screen |
These desktop screenshot methods and screen capture techniques on Windows provide convenient ways to capture, save, and share important information. Experiment with different options to find the method that best suits your needs.
Continue reading to learn how to take a screenshot on a Mac and how to capture screens on smartphones and tablets.
How to Take a Screenshot on a Mac
Mac users can easily take screenshots using keyboard shortcuts. Mastering these desktop screenshot shortcuts will allow you to capture important moments and information effortlessly. Let’s explore the various methods:
Capturing the Entire Screen
To capture the entire screen, simply press Command + Shift + 3. This keyboard shortcut will instantly capture the entire screen and save the screenshot to your desktop. It’s a quick and convenient way to capture everything you see on your Mac.
Snapping a Selected Area
If you want to capture a specific area of your screen, press Command + Shift + 4. Once you activate this keyboard shortcut, your cursor will turn into a crosshair. Simply click and drag the crosshair to select the desired area for your screenshot. The captured screenshot will automatically be saved to your desktop.
Using the Grab Tool
Mac also offers the Grab tool, designed for users who crave more control over their screenshots. This built-in program provides various screenshot options to meet your specific needs. To access the Grab tool, go to Finder, select Go from the menu, and then navigate to the Utilities folder. Locate and open the Grab app. From there, you can choose between capturing the entire screen, a specific window, or even a specific portion of the screen. The Grab tool is perfect for capturing intricate details or specific sections of your screen.
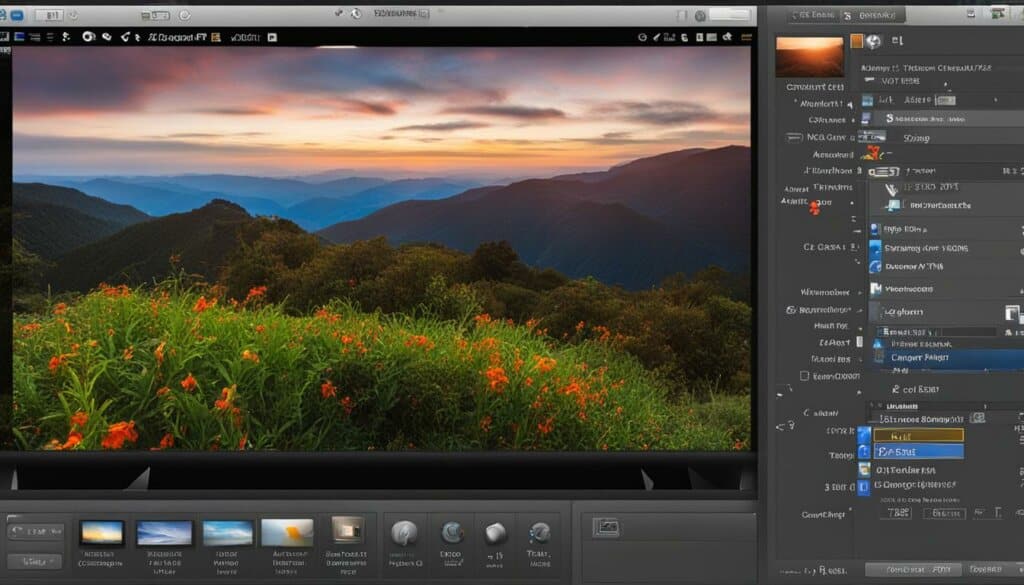
In the digital age, capturing moments on your Mac has never been easier. Whether you’re a creative professional or a casual user, these desktop screenshot shortcuts are sure to enhance your efficiency and productivity.
Now that you’re equipped with the knowledge of how to take a screenshot on a Mac, you can effortlessly capture and save important content from your desktop.
How to Take a Screenshot on Smartphones/Tablets
Taking screenshots on smartphones and tablets depends on the operating system and device used. Generally, you can capture a screenshot by pressing the power key and the home button simultaneously. The screenshot will be saved to the gallery or photos app on your device.
Note: The following instructions may vary depending on your device model and operating system version.
Android Devices
Android devices offer various methods for capturing screenshots. The most common method is to simultaneously press the power button and the volume down button. Alternatively, some devices may require you to press and hold the power button and the home button. Once the screenshot is captured, it will be saved to your device’s gallery or photos app.
iOS Devices
On iOS devices, such as iPhones and iPads, taking a screenshot is similar to Android devices, but with a slight variation. Instead of the home button, you need to press the power button and the volume up button simultaneously. This will capture the screenshot, and it will be automatically saved to your device’s gallery or photos app.
Additionally, some smartphones have built-in screen recording features that allow you to record videos of the screen. This can be useful for capturing longer activities or demonstrating app functionalities.
Now that you know how to take a screenshot on your smartphone or tablet, you can easily capture and save important information or share it with others.
Conclusion
Taking screenshots on a desktop is a valuable skill that can greatly enhance your productivity and communication. Whether you’re using Windows or Mac, there are built-in tools and convenient shortcuts available for capturing screenshots efficiently. Additionally, third-party apps like Snagit offer advanced features for editing and sharing your screenshots, giving you even more control over the final result. By familiarizing yourself with these desktop screenshot methods and implementing some useful tips, you can easily capture and save important content from your computer.
When taking screenshots, it’s essential to consider a few tips. Firstly, ensure that the content you want to capture is clearly visible on your screen. Adjust the size of windows or elements if needed to improve the readability of your screenshots. Additionally, make use of keyboard shortcuts for quick and seamless capturing. This will save you time and eliminate the need to navigate through menus or settings. Finally, don’t forget to organize your screenshots by creating dedicated folders or using screenshot management apps, enabling easy access and retrieval in the future.
By following this screenshot tutorial, you can confidently master the art of taking desktop screenshots. Whether you’re gathering information for a project, sharing important details with colleagues, or simply saving memorable moments, these desktop screenshot methods will prove invaluable. Experiment with different tools and techniques to find the ones that work best for your specific needs. With practice, you’ll become proficient in capturing and sharing screenshots, enhancing your productivity and communication on your desktop.
FAQ
How do I take a screenshot on Windows?
On Windows, you can use built-in tools like Snip & Sketch and Snipping Tool, or shortcuts like Print Screen, Windows key + Print Screen, or Alt + Print Screen.
How do I take a screenshot on a Mac?
Mac users can use keyboard shortcuts like Command + Shift + 3 for the entire screen or Command + Shift + 4 for a selected area. The Grab tool is also available for more control.
How do I take a screenshot on smartphones or tablets?
On most devices, you can press the power button and home button simultaneously. For Android devices, the method may vary depending on the model. iOS devices use the power button and volume up button.
What are some tips for capturing screenshots on a desktop?
Familiarize yourself with the keyboard shortcuts and built-in tools on your operating system. Consider using third-party apps like Snagit for advanced features like editing and sharing.


