Table of Contents
Are you ready to capture all the important moments and valuable information on your laptop? Taking screenshots is a simple and essential skill that allows you to preserve memories and reference crucial data whenever you need it. Whether you’re using a Mac or a Windows-based laptop, we’ve got you covered with easy-to-follow instructions and shortcuts.
Let’s dive into the world of screenshotting and discover how you can master this skill effortlessly. Whether you’re a student, professional, or simply someone who loves documenting life’s precious moments, knowing how to take a screenshot on your laptop is an invaluable tool.
Are you ready to become a screenshotting pro? In the following sections, we will explore the step-by-step methods for taking screenshots on both Mac and Windows-based laptops. We will also uncover the convenient options available for capturing web pages using popular web browsers. Let’s get started on your journey to becoming a master of capturing moments on your laptop!
Taking Screenshot on a Mac Computer
On a Mac, capturing screenshots is a breeze with the help of convenient keyboard shortcuts. Whether you want to capture the entire screen or just a specific portion, Mac provides you with the tools to do so effortlessly.
Here are some Mac screenshot shortcuts:
| Shortcut | Description |
|---|---|
| Shift + Command + 3 | Captures the entire screen |
| Shift + Command + 4 | Allows you to select a portion of the screen to capture |
| Shift + Command + 5 | Opens a screenshot menu with more options (available in MacOS Mojave or later) |
| Shift + Command + 6 | Captures the Touch Bar (for Macbook Pro models with a Touch Bar) |
By default, Mac saves the screenshots on the desktop as a .png file. However, you also have the option to copy the screenshot to the clipboard or save it in a different format. This flexibility ensures that you can easily access and share your captured moments.
With these Mac screenshot shortcuts at your fingertips, you can effortlessly capture and preserve important information or cherished memories.
Taking Screenshot on a Windows-Based Laptop
Windows laptops provide various methods for taking screenshots, allowing you to capture important information or memorable moments. Whether you need to capture the entire screen, a specific window, or a selected portion, Windows offers convenient shortcuts and built-in tools for effortless screenshot-taking.
One of the quickest ways to take screenshots on a Windows laptop is by using the Windows key + Shift + S combination. This opens the Snip & Sketch tool, which allows you to capture the entire screen, a window, or even a rectangular or freeform snip. This versatile tool gives you the flexibility to capture exactly what you need in just a few clicks.
Another option available on Windows 10 is the Snipping Tool. It provides even more customization options, allowing you to select any-size portions of your screen. With the Snipping Tool, you can capture specific sections of a webpage or document with precision.
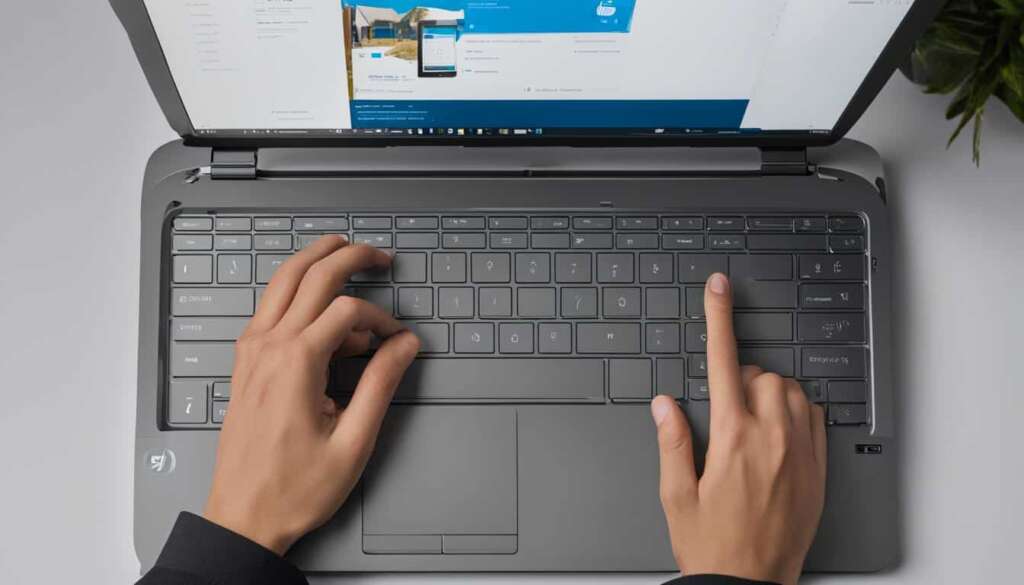
If you prefer a more traditional method, you can use the PrtScn (Print Screen) key on your keyboard to capture the entire screen. This captures a screenshot of everything displayed on your monitor and copies it to your clipboard. You can then paste the screenshot into an image editing tool or a document of your choice.
Windows laptops also come with the Game Bar feature, which is particularly useful for gamers who want to capture screenshots and record videos while playing. Simply press the Windows key + G to open the Game Bar, and use the screenshot button to capture the desired moment in your game.
By default, Windows saves your screenshots to the clipboard, allowing you to quickly paste them into other applications. Alternatively, the screenshots are saved in the Pictures > Screenshots folder on your laptop’s storage. You can easily locate and access them for future reference.
Remember, mastering the art of taking screenshots on your Windows laptop can significantly enhance your productivity and enable you to capture and share important information effortlessly.
Taking Screenshot in a Web Browser
Most web browsers have built-in options that make it easy to take screenshots of web pages. These browser-specific options provide convenient ways to capture online content. Let’s explore the screenshot options available in some popular web browsers:
Mozilla Firefox
In Mozilla Firefox, you can simply right-click on the page, select “Take screenshot,” and choose to capture the entire page or a selected portion.
Microsoft Edge
In Microsoft Edge, you can use the web capture option in the right-click menu to take screenshots.
Opera Browser
Opera Browser offers a Snapshot feature, accessible from the Opera icon, which allows you to capture screenshots of web pages.
These built-in screenshot options in web browsers make it incredibly convenient to capture web pages and preserve important information. Whether you need to capture an entire web page or just a specific section, these browser features are designed to make the process quick and effortless.
Conclusion
Taking screenshots on your laptop is an invaluable skill that allows you to capture and preserve important moments and information. Whether you have a Mac or a Windows-based laptop, there are various methods and shortcuts available to make the process quick and effortless.
If you’re using a Mac, keyboard combinations like Shift + Command + 3 or Shift + Command + 4 allow you to capture the entire screen or select a specific area. On Windows-based laptops, you can use the Snip & Sketch tool, Snipping Tool, or the PrtScn key to take screenshots. Web browsers also provide their own built-in options for capturing web pages.
Don’t forget about the power of screenshots to document and preserve important information for future reference. Whether it’s capturing an inspiring quote, a vital piece of research, or a memorable conversation, screenshots can be a valuable tool in your digital toolkit.
So, take the time to familiarize yourself with these techniques and discover how screen capturing can enhance your productivity and creativity. From capturing moments to recovering your laptop’s settings, screenshots are a powerful tool that can make your digital life easier and more organized.
FAQ
How do I take a screenshot on a Mac computer?
To take a screenshot on a Mac, you can use keyboard shortcuts. Press Shift + Command + 3 to capture the entire screen. To capture a selected portion of the screen, press Shift + Command + 4. If you have MacOS Mojave or later, you can use Shift + Command + 5 to access a screenshot menu with more options. Screenshots are saved as .png files on the desktop by default, but you can also choose to save them in a different format or copy them to the clipboard.
How can I take a screenshot on a Windows-based laptop?
There are multiple methods to take a screenshot on a Windows laptop. You can use the Windows key + Shift + S combination to open the Snip & Sketch tool, which allows you to capture the entire screen, a window, or a specific portion. Another option is the Snipping Tool, available on Windows 10, which lets you select any-size portions of the screen. You can also press the PrtScn key to capture the entire screen or the active window. The Game Bar feature is useful for capturing screenshots and recording videos while playing games. Screenshots are either saved to the clipboard or in the Pictures > Screenshots folder by default.
How do I take a screenshot in a web browser?
Most web browsers have built-in options for taking screenshots of web pages. In Mozilla Firefox, right-click on the page and select “Take screenshot” to capture the entire page or a selected portion. Microsoft Edge offers the web capture option in the right-click menu for taking screenshots. In Opera Browser, you can use the Snapshot feature accessible from the Opera icon to capture screenshots of web pages. These browser-specific options provide convenient ways to capture online content.
What are the recommended steps to factory reset a Dell laptop?
To factory reset a Dell laptop, follow these steps:
1. Back up your important files to an external storage device.
2. Restart your laptop and press the F8 key repeatedly until the Advanced Boot Options menu appears.
3. Select “Repair Your Computer” and press Enter.
4. Choose your language settings and click “Next.”
5. Enter your username and password and click “OK.”
6. In the System Recovery Options menu, select “Dell Factory Image Restore” or “Dell Factory Restore.”
7. Follow the on-screen instructions to complete the factory reset process.
Please note that the exact steps may vary slightly depending on the model and operating system of your Dell laptop.

