Table of Contents
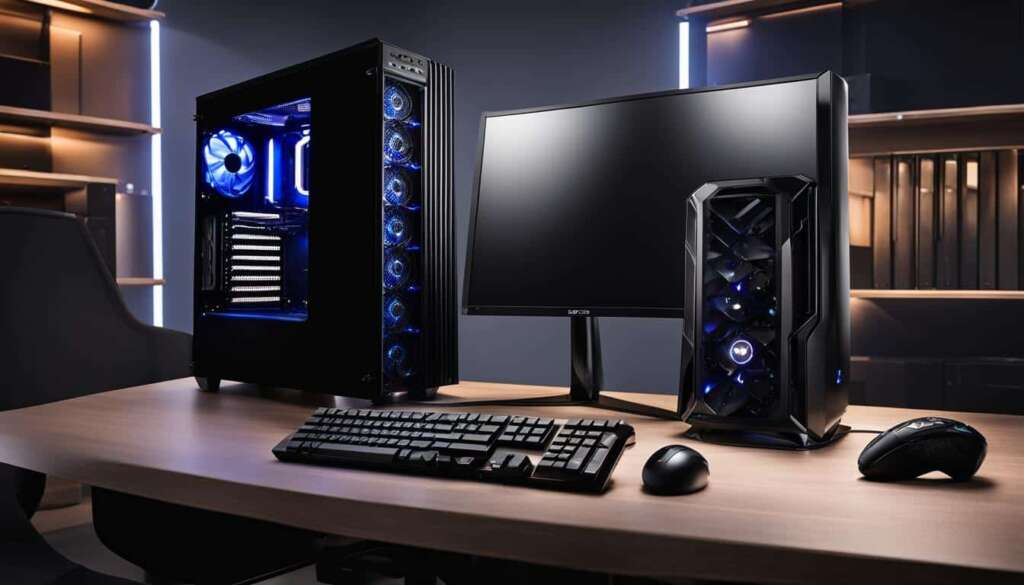
Welcome to the world of PC-based gaming servers! If you’re passionate about PC gaming and want to take your gaming experience to the next level, hosting your own dedicated gaming server is the way to go. Not only does it provide you with a customizable gaming experience, but it also offers advanced stability, reliability, and control. Imagine having total power over every aspect of gameplay, from game configurations to establishing your own gaming community and network. Whether you’re into multiplayer gaming or want to create an online gaming server, we’ve got you covered.
Building your own PC-based gaming server opens up a realm of possibilities, giving you more memory, processing power, bandwidth, and storage capabilities compared to other hosting models. With a dedicated gaming server, you’ll have better performance, reliability, stability, and security. It’s like having your very own gaming oasis, where you can shape your gaming world exactly the way you want it.
In this article, we will guide you through the process of setting up your PC as a gaming server. From the benefits of hosting your own dedicated gaming server to the hardware and resources you’ll need, we’ll cover all the essentials. We’ll also dive into the step-by-step process of setting up game servers for popular games like Steam and Minecraft. To ensure a smooth gaming experience, we’ll share tips on managing and creating your gaming server, as well as router configuration for optimal performance.
So, if you’re ready to embark on this exciting journey of PC gaming server hosting, let’s get started!
Why Host Your Own Dedicated Gaming Server?
Hosting your own dedicated gaming server comes with a multitude of benefits and advantages. By taking control of your gaming experience and hosting your own server, you can customize every aspect of gameplay to suit your preferences. One of the main advantages of hosting your own server is the improved performance, reliability, and stability it offers compared to other hosting models such as client-server or peer-to-peer (P2P) hosting.
When you host your own gaming server, you have the freedom to establish your own security protocols and have admin-level oversight. This means you can ensure that your gaming sessions are secure and enjoy a more streamlined and exclusive gaming experience. Additionally, hosting your own server gives you the ability to create a dedicated gaming community or network, allowing you to connect with like-minded players and build a thriving gaming community.
However, it’s important to note that hosting your own dedicated gaming server does come with some drawbacks. Setting up and managing a server requires technical knowledge and can be time-consuming. You will need to invest in the necessary equipment and deal with the additional energy costs of running a server. Daily monitoring and maintenance are also necessary to ensure optimal server performance. Despite these challenges, the benefits of hosting your own server far outweigh the drawbacks for passionate gamers.
| Benefits of Hosting Your Own Gaming Server | Drawbacks of Hosting Your Own Gaming Server |
|---|---|
|
|
Despite the challenges, the advantages of hosting your own dedicated gaming server make it an enticing option for PC-based gamers. If you’re looking to take your gaming experience to the next level and have full control over your gameplay, hosting your own server is definitely worth considering.
Hardware and Resources for Building a Server PC
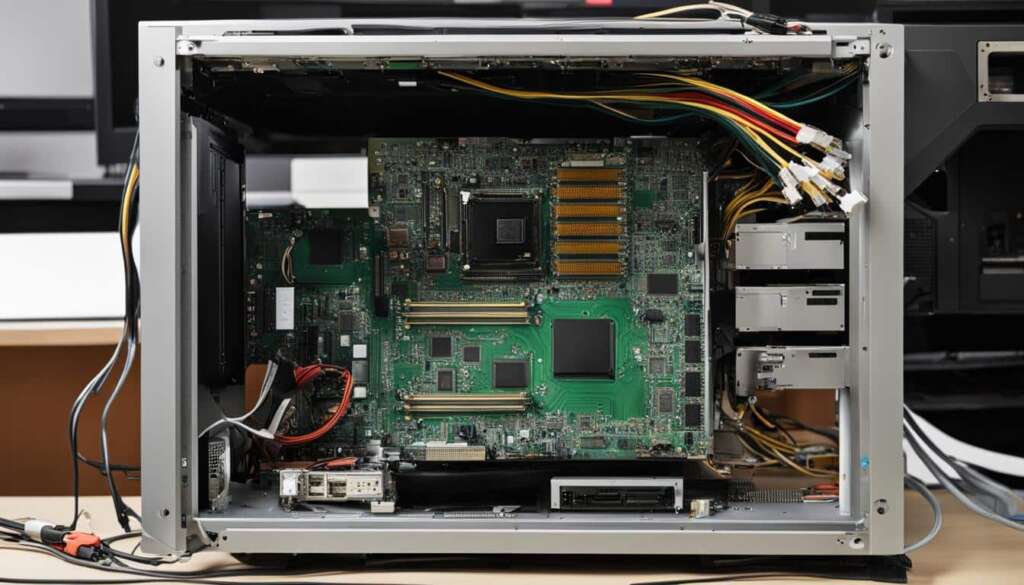
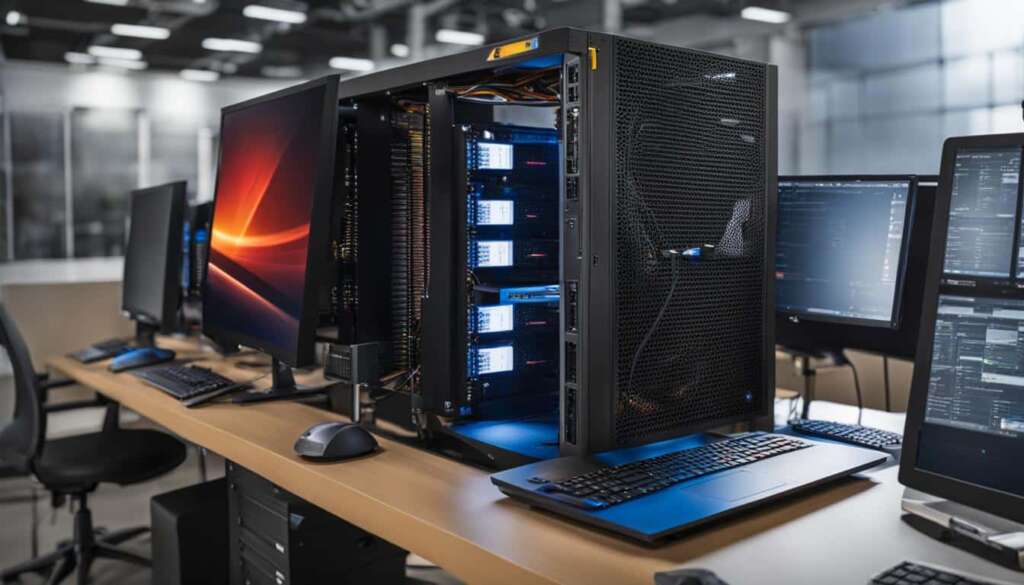
Building a server PC for gaming requires careful consideration of the hardware and resources needed to ensure optimal performance. The right components will provide the necessary power and capabilities to create a reliable and efficient gaming server. Here are the key hardware components you’ll need:
Motherboard:
The motherboard is the foundation of your server PC. Look for a motherboard that supports the processor you plan to use and has enough expansion slots for future upgrades.
CPU:
The CPU, or central processing unit, is responsible for executing instructions and performing calculations. Choose a processor with multiple cores and a high clock speed to handle the demands of running a gaming server.
RAM:
RAM, or random access memory, is essential for storing data that the CPU needs to access quickly. For a gaming server, it’s recommended to have at least 16GB of RAM to accommodate multiple players and ensure smooth gameplay.
Storage:
Opt for a solid-state drive (SSD) with high read and write speeds to reduce loading times and improve overall performance. Aim for a minimum of 1TB of storage to accommodate game files, mods, and other server-related data.
Operating System:
Choose an operating system that is compatible with the games you plan to host on your server. Windows and Linux are popular choices, with Linux being particularly favored for its stability and security.
| Component | Minimum Specification | Optimal Specification |
|---|---|---|
| Motherboard | Supports chosen processor, expansion slots for future upgrades | Supports chosen processor, multiple expansion slots |
| CPU | Multiple cores, minimum 2.5GHz clock speed | Multiple cores, high clock speed |
| RAM | 8GB | 16GB or more |
| Storage | 1TB SSD with high read and write speeds | 1TB or more SSD with high read and write speeds |
| Operating System | 64-bit Windows or Linux | 64-bit Windows or Linux |
Remember that these specifications serve as a guideline, and the actual requirements may vary depending on the specific games and server activities you plan to undertake. It’s always recommended to check the system requirements provided by the game developers for the best performance.
Setting Up a Game Server for Steam and Non-Steam Games
Setting up a game server for both Steam and non-Steam games requires different approaches, but with the right tools and software, it can be a seamless process. For Steam games, the platform provides a convenient and centralized method for hosting dedicated servers. However, for non-Steam games like Minecraft, you’ll need to use the game’s proprietary hosting software to create your server.
When setting up a game server for Steam games, the first step is to check if the specific game you want to host is featured on Steam’s list of supported dedicated servers. This list is regularly updated by the game developers and provides information on the availability of dedicated server software. Once you’ve confirmed the game is supported, you can proceed with the installation.
“SteamCMD is a command-line program that simplifies the installation and setup of dedicated game servers for Steam games. It allows for easy management, updates, and customization of the server. Additionally, there is SteamCMD-GUI, a user-friendly tool that provides a graphical interface for managing and running servers for many Steam-ready games.”
For users looking to access region-locked content or improve download speeds, some utilize VPN services to change their location on Steam.
For non-Steam games like Minecraft, the hosting process is slightly different. These games usually have their own hosting software that is specific to the game. To create a dedicated server for Minecraft, you’ll need to download the server software from the official Minecraft website. Once downloaded, you can configure the server settings by editing the server.properties file. Detailed instructions on the setup process can typically be found on the Minecraft Wiki tutorial.
By following the appropriate steps and using the right tools, you can easily set up game servers for both Steam and non-Steam games, allowing you to enjoy a customizable and immersive multiplayer gaming experience.
Table: Steam Game Server Setup vs. Non-Steam Game Server Setup
| Steam Game Server Setup | Non-Steam Game Server Setup |
|---|---|
| Check if the game is supported by Steam’s dedicated servers | Download the server software from the official game website |
| Install SteamCMD for easy installation and management | Configure server settings by editing the game’s server properties file |
| Use SteamCMD-GUI for a user-friendly graphical interface | Follow the instructions provided by the game’s official documentation |
Tips for Managing and Creating a Gaming Server
Managing and creating your own gaming server requires careful planning and attention to detail. Here are some tips to help you successfully navigate the process:
- Choose the right server software: Before setting up your gaming server, research and select the appropriate server software that supports the game you want to host. Look for software that is reliable, frequently updated, and compatible with your operating system.
- Regularly update and maintain your server: It’s crucial to keep your server software and plugins up to date to ensure optimal performance and security. Regularly check for updates and apply them as needed. Additionally, regularly monitor your server’s resources, such as CPU usage and RAM, to ensure smooth gameplay for all players.
- Establish server rules and moderation: To create a positive gaming environment, establish clear server rules that outline acceptable behavior and consequences for violating those rules. Additionally, consider implementing moderation tools to manage and address any issues that may arise during gameplay.
- Engage with your community: Building a thriving gaming community requires active engagement with your players. Encourage discussions, seek feedback, and organize events to foster a sense of camaraderie. Maintaining a strong community can contribute to the success and longevity of your gaming server.
Remember, managing a gaming server is not just about technical aspects; it’s also about creating an enjoyable and inclusive environment for players to connect and have fun. By following these tips, you can establish and maintain a successful gaming server that attracts and retains a dedicated player base.
Table: Essential Tools for Managing a Gaming Server
| Tool | Description |
|---|---|
| Server Monitoring Software | A tool that provides real-time insights into your server’s performance, allowing you to identify and address any issues promptly. |
| Remote Administration Tools | Software that enables you to manage and administer your gaming server remotely, even from a different device or location. |
| Community Management Platform | A platform that helps you create and manage an online community, including forums, chat systems, and user engagement features. |
| Automated Backup System | A system that automatically creates backups of your server data, ensuring that you can easily restore previous configurations and minimize downtime. |
Popular Games with Dedicated Server Options
When it comes to hosting your own dedicated gaming server, there are several popular games that offer dedicated server options. These games provide players with the ability to run their own servers, giving them control over the gameplay experience. Whether you’re a fan of shooters, survival games, or sandbox adventures, there’s a dedicated server option available for you.
One of the most well-known games with a dedicated server option is Counter-Strike: Global Offensive. This highly competitive first-person shooter allows players to host their own servers, creating custom game modes and maps for their friends to enjoy. Similarly, ARK: Survival Evolved, a popular survival game, allows players to set up their own multiplayer servers, providing a unique and tailored experience in the prehistoric world.
For fans of team-based gameplay, games like Team Fortress 2 offer dedicated server options. These servers allow players to create their own custom maps, game modes, and server rules, fostering a vibrant and diverse gaming community. Additionally, games like Terraria and Rust also offer dedicated server options, giving players the freedom to create their own worlds and play with their friends.
| Game | Genre | Dedicated Server Option |
|---|---|---|
| Counter-Strike: Global Offensive | First-person shooter | Yes |
| ARK: Survival Evolved | Survival | Yes |
| Team Fortress 2 | First-person shooter | Yes |
| Terraria | Sandbox, action-adventure | Yes |
| Rust | Survival | Yes |
In conclusion, hosting your own dedicated gaming server allows for a unique and customizable gaming experience. With popular games like Counter-Strike: Global Offensive, ARK: Survival Evolved, Team Fortress 2, Terraria, and Rust offering dedicated server options, players have the opportunity to shape their own gaming worlds and connect with others in a meaningful way.
Setting Up a Minecraft Server
If you’re a fan of Minecraft, setting up your own dedicated server can enhance your gaming experience and allow you to create a unique Minecraft world to share with friends and other players. Follow these steps to get started:
- Download the server software: Begin by visiting the official Minecraft website and downloading the server software. Make sure to choose the version that matches your operating system.
- Configure server settings: Once you have the server software downloaded, you’ll need to edit the server.properties file to customize your server settings. This file allows you to control various aspects of gameplay, such as the game mode, difficulty level, and maximum number of players.
- Understand the end-user license agreement: Before running your Minecraft server, take the time to read and understand the end-user license agreement (EULA). Make sure to comply with any terms and conditions outlined to avoid any legal issues.
- Install Java: Minecraft requires Java to run, so make sure you have the latest version of Java installed on your server PC. This is necessary for the server software to function properly.
- Accept the license agreement: When you run the server software for the first time, you’ll be prompted to accept the license agreement. Follow the instructions to proceed with the setup process.
- Run the server: Finally, you can start your Minecraft server by running the server software. This will create a dedicated server instance on your PC, allowing other players to connect and join your Minecraft world.
Setting up a Minecraft server gives you the freedom to create your own unique gameplay experience. You can invite friends, set your own rules, and explore the vast possibilities of the Minecraft universe. Whether you want to build, mine, or engage in epic battles, having your own server allows you to shape your Minecraft adventure according to your preferences.
Remember to regularly update your server software and keep an eye out for any new features or patches released by the Minecraft development team. This will ensure that your server remains up-to-date and compatible with the latest Minecraft versions.
With a dedicated Minecraft server, you can unleash your creativity and build a thriving Minecraft community. So gather your friends, start your server, and embark on an exciting Minecraft journey together.
| Benefits of Setting Up a Minecraft Server | Drawbacks of Setting Up a Minecraft Server |
|---|---|
| – Complete control over gameplay and server settings | – Requires technical knowledge to set up and manage |
| – Ability to invite friends and create a custom Minecraft community | – Increased energy consumption |
| – Freedom to build, explore, and create your own Minecraft world | – Potential for higher costs if using a dedicated server hosting service |
| – Regular access to the latest Minecraft updates and features | – Requires regular maintenance and server administration |
Router Configuration for Game Servers
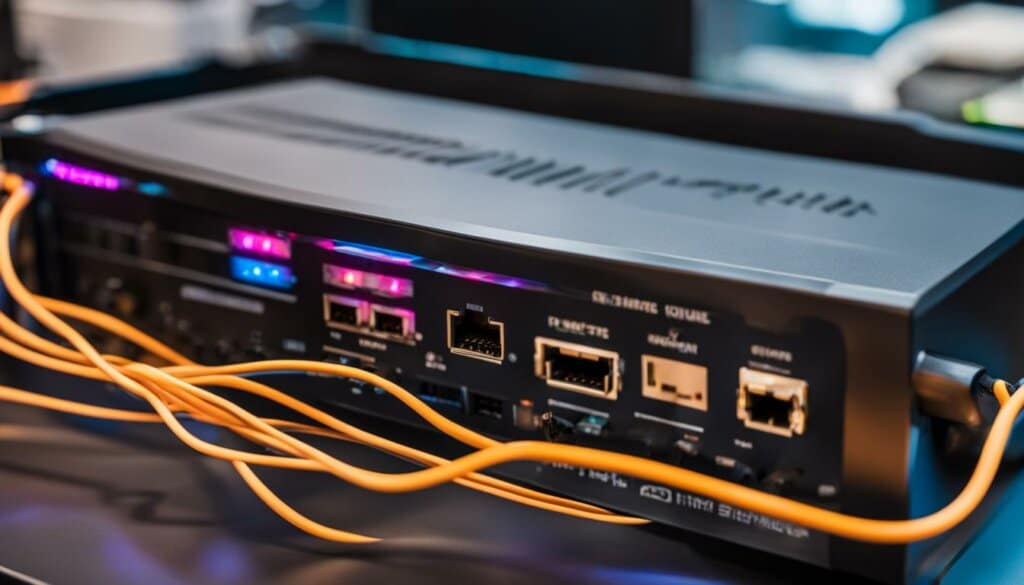
Configuring your router is a crucial step in ensuring the proper functioning of your game servers. By optimizing your router’s settings, you can enhance connection speed and overall gameplay experience. There are three key aspects of router configuration to consider: port forwarding, dynamic DNS, and Quality of Service (QoS).
Port Forwarding
Port forwarding allows outside traffic to reach your PC through the router, enabling smoother communication between your game server and connected players. It ensures that data packets are efficiently delivered and improves connection speed. To set up port forwarding, you need to access your router’s settings through a web interface or dedicated software provided by the router manufacturer. Once inside the router settings, locate the port forwarding or virtual server configuration section and enter the appropriate port numbers for your game server. Consult the game’s documentation or online resources for the specific ports required.
Dynamic DNS
Dynamic DNS (Domain Name System) is a service that automatically updates the IP address of your game server, allowing players to connect using a domain name instead of a constantly changing IP address. This is particularly useful if you have a dynamic IP address assigned by your internet service provider. By configuring dynamic DNS on your router, you can ensure a stable connection for your game server. Many dynamic DNS services are available online, and some routers have built-in support for popular dynamic DNS providers. Once set up, your router will automatically update the IP address associated with your chosen domain name.
Quality of Service (QoS)
QoS settings on your router allow you to prioritize network traffic related to your game server, ensuring a smooth and lag-free gaming experience. By allocating more bandwidth to your game server traffic and limiting the bandwidth used by other devices on your network, you can reduce latency and packet loss. Access your router’s settings and navigate to the QoS or traffic prioritization section. Here, you can define rules to prioritize traffic based on port numbers or IP addresses related to your game server. Adjust the settings according to your network requirements and the number of players connecting to your server.
Proper router configuration is essential for optimizing the performance of your game server. By implementing port forwarding, dynamic DNS, and QoS settings, you can create a seamless gaming experience for yourself and other players.
Conclusion
As you reach the end of this guide, you can see the immense possibilities that hosting your own dedicated PC-based gaming server unlocks. The ability to shape your gaming experience and connect with other players in a unique and exciting way is truly empowering. By setting up your own gaming server, you gain better performance, reliability, stability, and security, ensuring an optimal gaming environment for yourself and your community.
While there are challenges to consider, such as the initial setup cost and technical management, the benefits far outweigh the drawbacks. You have the freedom to customize every aspect of gameplay, establish your own security protocols, and control all game configurations. Plus, with the availability of tools like SteamCMD and proprietary software, creating and managing a gaming server has never been easier.
With the knowledge gained from this guide, you can confidently embark on your gaming server setup journey. Build your server PC with the right hardware, configure your router to optimize connection speed, and dive into popular games with dedicated server options like Counter-Strike: Global Offensive and ARK: Survival Evolved. Get ready to create a gaming experience like no other and immerse yourself in a world of unlimited possibilities.
FAQ
What are the benefits of hosting your own dedicated gaming server?
Hosting your own dedicated gaming server allows for customization, better performance, reliability, stability, and security compared to other hosting models.
What hardware and resources do I need to build a server PC for gaming?
You’ll need a computer case, motherboard, CPU, RAM, hard drive, and operating system. Specific specifications may vary depending on the game you want to host.
How do I set up a game server for Steam and non-Steam games?
For Steam games, you can use SteamCMD or SteamCMD-GUI for easy installation and setup. For non-Steam games like Minecraft, you’ll need to use the game’s proprietary hosting software.
Do you have any tips for managing and creating a gaming server?
Yes, some tips include using remote management tools like VNC, setting up port forwarding for improved connection speed, and using dynamic DNS to maintain a stable connection.
Are there popular games that offer dedicated server options?
Yes, popular games like Counter-Strike: Global Offensive, ARK: Survival Evolved, Team Fortress 2, Terraria, and Rust offer dedicated server options.
How do I set up a Minecraft server?
To set up a Minecraft server, you’ll need to download the server software from the official Minecraft website and configure the server settings by editing the server.properties file.
How do I configure my router for game servers?
Proper router configuration involves port forwarding to improve connection speed and dynamic DNS to maintain a stable connection. Specific port configurations may vary depending on the game or server.

