Table of Contents
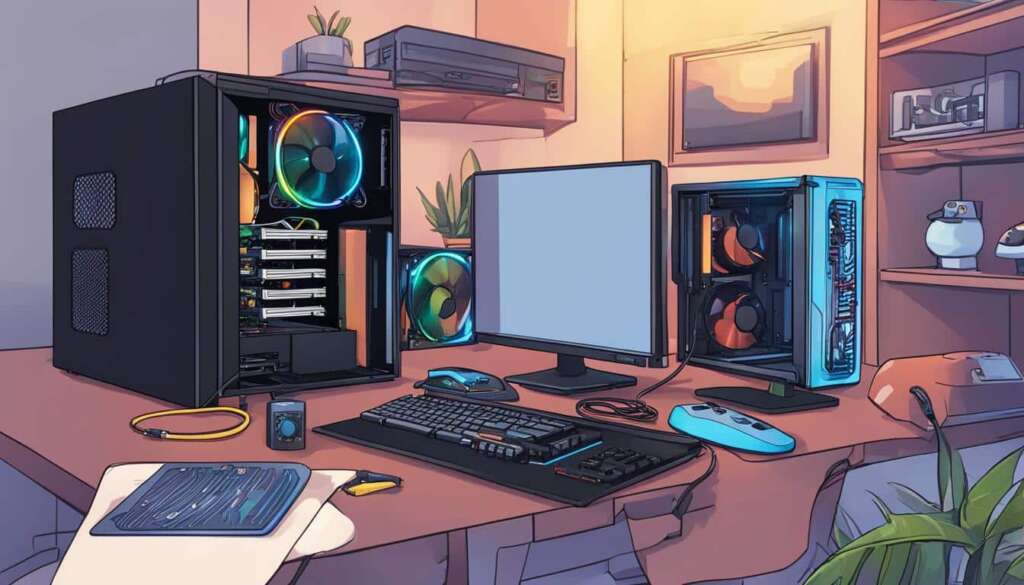
Are you ready to take your gaming experience to the next level? Building your own gaming PC can be an exciting and rewarding project. Not only does it allow you to customize every aspect of your rig, but it also gives you better control over the components you choose. Whether you’re a seasoned gamer or just starting out, this step-by-step guide will walk you through the process of building your own gaming PC from scratch.
When it comes to building a gaming PC, two key factors to consider are performance and budget. The level of performance you want to achieve will determine the components you need, while your budget will dictate the quality of those components. The good news is that you can build a powerful gaming PC on a tight budget, as long as you prioritize and make smart choices.
To get started, it’s essential to have a clear understanding of the gaming PC parts you’ll need. The hardware is the engine behind your gaming rig and includes the motherboard, CPU, RAM, graphics card, and storage drives. Each component plays a crucial role in delivering the performance you desire. By carefully selecting and assembling these parts, you can create a gaming PC that meets your specific needs.
But before we dive into the nitty-gritty details, let’s talk about the importance of meeting the minimum system requirements for the games you want to play. While it’s tempting to aim for cutting-edge hardware and accessories, it’s essential to ensure that your gaming PC can handle the games you love. By considering both current and future requirements, you can strike a balance between performance and cost.
Now that you have a solid foundation, it’s time to move on to the next section and learn how to select the key components for your gaming PC. From the PC case to the CPU, we’ll guide you through the decision-making process and help you make informed choices. So, let’s get started on your gaming PC journey!
Selecting the Key Components
When building your own gaming PC, it’s crucial to select the right components that will meet your gaming needs and preferences. In this section, we will discuss the key components to consider: the PC case, motherboard, CPU, and memory kit.
PC Case:
The PC case is not just an enclosure for your components; it also sets the tone for your build and showcases your personal style. To choose the right PC case, consider your preferences and the available space in your gaming setup. PC cases come in various sizes and designs, so select one that fits your needs and complements your desired aesthetic.
Motherboard:
The motherboard is the backbone of your PC and plays a crucial role in determining the compatibility of other components. When selecting a motherboard, make sure it supports the form factor of your chosen PC case and has the necessary ports and slots for your intended usage. Compatibility with the CPU is also essential, as different CPUs require specific motherboard socket types. Consider factors like expansion slots, USB ports, and audio capabilities to ensure future-proofing as well.
CPU:
The CPU, or central processing unit, is the brain of your gaming PC. It handles all the processing tasks and significantly impacts your system’s performance. When choosing a CPU, ensure it is compatible with your selected motherboard. Consider factors like clock speed, number of cores, and cache size to match your usage requirements and budget. It’s worth noting that gaming PCs often benefit from CPUs with higher clock speeds and multiple cores as they improve gaming performance and multitasking capabilities.
Memory Kit:
Memory, also known as RAM (Random Access Memory), is crucial for multitasking and overall system performance. When selecting a memory kit for your gaming PC, ensure it matches the specifications outlined by your motherboard, such as the type, speed, and capacity. Memory kits are available in various sizes and speeds, so choose one that suits your gaming needs and budget. Higher RAM capacity and faster clock speeds can provide smoother gameplay, faster loading times, and improved multitasking capabilities.
By carefully selecting your PC case, motherboard, CPU, and memory kit, you can lay a solid foundation for a gaming PC that meets your performance goals and personal style.
| Component | Considerations |
|---|---|
| PC Case | – Choose based on preferences and available space – Ensure compatibility with motherboard form factor |
| Motherboard | – Check compatibility with CPU and PC case – Consider expansion slots and necessary ports |
| CPU | – Ensure compatibility with selected motherboard – Consider clock speed, number of cores, and cache size |
| Memory Kit (RAM) | – Match motherboard specifications – Consider capacity and clock speed |
Building the Gaming PC
Building your own gaming PC is an exciting process that allows you to customize every aspect of your rig. To begin, start by preparing the motherboard outside of the case, following the specific instructions outlined in the manual.
Next, install the CPU by aligning it with the socket and securing it in place. Take care to handle it gently and avoid touching the pins. Then, install the RAM by aligning the notches on the module with the ridge in the slot and firmly pressing it in until it clicks.
Now it’s time to install the motherboard into the case. Attach the I/O shield to the rear of the case, slide the motherboard into place, and secure it with screws. Make sure everything is properly aligned and seated securely.
Once the motherboard is in place, install the GPU by sliding it into its designated slot and securing it firmly. Then, attach the storage drives, such as HDD or SSD, by connecting them to the interface and fitting them into the drive bay. Follow the manufacturer’s instructions to install the cooling fans, CPU cooler, and power supply.
With all the components in place, it’s time to connect the necessary cables. This includes USB, audio, GPU, CPU, drives, power supply, heatsink, and cooling cables. Take your time and ensure that each cable is securely connected.
All that’s left to do is plug in your peripherals, such as mouse, keyboard, monitor, and headset, and power on your gaming PC. Congratulations on successfully building your own gaming PC!
FAQ
Why should I build my own gaming PC instead of buying a pre-built one?
Building your own gaming PC allows for customization and better control over the components. You can choose the specific parts that meet your performance and budget needs, resulting in a gaming rig tailored to your preferences.
Is it possible to build a powerful gaming PC on a tight budget?
Yes, it is possible to build a powerful gaming PC on a tight budget. While performance and costs are directly related, you can prioritize your spending on essential components and consider cost-effective alternatives to achieve excellent gaming performance without breaking the bank.
What should I consider when building a gaming PC?
When building a gaming PC, it is important to consider the level of performance you want to achieve and the budget you have. Make sure to meet the minimum system requirements of the games you want to play and consider future requirements. It’s also important to protect the components from static electricity and follow the installation instructions provided by each component’s owner’s manual.
What are the key components I need to select for my gaming PC?
The key components for your gaming PC include the PC case, motherboard, CPU, and memory kit. The PC case should be chosen based on your preferences and available space, ensuring compatibility with the chosen motherboard format. The motherboard is the backbone of your PC, determining the CPU and other components you can use. The CPU, or central processing unit, handles all the processes in your PC. The memory, or RAM, is essential for multitasking and system performance.
Can you provide a step-by-step guide for building a gaming PC?
Sure! Here are some general steps to follow when building a gaming PC:
1. Prepare the motherboard outside of the case according to the manual.
2. Install the CPU by aligning it with the socket and securing it in place.
3. Install the RAM by aligning the notches on the module with the ridge in the slot and pressing it in firmly.
4. Attach the I/O shield, slide the motherboard into the case, and secure it with screws.
5. Slide the GPU, or graphics card, into its slot and secure it.
6. Attach the storage drives, such as HDD or SSD, to the interface and fit them into the drive bay.
7. Install the cooling fans, CPU cooler, and power supply following the manufacturer’s instructions.
8. Connect all necessary cables, including USB, audio, GPU, CPU, drives, power supply, heatsink, and cooling cables.
9. Plug in your peripherals, such as mouse, keyboard, monitor, and headset, and power on your gaming PC.


