Table of Contents
Building your own PC may seem daunting, but with the right guidance, anyone can do it. In this comprehensive guide, we will take you through the step-by-step process of building your perfect PC. From selecting the key components to assembling the hardware, we’ve got you covered. Get ready to embark on an exciting journey to create your dream machine.
- Building your own PC can be a rewarding and cost-effective way to get the perfect machine for your needs.
- Choosing compatible components is crucial for a successful build.
- Proper installation and assembly techniques are important for a smooth build process.
- Troubleshooting common issues and optimizing your PC’s performance are essential steps.
- Enjoy the satisfaction of knowing you built your own custom PC!
Choosing the Key Components
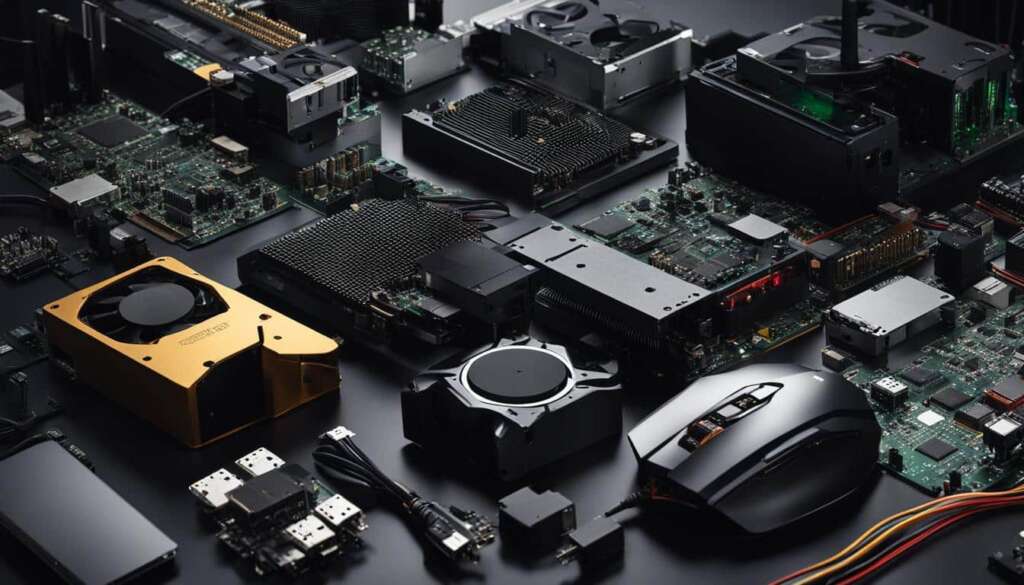
When embarking on your PC build journey, selecting the right components is crucial for a successful and efficient system. With a vast array of options available, it’s important to make informed choices based on your specific needs and preferences. Let’s take a closer look at the key components that you’ll need to consider.
PC Case
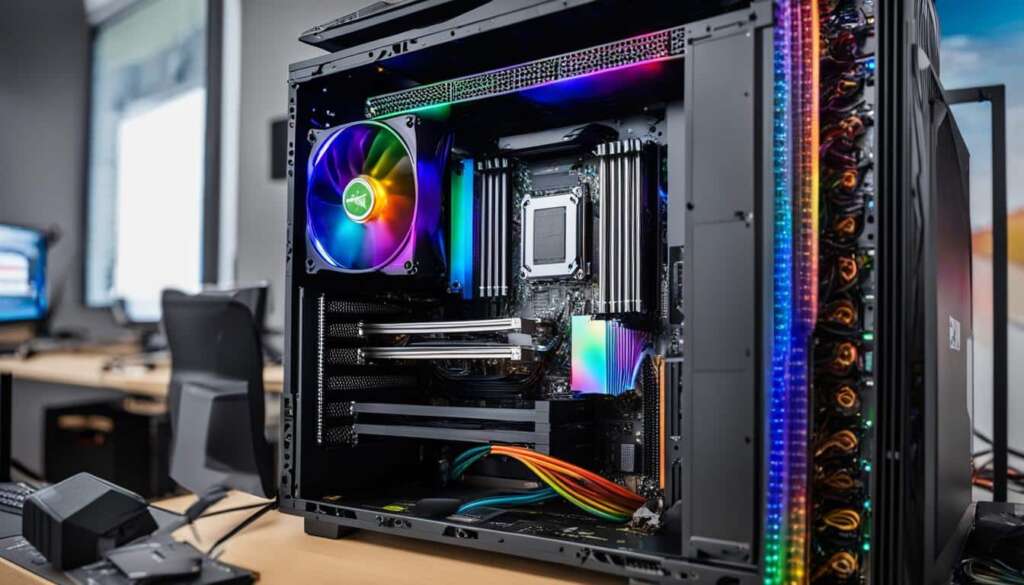
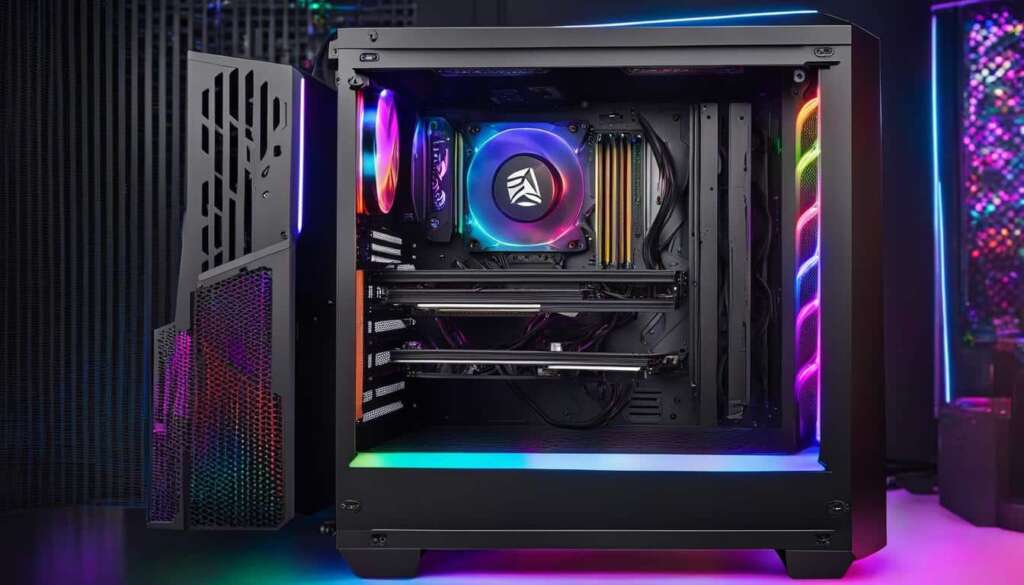
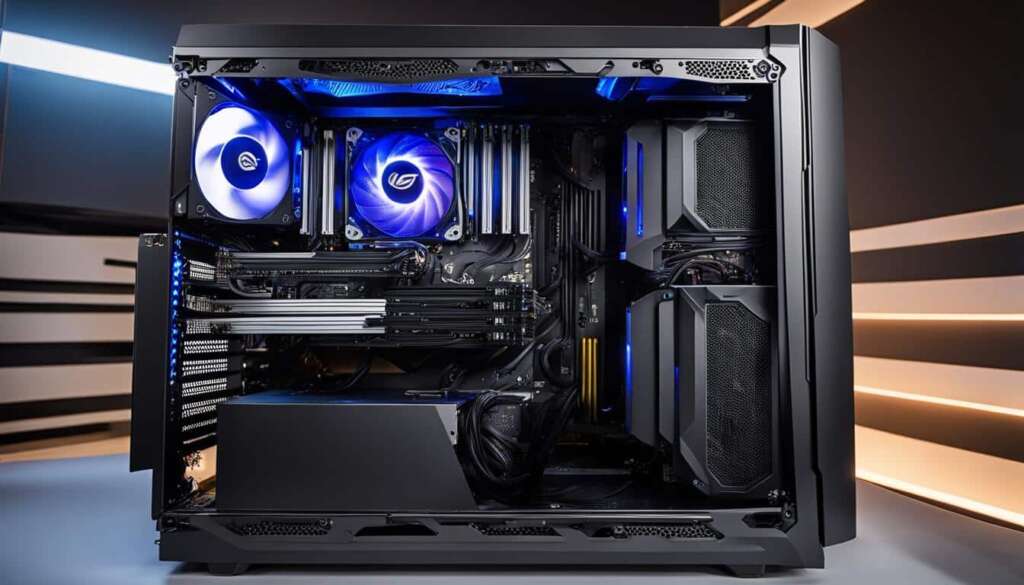
The PC case not only houses all your components but also determines the overall look and feel of your build. Consider factors such as size, airflow, and aesthetics when choosing a case that suits your needs.
Motherboard
The motherboard acts as the central hub that connects all your components. Ensure compatibility with your chosen CPU and other components, and consider features such as expansion slots, connectivity options, and overclocking capabilities.
CPU
The CPU is the brain of your PC and plays a vital role in determining its performance. Choose a CPU that aligns with your usage requirements, whether it’s for gaming, content creation, or everyday tasks. Consider factors such as core count, clock speed, and power consumption.
CPU Cooler
To keep your CPU temperature under control, a CPU cooler is essential. Choose between air coolers and liquid coolers based on your preference and budget. Consider factors such as cooling performance, noise level, and compatibility with your CPU and case.
RAM
RAM, or Random Access Memory, is responsible for temporary storage and quick access to data for your CPU. Choose the right amount of RAM based on your usage requirements, whether it’s gaming, video editing, or multitasking. Consider factors such as speed, capacity, and compatibility with your motherboard.
Graphics Card
If you’re into gaming or graphics-intensive tasks, a powerful graphics card is essential. Consider factors such as performance, VRAM capacity, and cooling solutions when choosing a graphics card that can handle your desired workload.
SSD/HDD
Storage is where you keep all your files, programs, and operating system. Opt for a combination of SSD and HDD for a balance between speed and capacity. SSDs provide faster boot times and application loading, while HDDs offer more affordable mass storage options.
PSU
The power supply unit (PSU) delivers power to all your components. Choose a PSU with sufficient wattage to support your components and consider factors such as efficiency, modularity, and reputable brands for reliable power delivery.
By carefully selecting the key components for your PC build, you can ensure a smooth and efficient system that meets your specific needs. Remember to consider factors such as compatibility, performance, and budget when making your choices. In the next section, we will move on to the installation and assembly process, where you’ll bring your chosen components together to build your dream machine.
Installations and Assembly
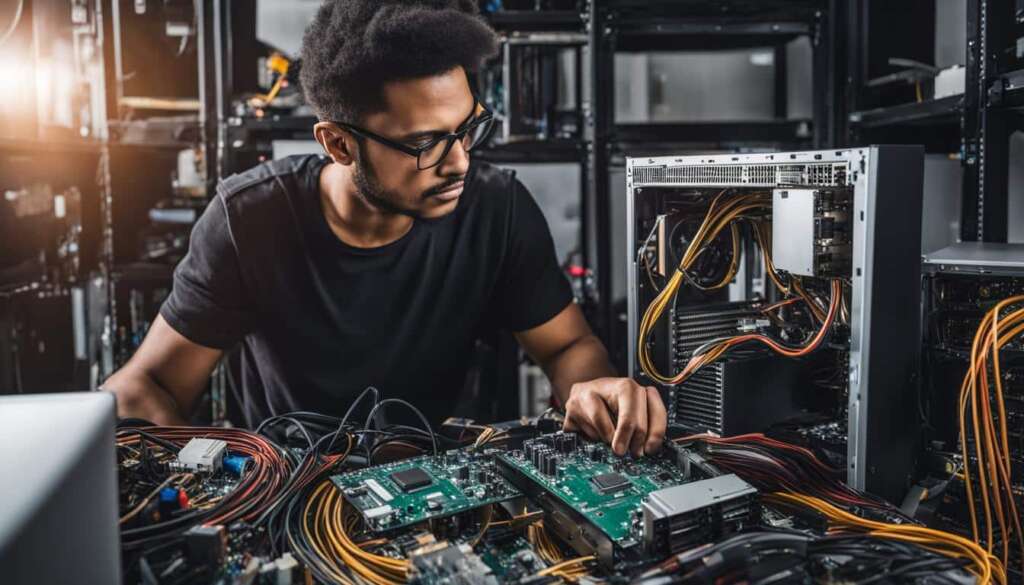
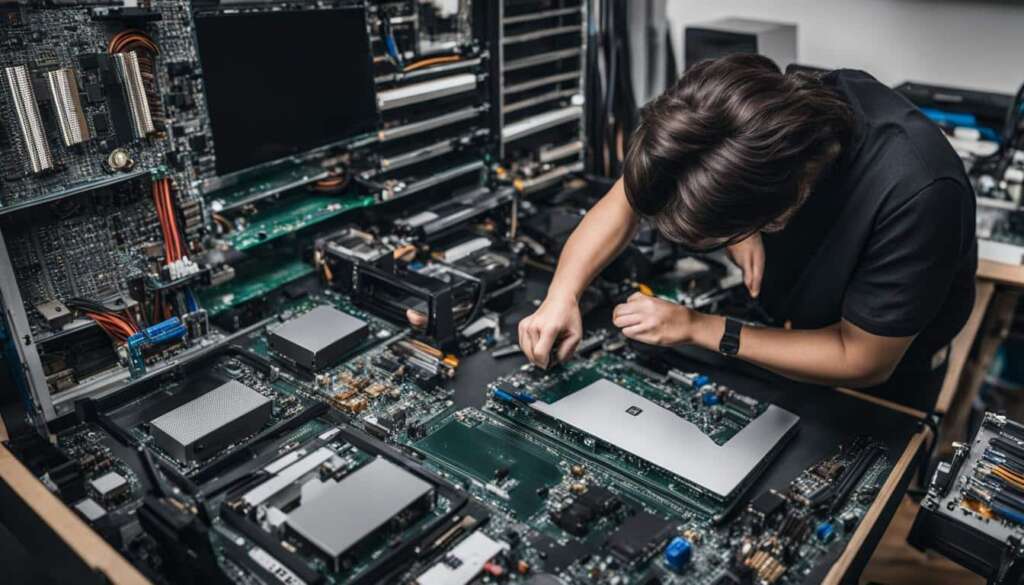
Now that you have carefully chosen the key components for your PC build, it’s time to move on to the installation and assembly process. Following the step-by-step instructions provided below will ensure that you successfully assemble your gaming PC.
Step 1: Installing the CPU and CPU Cooler
Begin by opening the CPU socket on the motherboard and gently placing the CPU into it. Make sure the CPU is properly aligned and has a good connection with the socket. Apply a small amount of thermal paste to the top of the CPU, then attach the CPU cooler, ensuring it is securely fastened to the motherboard. Proper cooling is crucial for performance, so make sure the cooler is correctly installed.
Step 2: Installing RAM
Next, locate the RAM slots on the motherboard and carefully insert the RAM sticks. Make sure the memory modules are properly aligned with the slots and apply gentle pressure until they click into place. Refer to the motherboard manual to ensure you are inserting the RAM in the correct slots for optimal performance.
Step 3: Mounting the Motherboard and PSU
Place the motherboard into the case, aligning the screw holes with the standoffs. Secure the motherboard using the provided screws. Next, install the PSU into the designated area in the case, ensuring it is correctly aligned and securely fastened. Connect the necessary power cables from the PSU to the motherboard and other components.
Step 4: Installing the Graphics Card and Storage Devices
Insert the graphics card into the appropriate slot on the motherboard, ensuring it is firmly seated. Connect the necessary power cables from the PSU to the graphics card. Install the storage devices, such as SSDs or HDDs, into the designated drive bays in the case. Connect the necessary data and power cables to the storage devices and the motherboard.
Once all the components are properly installed, proceed with connecting any additional peripherals, such as a monitor, keyboard, and mouse. Make sure all cables are neatly organized and secured using cable ties. Finally, double-check your connections and power on your newly assembled gaming PC.
| Component | Installation Steps |
|---|---|
| CPU and CPU Cooler | 1. Open CPU socket on the motherboard 2. Place CPU into socket 3. Apply thermal paste and attach CPU cooler 4. Securely fasten CPU cooler to motherboard |
| RAM | 1. Locate RAM slots on motherboard 2. Insert RAM sticks, aligned with slots 3. Apply gentle pressure until they click into place |
| Motherboard and PSU | 1. Mount motherboard into case 2. Secure with screws 3. Install PSU into designated area 4. Connect power cables from PSU to motherboard and components |
| Graphics Card and Storage Devices | 1. Insert graphics card into appropriate slot 2. Connect power cables from PSU to graphics card 3. Install storage devices into drive bays 4. Connect data and power cables to storage devices and motherboard |
Troubleshooting and Optimizing
Building a PC can be an exciting but challenging process, and it’s not uncommon to encounter issues along the way. In this section, we’ll address common problems that may arise during the setup and assembly of your PC. We’ll also provide troubleshooting tips to help you overcome these obstacles and optimize your PC’s performance.
Common PC Setup Issues
During the PC assembly process, you may face various challenges, such as compatibility issues, hardware failures, or incorrect connections. Here are some common issues and their potential solutions:
- No display on the monitor: Check if the graphics card is properly seated and connected to the power supply. Ensure that the monitor is connected to the correct port.
- System not booting: Double-check all cable connections, including the power cables for the motherboard and storage devices. Make sure the RAM is properly installed and compatible with the motherboard.
- Overheating: Check that the CPU cooler is correctly mounted and that thermal paste is applied correctly. Ensure that the case has proper airflow and that all fans are functioning.
Optimizing Your PC’s Performance
Once your PC is up and running, there are several ways to optimize its performance:
- Update drivers: Regularly update your graphics card, motherboard, and other hardware drivers to ensure optimal compatibility and performance.
- Adjust BIOS settings: Access the BIOS menu and adjust settings such as boot order, RAM frequency, and CPU settings to maximize performance.
- Manage startup programs: Disable unnecessary programs from automatically starting up with your PC to reduce startup time and improve overall performance.
- Regular maintenance: Keep your PC clean from dust and debris, perform regular malware scans, and uninstall unnecessary software to maintain peak performance.
By following these troubleshooting tips and optimizing measures, you can ensure that your PC building experience is successful and that your custom-built machine performs at its best.
| Issue | Solution |
|---|---|
| No display on the monitor | Check graphics card connection and monitor port. Ensure proper power supply connection. |
| System not booting | Double-check cable connections. Ensure RAM compatibility and proper installation. |
| Overheating | Verify CPU cooler installation and thermal paste application. Check case airflow and fan functionality. |
Conclusion
Congratulations on completing your PC build! You have now created a custom-built machine that meets your specific needs. Building your own PC not only saves you money but also gives you a greater understanding of how your computer works.
We hope this comprehensive guide on PC building has been informative and helpful in guiding you through the process. By following our step-by-step instructions, you have successfully selected the key components, installed and assembled them, and learned how to troubleshoot and optimize your PC.
Now that you have your dream machine, it’s time to enjoy the benefits of a custom PC build. Whether you’re a gaming enthusiast, a professional designer, or simply looking for a high-performance computer, your custom PC will provide the power and versatility you need. Embrace the satisfaction of knowing that you built it yourself.
FAQ
Is it difficult to build your own PC?
Building your own PC may seem daunting, but with the right guidance, anyone can do it. Follow our step-by-step guide to make the process easier.
What components do I need for my PC build?
You will need a PC case, motherboard, CPU, CPU cooler, RAM, graphics card, storage devices (SSD/HDD), and PSU. We will guide you through the selection process for these components.
How do I install and assemble the components?
We will provide step-by-step instructions on installing the CPU, CPU cooler, RAM, PSU, motherboard, graphics card, and storage devices. Proper cable management and connecting peripherals will also be covered.
What do I do if I encounter issues during the build process?
We will address common issues and provide troubleshooting tips to help you overcome any challenges. We will also discuss ways to optimize your PC’s performance.
Why should I build my own PC?
Building your own PC not only saves you money but also gives you a greater understanding of how your computer works. It allows you to customize your machine to meet your specific needs.

