Table of Contents
Welcome to our guide on how to take a screenshot on your Dell laptop. Screenshots are invaluable when it comes to capturing important information, preserving memories, or demonstrating a problem to tech support. Whether you’re using Windows or macOS, we’ve got you covered with step-by-step instructions and helpful tips. Let’s dive in and unlock the power of screenshotting on your Dell laptop!
Taking screenshots on a computer is a skill that can come in handy for various purposes. In the following sections, we will explore different methods for capturing screenshots on Dell laptops, discuss third-party software options for advanced features, and even share tips for keeping your laptop screen clean. By the end of this guide, you’ll be equipped with the knowledge and tools to effortlessly capture and share your screen with others.
Taking Screenshots on Windows-based Laptops
Windows-based laptops offer various methods for capturing screenshots. Whether you’re using a Dell, Lenovo, or another Windows-based laptop, this section will guide you through two commonly used screenshot methods. Master these techniques to effortlessly capture and save important moments on your laptop.
Method 1: Traditional Method using the PrtScn Key
To take a screenshot using the traditional method, follow these steps:
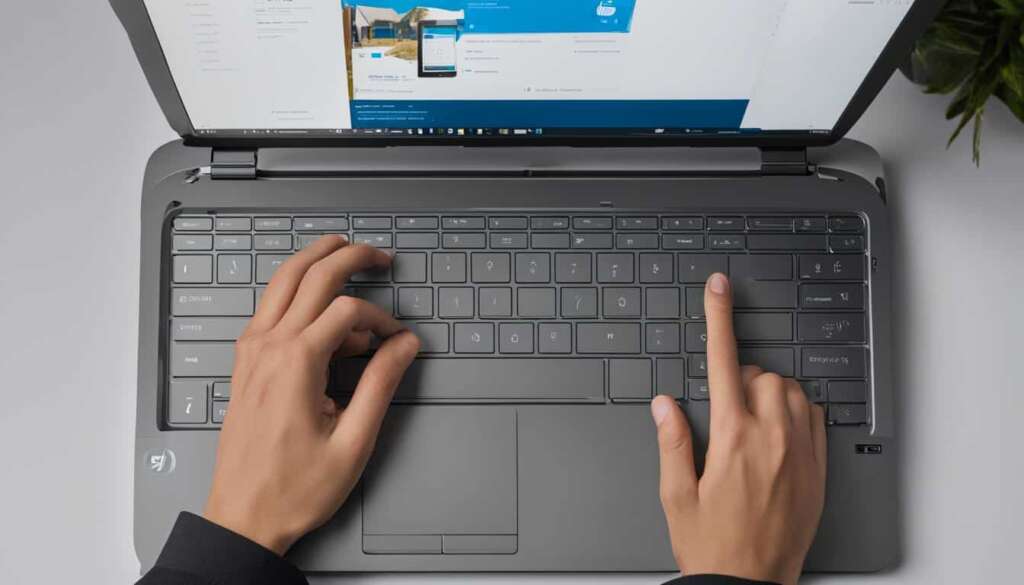
- Locate the PrtScn key on your keyboard. It is usually located in the top row, near the function keys.
- Open the screen or application that you want to capture.
- Press the PrtScn key. It will capture the entire screen.
- Open a blank document or an image editing software like Paint.
- Press Ctrl + V to paste the screenshot.
- Save the image in your desired location.
This method allows you to capture the entire screen, including multiple windows or applications. However, it may not be the most efficient if you only need to capture a specific area of the screen, which leads us to the next method.
Method 2: Snipping Tool Method using the Win+Shift+S Shortcut
The Snipping Tool is a built-in screenshot tool on Windows-based laptops. It allows you to capture a specific area of the screen. Follow these steps to take a screenshot using the Snipping Tool:
- Open the screen or application that you want to capture.
- Press the Win + Shift + S shortcut keys together.
- Your screen will fade, and a selection tool will appear.
- Click and drag your cursor to select the area you want to capture.
- Release the mouse button to capture the selected area.
- The captured screenshot will open in a small preview window.
- Click the Copy button to copy the screenshot to the clipboard. Alternatively, click Save As to save it to a specific location.
Using the Snipping Tool method, you can capture a specific part of the screen with ease. This is especially useful when you want to focus on a particular window, menu, or piece of content.
Now that you’ve learned the two primary methods for capturing screenshots on Windows-based laptops, you’re ready to start saving and sharing those important moments! Experiment with the different methods to find the one that suits your needs best.
Taking Screenshots on Macs
Mac laptops, including Apple MacBooks, have a different hotkey for taking screenshots. To quickly capture screenshots on your Mac, follow these simple steps:
- Step 1: Locate the screen or windows you want to capture.
- Step 2: Press and hold the Command key (⌘) and the Shift key (⇧).
- Step 3: While holding down the Command and Shift keys, press the number 3 key on your keyboard.
- Step 4: Release all the keys to capture the screenshot.
Once you’ve captured the screenshot, it will be saved as a PNG image file on your desktop. You can find it by looking for the file named “Screenshot [date] [time].png”.
For more control over your screenshots, you can use additional hotkey shortcuts on Macs:
- Press Command+Shift+4: This shortcut allows you to capture a specific area of the screen. After pressing the shortcut, your cursor will turn into a crosshair. Click and drag on the screen to select the area you want to capture. Release the mouse button to capture the selected area.
- Press Command+Shift+4, then press the Spacebar: This shortcut allows you to capture a specific window or application. Your cursor will turn into a camera icon. Move the camera icon over the window or application you want to capture, and it will be highlighted. Click to capture the entire window or application.
By using these hotkey shortcuts, you can easily take screenshots on your Mac without the need for any additional software or applications.
Note: In some Mac models, you might need to use the Fn (function) key in combination with the Command, Shift, and number keys to capture screenshots.
Using Third-Party Software for Advanced Screenshot Options
While the built-in screenshot methods on your Dell laptop are great for basic screenshot needs, you may find yourself craving more advanced features. Luckily, there is a solution: third-party screenshot software. These powerful tools offer a range of advanced features that will enhance your screenshot-taking experience.
One popular third-party software option is Free Screen Capture. This software allows you to capture screenshots with ease and provides additional editing options to enhance your images. With Free Screen Capture, you can annotate screenshots with text, arrows, and highlights, making it perfect for professional presentations and tutorials. Whether you need to capture a specific window or the entire screen, this software has you covered.
Another top contender is FastStone Capture. This feature-packed software not only allows you to capture screenshots but also offers powerful image editing and screen recording capabilities. That’s right, with FastStone Capture, you can record your screen and save it as a video file, perfect for creating tutorials or sharing gameplay highlights. Additionally, the software supports scrolling screenshots, so you can capture entire web pages or documents with ease.
Both Free Screen Capture and FastStone Capture are compatible with Dell laptops running Windows operating systems and offer intuitive interfaces that make taking advanced screenshots a breeze.
So, if you’re looking to elevate your screenshot game and unlock advanced features, consider trying third-party software options like Free Screen Capture and FastStone Capture. With these tools, you’ll have the power to take your screenshots to the next level.
Tips for Cleaning Your Laptop Screen
Your laptop screen is a window into the digital world, allowing you to work, create, and connect. Over time, however, it can become smudged with fingerprints, dust, and other debris. To ensure optimal screen clarity and extend the lifespan of your device, it’s essential to clean your laptop screen regularly.
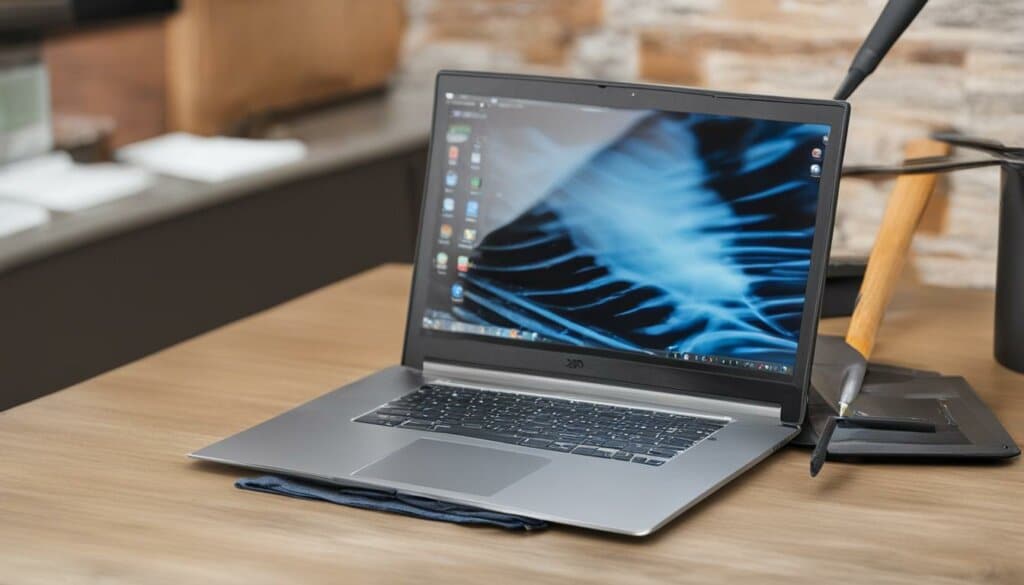
Here are some tips and techniques for effectively cleaning your laptop screen:
1. Use a Microfiber Cloth
When it comes to cleaning delicate surfaces like laptop screens, a microfiber cloth is your best friend. Its soft texture helps avoid scratches while effectively removing smudges and fingerprints. Gently wipe the screen in a circular motion to remove any dirt or grime.
2. Choose a Gentle Cleaning Solution
The best way to clean a laptop screen is to use a gentle cleaning solution. Avoid harsh chemicals or abrasive cleaners, as they can damage the screen’s protective coating. Instead, create a DIY cleaning solution by mixing distilled water and white vinegar in equal parts. Moisten a corner of the microfiber cloth with the solution and wipe the screen gently.
3. Avoid Excessive Pressure
It’s important to clean your laptop screen with a light touch. Applying excessive pressure can cause damage and adversely affect the display. Let the cleaning solution and microfiber cloth do the work, and resist the temptation to press hard.
4. Protect the Keyboard and Trackpad
When cleaning your laptop screen, be mindful of the adjacent keyboard and trackpad. Use a separate cloth to wipe down these areas and remove any dust or debris. This will prevent contaminants from transferring back onto the screen during use.
5. Don’t Forget to Power Off
Before cleaning your laptop screen, it’s crucial to turn off the device. This ensures that you can see the dirt and smudges more clearly while reducing the risk of electrical damage.
By following these laptop screen cleaning tips, you can maintain a crystal-clear display and enhance your overall viewing experience.
Conclusion
Mastering the art of taking screenshots on your Dell laptop is an empowering skill that can enhance your productivity and communication. By following the step-by-step instructions provided in this article, you can effortlessly capture and share important moments on your screen.
However, it’s not just about taking screenshots; it’s also about enjoying a crystal-clear display. A clean laptop screen is essential for a truly immersive viewing experience. By employing the recommended tips and techniques for screen cleaning, you can maintain a smudge-free and visually stunning screen.
In conclusion, whether you’re a student, professional, or casual user, knowing how to take screenshots on your Dell laptop and keeping your screen clean are two fundamental skills that should not be overlooked. Take control of your laptop, capture your digital world, and enjoy the highest quality display without any distractions. Congratulations on unlocking the power of screenshots and maintaining a pristine laptop screen!
FAQ
How do I take a screenshot on a Dell laptop running Windows?
There are two common methods for taking screenshots on a Windows-based Dell laptop. You can either use the PrtScn key to capture the entire screen or use the Win+Shift+S shortcut to capture a specific area of the screen using the Snipping Tool.
How do I take a screenshot on a Mac laptop?
To capture a screenshot on a Mac laptop, you can use the Command+Shift+3 shortcut. This will capture the entire screen and save it as a file on your desktop.
Are there any third-party software options for capturing screenshots?
Yes, there are several third-party software options available for capturing screenshots on laptops. Examples include Free Screen Capture and FastStone Capture, which offer advanced editing options and the ability to capture scrolling screenshots.
How can I clean my laptop screen?
To clean your laptop screen, you can use a microfiber cloth and a gentle screen cleaning solution. Gently wipe the screen in a circular motion to remove smudges and fingerprints, being careful not to apply too much pressure.

